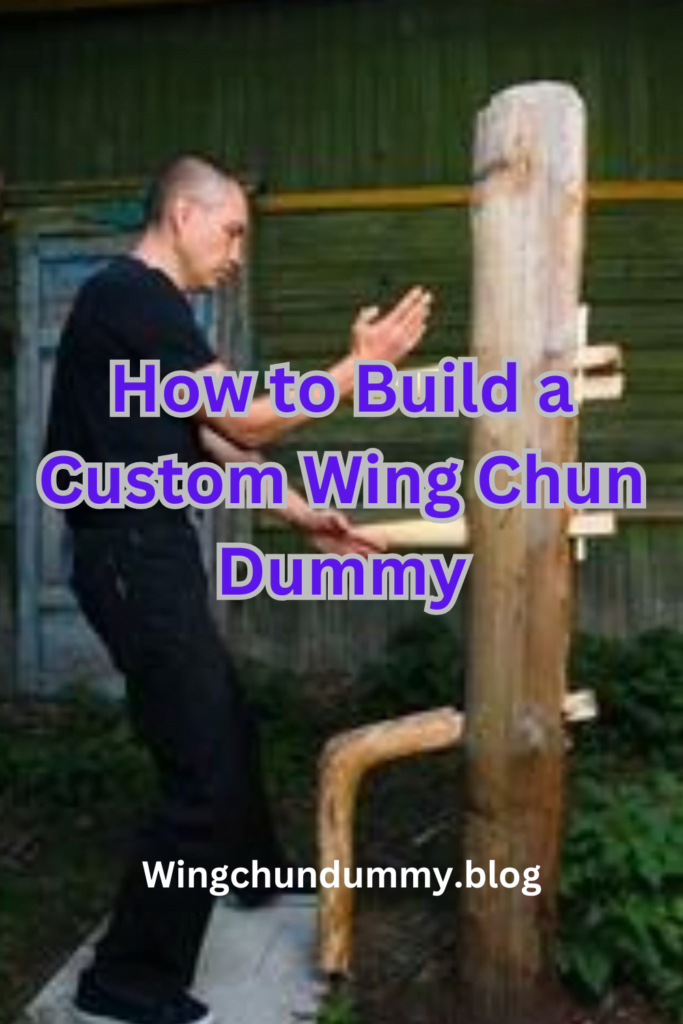


If you are a Wing Chun practitioner looking to enhance your training, building a custom Wing Chun dummy can be a great investment.
A Wing Chun dummy, also known as a wooden dummy or Mook Jong, is a training tool used to develop precision, accuracy, and timing in Wing Chun techniques.
In this guide, we will walk you through the process of building your own custom Wing Chun dummy.
Materials Needed
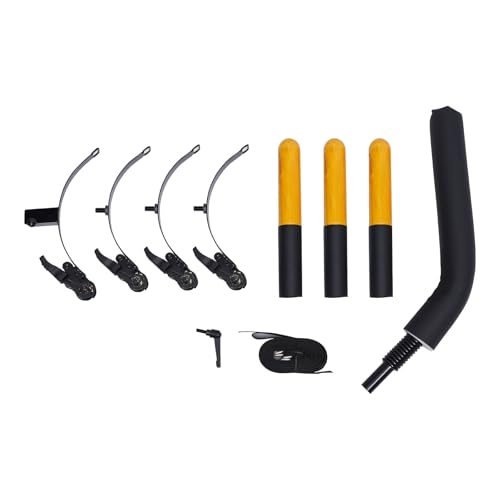
Before you start building your Wing Chun dummy, gather the following materials:
- 1 sturdy wooden trunk or post
- 3 wooden arms
- 1 wooden leg
- 4 metal or wooden pegs
- Drill and drill bits
- Screws
- Wood glue
- Sandpaper
- Paint or varnish (optional)
Step-by-Step Guide
Follow these steps to build your custom Wing Chun dummy:
Step 1: Prepare the Trunk
Find a sturdy wooden trunk or post that is approximately 6 feet tall and 8-10 inches in diameter.
Make sure it is securely anchored to the ground or mounted on a solid base. Sand the trunk to remove any rough edges or splinters.
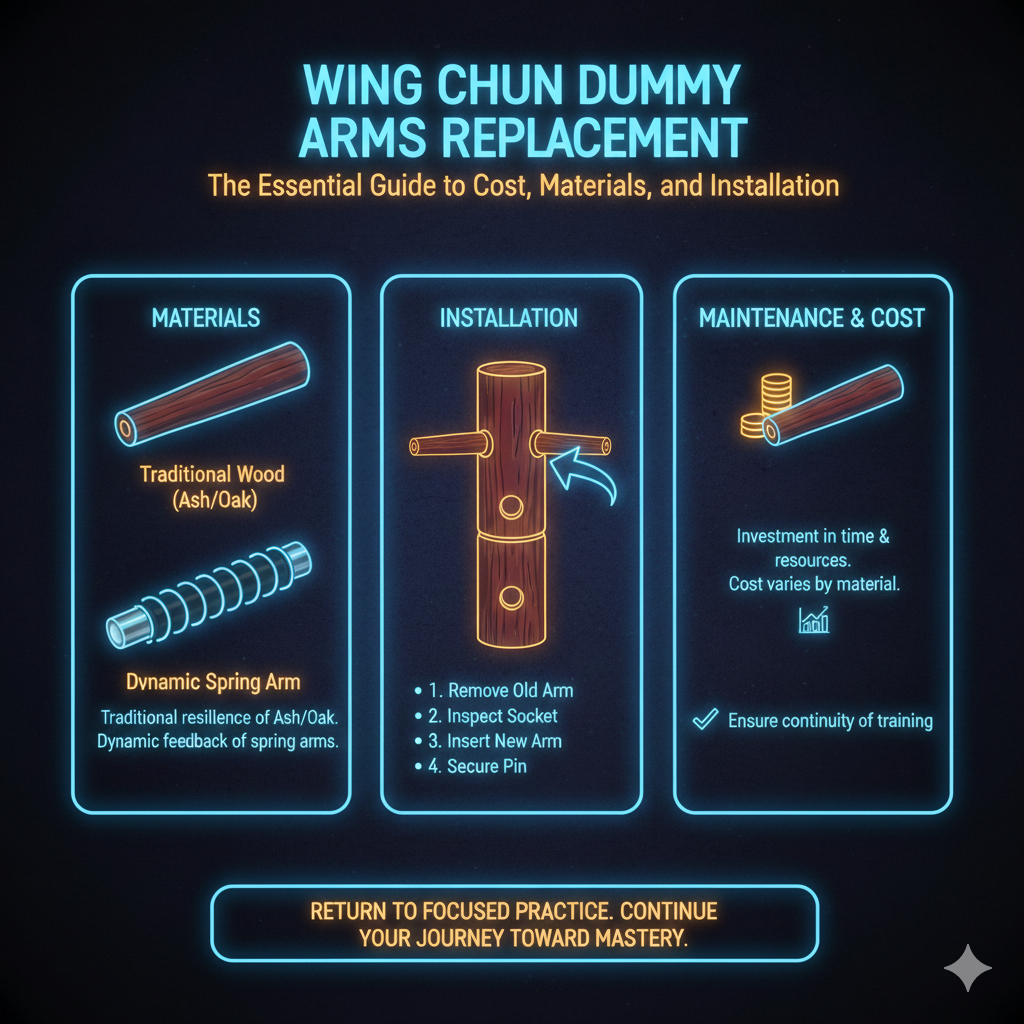
Step 2: Attach the Arms
Measure and mark the positions for the three arms on the trunk.
Use a drill to create holes for the metal or wooden pegs that will hold the arms in place.
Apply wood glue to the pegs and insert them into the holes.
Attach the wooden arms to the pegs, ensuring they are securely fastened.
Step 3: Attach the Leg
Measure and mark the position for the wooden leg on the trunk, approximately 1-2 feet from the ground.
Drill a hole for the peg that will hold the leg in place.
Apply wood glue to the peg and insert it into the hole.
Attach the wooden leg to the peg, ensuring it is securely fastened.
Step 4: Secure the Trunk
Check the stability of the trunk and make any necessary adjustments.
If needed, secure the trunk to the ground or base using screws or additional support.
This will ensure that the dummy remains stable during your training sessions.
Step 5: Finishing Touches
If desired, you can sand the entire dummy to smoothen any rough surfaces.
Apply a coat of paint or varnish to protect the wood and give it a polished look.
This step is optional but can enhance the aesthetic appeal of your custom Wing Chun dummy.
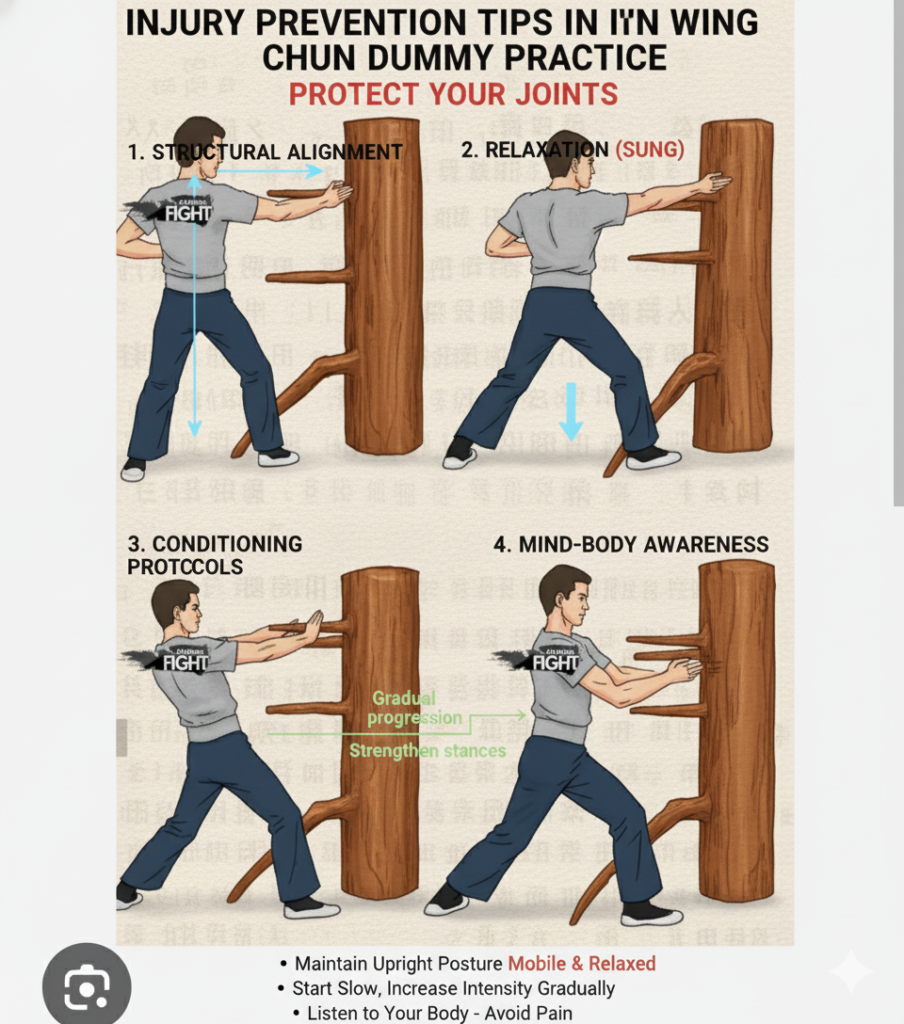
Tips for Training with a Wing Chun Dummy
Now that you have built your custom Wing Chun dummy, here are a few tips to make the most of your training:
- Start slow and focus on technique: Use the dummy to practice your Wing Chun techniques with precision and accuracy.
- Gradually increase speed and intensity: As you become more comfortable with the movements, gradually increase the speed and intensity of your strikes.
- Combine dummy training with partner drills: While the dummy is a valuable training tool, it is important to also practice with a training partner for realistic interaction.
- Use the dummy for footwork practice: Incorporate footwork drills and movements around the dummy to improve your agility and positioning.
- Regularly inspect and maintain your dummy: Check the arms, leg, and trunk for any signs of wear and tear. Replace or repair any damaged parts to ensure the longevity of your dummy.
Conclusion
Building a custom Wing Chun dummy allows you to tailor the training tool to your specific needs and preferences.
By following the steps outlined in this guide, you can create a sturdy and reliable dummy that will assist you in developing your Wing Chun skills.
Remember to always practice with focus, dedication, and proper technique to maximize the benefits of your training sessions.