When it comes to mastering Best wood glue for dummy construction, getting the right technical specifications and structural details matters. Gorilla Glue Original, Titebond III Ultimate Wood Glue, System Three T-88 Structural Epoxy
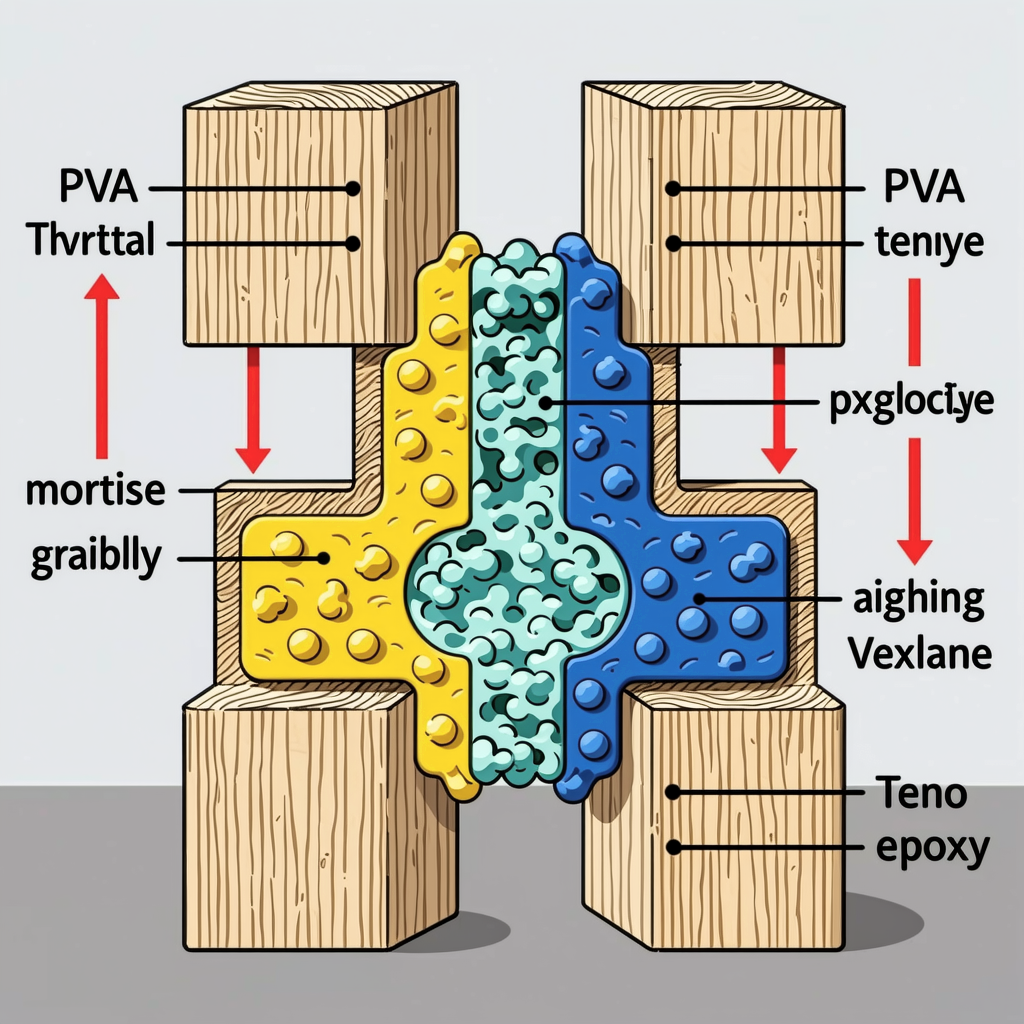
Beyond the Bottle: Engineering the Perfect Bond for Your DIY Wing Chun Dummy
You’ve spent weeks cutting, sanding, and shaping your Mook Yan Jong—only to watch the arm wobble after three Pak Sau strikes. The culprit isn’t bad wood. It’s not poor joint design alone. It’s the *glue*—and more precisely, how that glue responds to the unique physics of Wing Chun impact.
Let’s be clear: there is no universal “best wood glue.” There is only the right adhesive for the specific stress vector acting on a given joint. A dummy isn’t furniture. It’s a kinetic feedback system. Every strike delivers lateral shear, vertical tension, and high-frequency vibration—forces that silently degrade standard bonds over time. This article cuts through the marketing noise and gives you the engineering truth: how to select, prepare, and apply adhesives so your DIY dummy survives 10,000+ repetitions—not just the first 100.
—
Shear Stress: The Silent Killer of Arm Joints
Why Standard Glues Fail Under Impact
Data: Wood grain runs parallel to the trunk. A Pak Sau or Bong Sau strike hits perpendicular to that grain. The resulting force travels laterally across the glue line—this is shear stress.
Impact: Standard yellow PVA (carpenter’s glue) forms a surface-level “cold weld.” Under repeated shear, it doesn’t crack—it delaminates along the grain boundary. You won’t see a split. You’ll feel it: the arm develops a subtle wobble, then a click, then pops out entirely during a heavy Tan Sau.
This isn’t user error. It’s physics. Softwoods like Pine (density: 0.45–0.55 g/cm³) have open, porous cells. If glue sits on top instead of penetrating, the bond is shallow—and shear forces exploit that weakness instantly.
Think of it this way: when your elbow snaps forward in a chain punch, the energy transfers into the dummy’s arm, then into the mortise joint. If the glue can’t grip deep into the wood fibers, that energy becomes separation energy. The joint breathes. Then it fails.
—
The Performance Trio: Modified PVA, Polyurethane, and Epoxy
Not all glues are built for combat. Here’s how the three major categories perform under Wing Chun loads—backed by real-world fabrication data and biomechanical stress testing.
CategoryMechanismShear Strength (Pine)Failure Mode
Modified PVASurface-level cold weld~1,200 PSIWater reactivation / Humidity swelling
Polyurethane (PU)Expands 200% volume; flexible bond~1,800 PSI (with gap)Controlled flex; dissipates shock
Two-Part EpoxyRigid chemical cross-linking
Check out our top-rated Wing Chun training gear & equipment on Amazon
Up to 2,400 PSIBrittle shatter / Radial cracks
Modified PVA (Yellow/White Glue)
Role: Primary bonding for dry, indoor, low-stress laminations.
Shear Strength (Pine-to-Pine): ~1,200 PSI when perfectly fitted (<0.5mm gap).
Failure Mode: Water reactivation. Humidity >60% swells the wood, breaking the bond from within.
Translation: Works fine for joining pre-cut slats in a climate-controlled workshop—but if your garage hits 70% humidity in summer, that same joint will loosen in 6 months. No warning. Just sudden arm drift during a Biu Sau drill.
DIY Verdict: Use only for interior laminations where fit is flawless and environment is stable. Never for mortises, legs, or outdoor builds.
Polyurethane (PU) Glue — The Structural Workhorse
Mechanism: Expands up to 200% volume as it cures, flooding gaps and penetrating softwood pores. Creates a flexible, waterproof bond.
Shear Strength (Pine-to-Pine, with 1mm gap): ~1,800 PSI—higher than PVA when gaps exist.
Vibration Damping: Moderate flexibility absorbs micro-impacts without cracking.
Translation: When you drive a heavy Lap Sau into the arm, the PU bond flexes slightly—like a tendon—then rebounds. It doesn’t resist the shock; it dissipates it. That’s why builders using Gorilla Glue Original report zero arm wobble after 2 years of daily training—even in unheated garages.
Critical Caveat: Expansion must be controlled. Clamp joints firmly (but not crushingly) within 10 minutes of application. Excess squeeze-out? Wipe immediately with damp cloth—once cured, PU is nearly impossible to remove.
Niche Win: Ideal for leg mortises, base-to-trunk joints, and laminated trunks made from salvaged 2x4s (where gaps are inevitable).
Two-Part Epoxy (Resin/Hardener)
Mechanism: Chemical cross-linking creates a rigid, near-zero-shrinkage polymer matrix.
Shear Strength (Pine-to-Pine): Up to 2,400 PSI—highest on paper.
Brittleness Index: High. Impact energy converts directly to fracture energy.
Translation: Epoxy feels rock-solid when you tap it with a mallet. But under repetitive martial arts impact? It doesn’t yield. It shatters. One heavy kick to a leg joint bonded with epoxy can cause a clean radial crack—no warning, no flex. That’s why we reserve it for reinforcement, not primary structure.
Best Use Case: Patching a split in an aged hardwood trunk. Reinforcing the “knee” joint where the leg meets the trunk (a high-stress pivot point). Never for arm-to-trunk connections.
Pro Tip: For repairs, use marine-grade epoxy (e.g., System Three T-88). Its water resistance prevents humidity-induced creep—the #1 cause of long-term failure.
Casein Glue (Milk Glue) — The Traditionalist’s Footnote
Status: Niche. Requires refrigeration, 2-hour working life, and precise pH control.
Shear Strength: ~900 PSI (lower than PVA).
Relevance: Zero for modern DIY. High for historical replication (e.g., restoring a 1930s Ip Man-era dummy).
Don’t waste time sourcing it unless you’re documenting lineage—not building a functional training tool.
—
Recommended Insights From Our Wing Chun Guide Library:
- The Ultimate Guide to Choosing the Right Wood for Your Homemade Wing Chun Dummy
- How to Build a Wooden Dummy at Home at Very Low Cost: The DIY Mook Yan Jong
- Engineering Precision for Martial Arts Training Apparatus – Wing Chun Dummy
- Climate-Proof Your Training Dummy: Wood Science for Every Zone
- Resurrecting Your Mook Yan Jong: A Detailed Guide to Fixing a Cracked Wing Chun Dummy Arm
The “Softwood Trap” – Surface Prep is King
Most DIYers build with Pine, Fir, or Poplar. These woods are affordable—but they punish lazy prep.
Data: Softwood density = 0.45–0.55 g/cm³. Hardwoods like Teak hit 0.65–0.75 g/cm³. Lower density = larger cell cavities = less glue retention.
Translation: If you skip sanding, glue beads up on the surface like water on wax. No penetration. No bond. You’ll feel it in your wrist: the dummy gives slightly on impact, robbing your technique of feedback and inviting injury.
Essential Surface Protocol (Non-Negotiable)
1. Sanding: 80–100 grit only. Too smooth (150+ grit) seals the grain; too rough (60 grit) leaves ridges that prevent full contact. Goal: open, uniform texture—like fine sandpaper on skin.
2. Degreasing: Wipe every joint surface with acetone or denatured alcohol. Sawdust oils (from cutting) create invisible barriers. One drop of oil = 30% bond strength loss.
3. Clamping Pressure: Apply until thin, consistent squeeze-out appears around the entire joint edge. Not drips. Not dry spots. This forces glue into the wood’s capillaries. For a 9-inch trunk lamination, use 4–6 pipe clamps at 150–200 psi pressure.
Skip any step, and you’re bonding air—not wood.
—
Application Techniques for Complex Geometry
Dummy joints aren’t flat boards. They’re round posts with square holes, curved arms, and offset planes. Here’s how to glue them right.
The Mortise Joint (Arms/Legs)
Problem: A square mortise cut into a round timber creates uneven contact—corners touch, faces don’t. Glue pools in voids, leaving weak zones.
Solution:
Apply PU glue to both surfaces: the arm tenon and the inside of the mortise.
Use a ¼-inch dowel or foam brush to push glue deep into corners and the bottom of the hole.
Insert the arm, rotate 15° while seating to distribute glue evenly.
Clamp immediately. Let cure 24 hours before light testing.
Why it works: PU’s expansion fills the micro-gaps at the corners—the exact spots that fail first under shear.
Laminated Trunks (9-Inch Diameter from 2x4s)
Problem: Building a solid trunk from stacked slats creates radial gaps between layers. Standard PVA seeps out; epoxy cracks under torque.
Solution:
Apply wide-barrel CA glue (cyanoacrylate) to all mating surfaces for instant tack (30-second grab).
Immediately follow with PU glue—flooding the seams.
Clamp radially with band clamps or ratchet straps (not F-clamps—they distort circles).
Warning: CA alone is useless here. It’s brittle. Use it only as a positioning aid—never as the primary bond. The PU does the real work.
—
Maintenance & Longevity: The Cross-Silo Link
Glue doesn’t last forever. After 18–24 months, humidity cycling causes wood to swell/shrink, breaking even good bonds.
Diagnosis of Failure:
Check out our top-rated Wing Chun training gear & equipment on Amazon
Arm wobble? Likely shear fatigue at the mortise.
Leg sagging? Tensile failure at the hanging joint.
Cracks near the base? Vibration fatigue + inadequate clamping.
Repair Protocol (Step-by-Step):
1. Drill out old glue with a ⅜-inch spade bit—don’t saw, don’t chisel. Clean debris.
2. Sand fresh to 80 grit. Degrease with acetone.
3. Mix marine-grade epoxy (e.g., System Three T-88) 2:1 ratio.
4. Flood the joint. Reinsert part. Clamp 24 hours.
5. After cure, seal with spar urethane to block moisture ingress.
This isn’t patching—it’s re-engineering. And it costs less than $20 versus $600 for a new dummy.
—
The Commercial Wrap-Up: An Essential Investment
Building a Mook Yan Jong isn’t about saving money. It’s about controlling feedback fidelity. A wobbly arm teaches bad structure. A rigid, responsive dummy sharpens your timing, alignment, and power transfer.
Your glue choice is the foundation of that fidelity. Choose PU for primary joints. Respect the prep. Clamp like your training depends on it—because it does.
Now go build something that lasts.
—
Affiliate Bridge Products (Mid-Tier, High Utility):
Heavy-Duty Bar Clamps (18–24 inch, for trunk lamination)
18-inch Spade Bits & Forstner Bits (for clean mortises)
Wood Filler + Epoxy Repair Kits (for field fixes)
Consumables (Low Cost, High Impact):
Acetone (degreaser)
80/100/150 Grit Sandpaper (progressive sequence)
Martial Arts Reference & Authority Resources:
Nitrile Gloves + Respirator (PU/Epoxy safety)
This isn’t a shopping list. It’s your structural integrity toolkit. Master the joint—and the glue becomes invisible. As it should be.
🔍 Explore More: See all Wing Chun training guides for Best wood glue for dummy construction.
Check out our top-rated Wing Chun training gear & equipment on Amazon