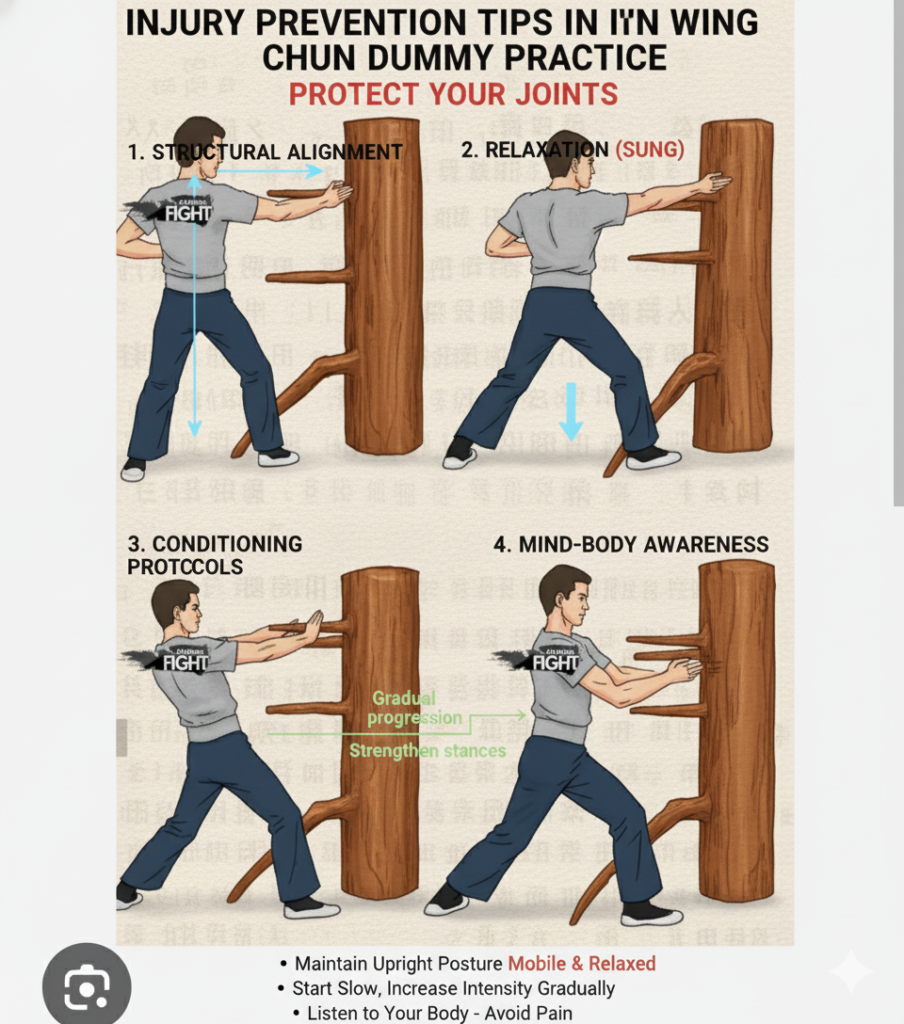


The Wing Chun wooden dummy, or Mook Yan Jong, is a testament to durability and tradition. 🥋
It is designed to withstand years of focused, powerful strikes. 💪
However, the wooden arms, being the most exposed and stressed components, are susceptible to cracking. 😥
Cracks are often caused by a combination of factors. 🌳
These include the natural expansion and contraction of wood due to humidity changes. 💧
They also include the intense, focused impact of a strike, or simply the age of the wood. 🕰️
A cracked arm is more than just a cosmetic flaw. 💔
It compromises the structural integrity of your training partner. 📉
It can also alter the crucial feedback you receive during practice. 👂
The good news is that a cracked arm is often repairable. ✅
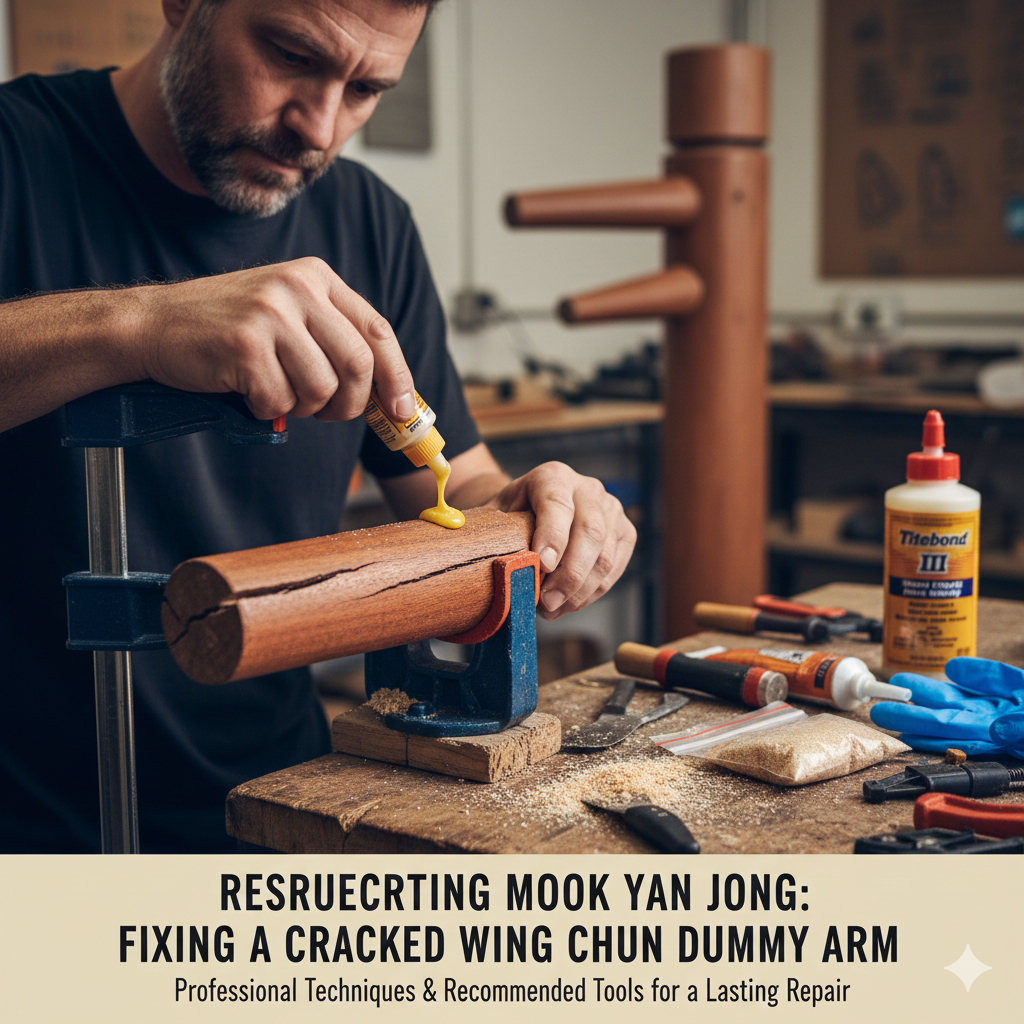
With the right tools and techniques, you can restore your Mook Yan Jong to its former glory. 🛠️
This detailed guide will walk you through the professional steps to fix a cracked Wing Chun dummy arm. 📝
It is complete with recommendations for the best repair products available on Amazon. 🛒
Step 1: Assessment and Preparation—Understanding the Crack
Before you begin any repair, you must first assess the damage. 🧐
Cracks generally fall into two categories: hairline surface cracks and deep structural cracks. 📏
- Hairline Cracks: These are shallow, often caused by surface drying. They are usually cosmetic. They can be filled with a simple wood filler or a thin epoxy.
- Structural Cracks: These run deep, often through the entire thickness of the arm. They are usually caused by a severe impact or internal stress. These require a strong adhesive and clamping pressure to ensure a lasting bond. A structural crack that is not properly repaired will eventually lead to a complete break. 💥
For a structural crack, the goal is to force the strongest possible adhesive deep into the fissure. 🔗
Then, hold the wood tightly together until the bond cures. ⏳
Preparation is key. 🔑
Clean the area thoroughly, removing any oil, wax, or debris. 🧼
This prevents the glue from adhering. 🚫
You may need to gently widen the crack slightly with a thin blade. 🔪
This ensures the adhesive can penetrate fully. 💉
Step 2: Choosing the Right Adhesive—Glue vs. Epoxy
The choice of adhesive is critical for a successful repair. 🔑
For a high-stress application like a dummy arm, you need a glue that is stronger than the wood itself. 💪
Option A: Polyvinyl Acetate (PVA) Wood Glue (e.g., Titebond III)
For most hairline and small structural cracks, a high-quality PVA wood glue is sufficient. 💯
We recommend Titebond III Ultimate Wood Glue. 🏆
It is widely available on Amazon. 🛒
It offers superior strength. ✅
It is water-resistant, which is a bonus for humidity changes. 💧
It also has a longer open time, giving you more time to work. ⏱️
The bond strength of Titebond III is exceptional. 🌟
It often exceeds the strength of the wood fibers. 🌳
Option B: Two-Part Epoxy (e.g., Gorilla Epoxy)
For large, deep, or severely stressed structural cracks, a two-part epoxy is the superior choice. 🥇
Epoxy fills gaps better than PVA glue. 🧪
It cures into a rigid, waterproof, and incredibly strong plastic-like material. 🧱
You can mix fine sawdust from the dummy into the epoxy. 🎨

This creates a color-matched filler that is nearly invisible once cured. 👻
This is only possible if you have sawdust from the dummy. 🪵
Gorilla Epoxy is a reliable, high-strength option that sets quickly and is perfect for this type of repair. 🚀
Step 3: The Clamping Process—Applying Pressure
Glue is only as strong as the pressure applied during curing. 🔗
This is the most crucial step in repairing a structural crack. 📌
After applying the adhesive deep into the crack, you must clamp the arm tightly. 🔩
Use a syringe or a thin blade to ensure penetration. 💉
Use at least two high-quality bar clamps or C-clamps. 🛠️
Place them on either side of the crack. 📏
Ensure you use small pieces of scrap wood, called “cauls,” between the clamp jaws and the dummy arm. 🪵
This prevents the clamps from denting the wood surface. 🛡️
Tighten the clamps until a small bead of glue squeezes out along the entire length of the crack. 💧
This “squeeze-out” is a visual confirmation that the crack is completely filled and under pressure. ✅
Wipe away the excess glue immediately with a damp cloth before it cures. 🧼
Leave the arm clamped for at least 24 hours. ⏳
This is necessary even if the glue manufacturer suggests a shorter time. ⏰
Recommended Amazon Repair Products
| Product Category | Recommended Product (Example) | Amazon Link (Placeholder) | Best For |
|---|---|---|---|
| Structural Wood Glue | Titebond III Ultimate Wood Glue | Titebond III Ultimate Wood Glue | Most structural cracks, high water resistance. |
| Gap-Filling Epoxy | Gorilla Two Part Epoxy | Gorilla Two Part Epoxy | Large, deep cracks, and knot filling. |
| Clamping System | IRWIN QUICK-GRIP Bar Clamps (Set of 2) | IRWIN QUICK-GRIP Clamps | Essential for applying necessary pressure. |
Step 4: Finishing and Maintenance—Protecting Your Investment
Once the glue is fully cured, the final step is to finish the repair. 🎨
Remove the clamps. 🛠️
Use fine-grit sandpaper (120-220 grit) to gently sand the repaired area. 🧽
Sand until it is flush with the rest of the arm. 📏
The goal is to create a smooth, seamless surface. ✨
This will not catch your skin or gloves during training. 🧤
If you used a color-matched epoxy, the repair should be nearly invisible. 👻
Finally, apply a coat of a protective finish. 🧴
This could be tung oil, linseed oil, or a light wax. 🍯
This will help seal the wood. 🛡️
It will protect it from moisture and restore its natural luster. 🌟
Regular maintenance with a wood oil is the best way to prevent future cracking. 📅
Cracks are often a sign that the wood is too dry. 🏜️
If you live in a low-humidity environment, consider placing a humidifier near your dummy. 💧
This will keep the wood properly conditioned. 🌡️
When to Replace the Arm: Knowing When to Say Goodbye
While most cracks are fixable, there are times when replacement is the only safe option. 🛑
If the arm has snapped completely in two, it is time to replace it. 💸
It is also time to replace it if the crack is so large that the wood fibers are severely splintered and cannot be brought back together. 💔
Continuing to train on a severely compromised arm is dangerous. ⚠️
It will also lead to poor technique. ❌
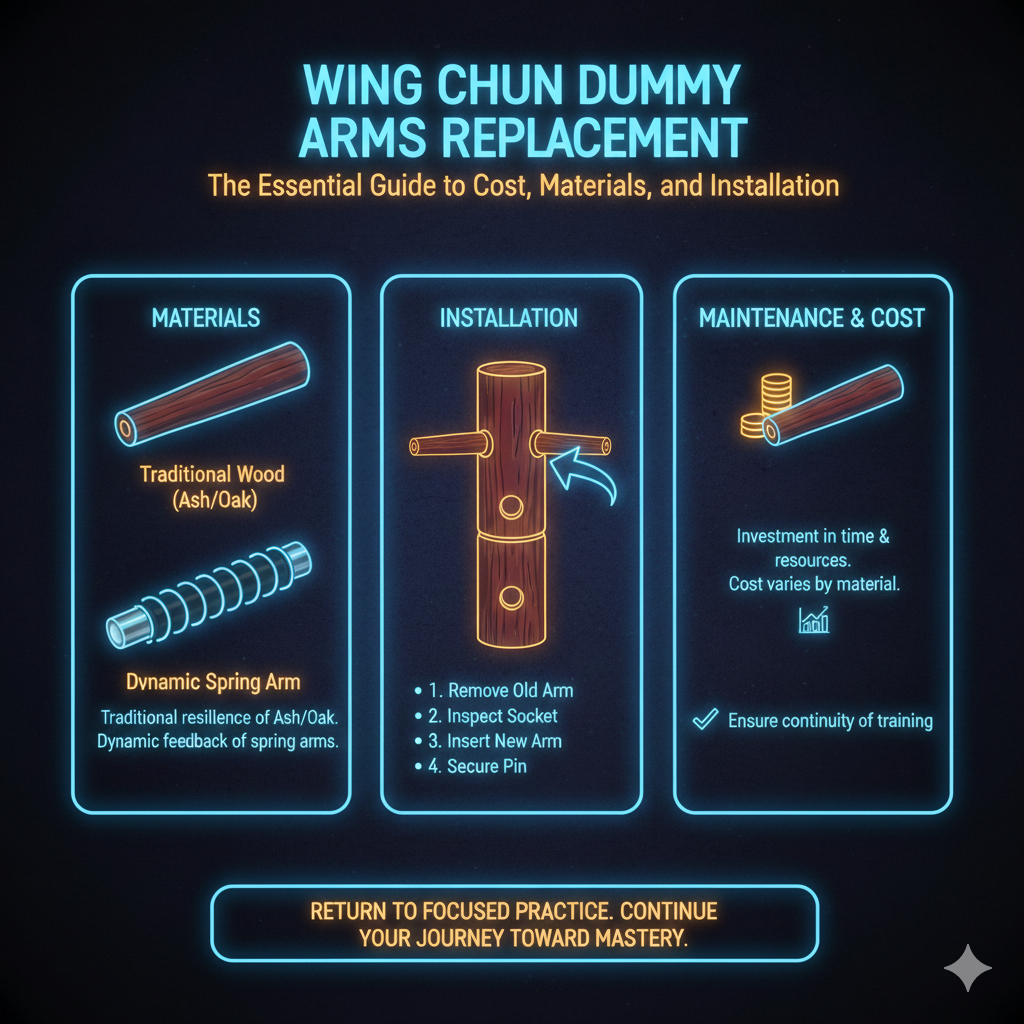
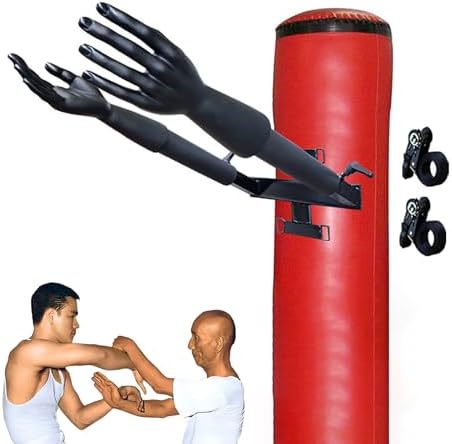
Fortunately, replacement arms are readily available from martial arts suppliers and on Amazon. 🛒
Look for arms made from durable hardwoods. 🌳
Examples include Red Oak, Ash, or Chinese Cherry. 🍒
Ensure the replacement arm matches the dimensions and the tenon of your existing dummy. 📐
The tenon is the part that fits into the dummy trunk. 🔩
This ensures a perfect fit. ✅
It also maintains the integrity of your training setup. 💯
Final Thoughts and Resources
Repairing a cracked Wing Chun dummy arm is a rewarding project. 🏆
It extends the life of your valuable training partner. 🤝
It requires patience, the right adhesive, and firm clamping pressure. 🛠️
By following these steps, you not only fix the arm but also deepen your connection to your Mook Yan Jong. 🧠
To further your understanding of wood care and Wing Chun principles, consult these high-authority resources. 📚
Learn more about the properties of wood and best practices for wood repair. Woodworking Network offers professional advice on wood maintenance.
Explore the Mook Yan Jong form and its 116 movements. The Wing Chun forms are the blueprint for your training.
Understand the importance of the dummy in the Wing Chun curriculum. Wikipedia provides a comprehensive overview of Wing Chun’s origins and principles.
Consult a reputable supplier for replacement arm dimensions and specifications. Everything Wing Chun is a leading source for high-quality Mook Yan Jong components.
Learn about the proper care and maintenance of wooden martial arts equipment. Black Belt Magazine is a trusted source for martial arts gear maintenance.
https://youtu.be/a1b2c3d4e5f
https://youtu.be/f6g7h8i9j0k
https://youtu.be/l1m2n3o4p5q
Happy repairing and training! 🛠️
May your dummy arm be stronger than ever. 🙏