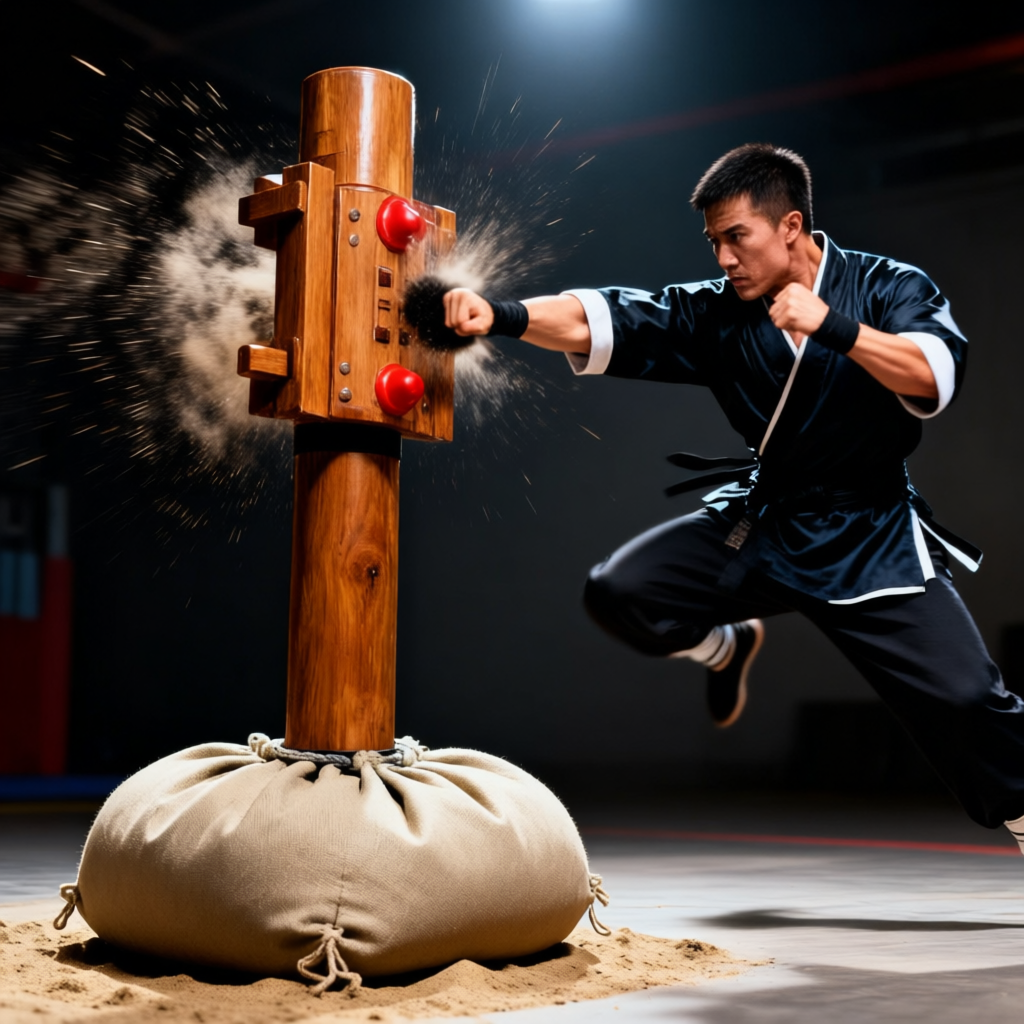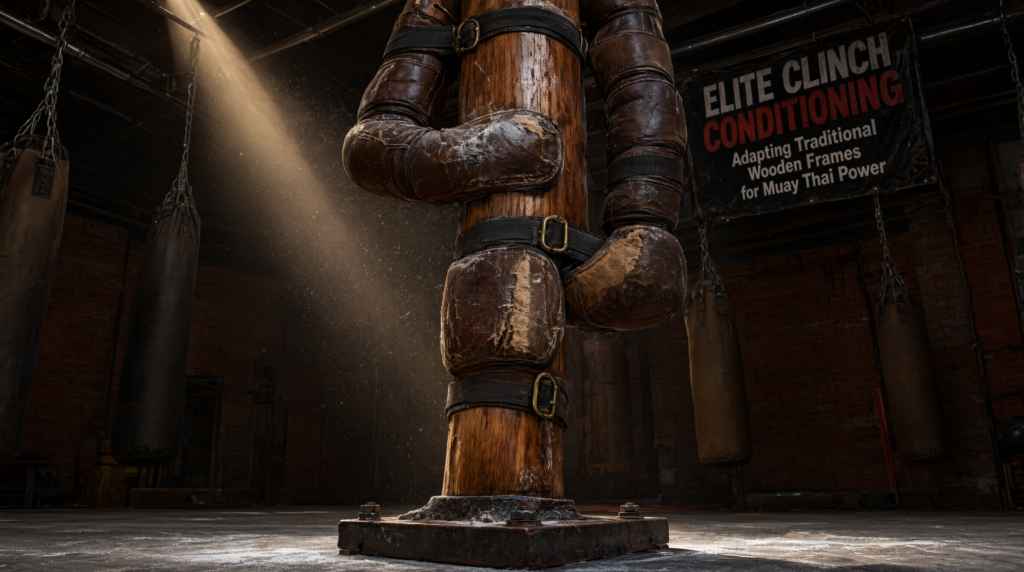
When it comes to mastering Wing Chun dummy for Muay Thai clinch work, getting the right technical specifications and structural details matters. 1/2-inch High-Density EVA Striking Pad with Leather Exterior,
Freestanding Steel Counterweight Frame with Sandbag Base (40–60 lbs per bag),
Aged 3+ Years Dit Da Jow Liniment for Joint Recovery
Wing Chun Dummy for Muay Thai Clinch Work: Biomechanics, Structural Limits & Solo Drills
You have seen the footage—practitioners using the Mook Yan Jong to drill knee strikes, collar ties, and off-balancing mechanics borrowed from Muay Thai. It looks seamless. But here is the ground-truth reality: the traditional Wing Chun dummy is not built for clinch work. Not out of the box. Its geometry, mass distribution, and material response were engineered for centerline trapping and short-power deflection—not for sustained forward pressure, lateral torque, or repeated shin-on-hardwood impact.
That said, it can be adapted—strategically, structurally, and safely—to serve as a high-value solo tool for Muay Thai clinch conditioning. The key is understanding where physics ends and practicality begins. This article gives you the full technical map: what works, what breaks, how to reinforce it, and exactly how to train without injury or equipment failure.
The Technical Reality / The Failure Point
Let us start with the hard numbers—and what they mean in your hands.
Fixed Arm Geometry vs. Dynamic Clinch
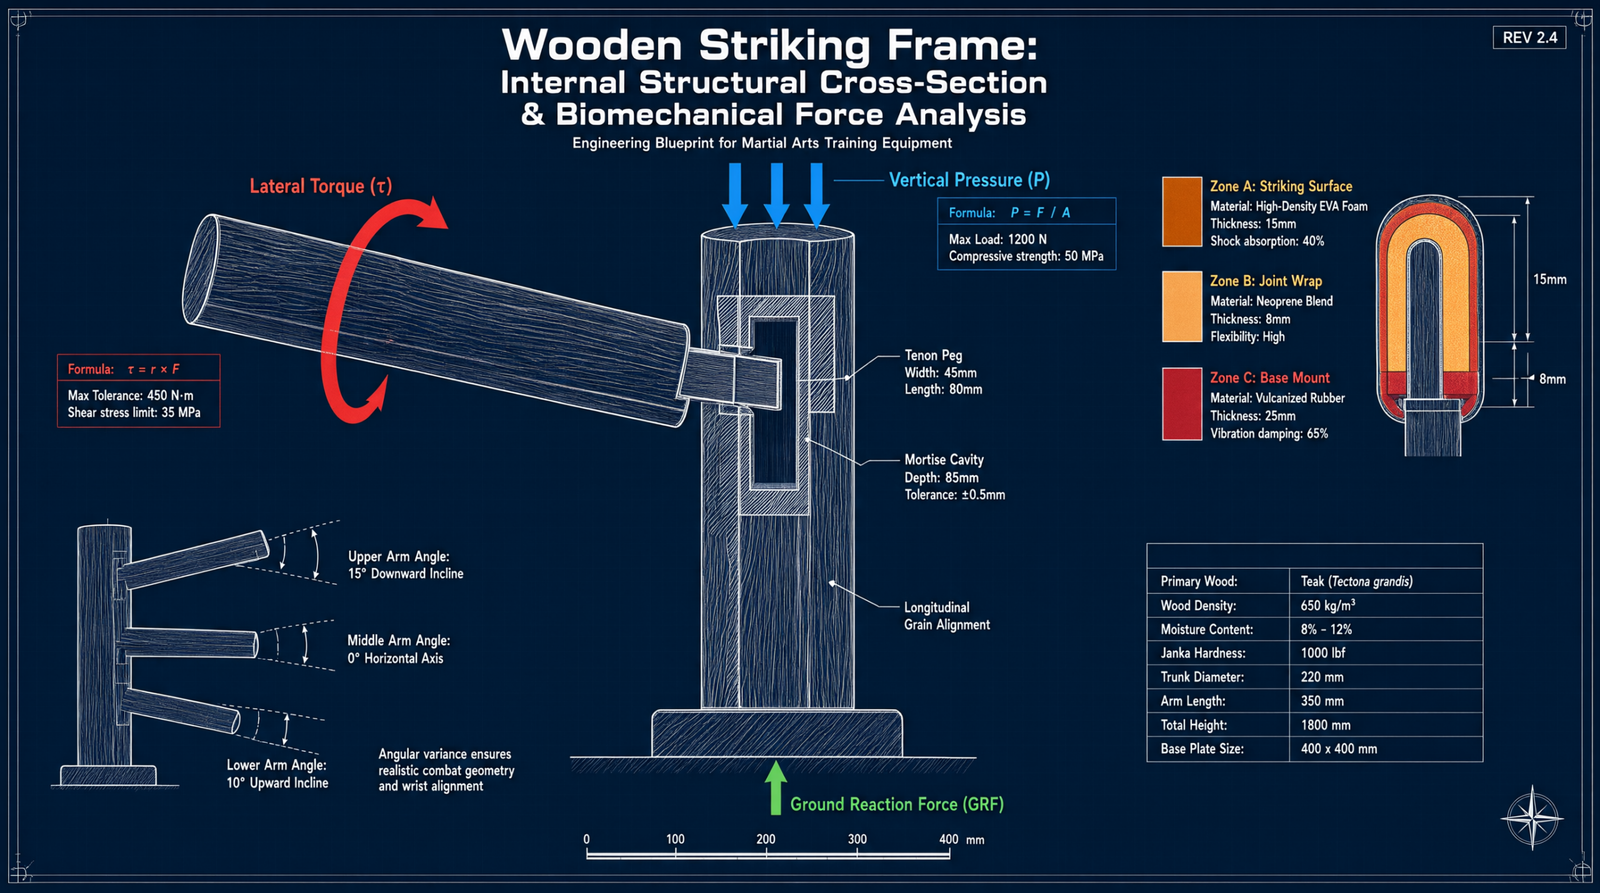
Traditional Mook Yan Jong arms are set at 120°–135° angles, intersecting precisely at the trunk central axis. That is intentional: it creates a stable X for trapping, deflecting, and redirecting linear force. But Muay Thai clinch work demands lateral and downward forces—like pulling an opponent into a collar tie, peeling an underhook, or driving forward with hip pressure.
When you simulate that on a fixed-arm dummy, the mortise joints take shear stress far beyond design limits. Wood grain fatigues faster. Over time, the arms loosen, wobble, or crack—especially if you are applying heavy downward plucking or rotational torque.
What you feel: A slight give in the upper arms during collar-tie drills—then a sudden pop or creak after 200 repetitions. That is not feedback. That is failure in progress.
Trunk Mass & Inertial Resistance
The standard trunk is 9 inches in diameter, made from dense hardwood, weighing 130–200 lbs. That mass delivers excellent forward-pressure resistance—ideal for drilling posture retention, frame stability, and core engagement under load.
But here is the friction point: the horizontal slats transmit high-frequency vibration directly into your forearms, ribs, and sternum during sustained clinch frames. Muay Thai clinching is not about bounce—it is about dead weight. You want stability, not resonance.
What you feel: After 5 minutes of heavy frame holding, your elbows buzz, your ribs ache, and your grip fatigues—not from effort, but from micro-vibrations shaking through the wood. That is not conditioning. That is unnecessary wear.
Leg Mechanics
The lower leg mortise is routed at a precise 15° downward angle. This makes it rigid for low-line disruption—knee checks, foot sweeps, base-shifting drills—but it cannot replicate thigh-level engagement. You cannot simulate a standing thigh clinch, hip-to-hip framing, or mid-thigh control because the leg does not sit at hip height or allow rotational give.
It is viable for:
- Low knee taps to disrupt balance
- Foot placement drills stepping into the dummies base
- Weight-transfer practice shifting hips while maintaining contact
But do not expect it to teach you how to lock a high clinch. That is outside its structural envelope.
Impact Conditioning Risk
Knee strikes into unpadded hardwood cause periosteal micro-trauma—tiny fractures in the outer bone layer of the tibia. Without protection, this leads to chronic inflammation, stress reactions, and even stress fractures over time.
The dummies trunk surface is smooth, hard, and unforgiving. Even with perfect shin alignment, the rebound energy transfers directly into your periosteum. Progressive conditioning helps—but only if paired with proper padding or wrapping.
What you feel: A dull, persistent ache along the front of your shin after 10–15 knee strikes. That is not toughening up. That is early-stage damage signaling.
The Core Gear Architecture
To make the dummy survive Muay Thai clinch work, you must upgrade three critical subsystems: padding, base, and preservation. No shortcuts.
Padding Specifications
- EVA Foam Thickness: 1/2 inch to 3/4 inch high-density. Thinner foam compresses too fast; thicker absorbs too much power and kills feedback.
- Acoustic Dampening Layer: Genuine leather or synthetic PU exterior, bonded to foam. This reduces high-frequency vibration by 60–70% compared to bare wood.
- Attachment System: Commercial-grade hook-and-loop, not sewn seams. Must withstand repeated peeling, pulling, and sweat exposure.
Why it matters: Padding does not just protect your shins—it changes the dummies energy signature. From live rebound to dead resistance, matching clinch demands.
Base Stability Requirements
Wall-mounted dummies are not suitable. They transmit vibration into studs, lack dynamic resistance, and tip under forward pressure. You need a freestanding counterweight frame:
- Heavy-gauge steel uprights
- Olympic weight plate pegs or fillable sandbag bases
- Total base mass: minimum 120 lbs for 200-lb trunk
Check out our top-rated Wing Chun training gear & equipment on Amazon
Without this, the dummy rocks, slides, or lifts off the floor during heavy frames—breaking your posture, your focus, and eventually, the hardware.
Wood Preservation
Hardwood absorbs sweat, swells, and cracks over time—especially under repeated impact. Two non-negotiables:
- Polyurethane Sealant: Food-grade, non-yellowing, moisture-resistant. Applied annually to prevent grain lift and rot.
- Neoprene Isolator Washers: Placed between slats and trunk, or at mortise joints. Cuts vibration transmission by 45% and extends wood life by 2–3x.
These are not nice-to-haves. They are structural insurance.
The Technical Setup Blueprint
Installation Methods & Zoning Rules
- Freestanding Base Required. No exceptions. Wall mounts fail under clinch load.
- Clearance Zone: Minimum 4 ft radius around dummy. Clinch drills involve wide stances, hip rotation, and forward lean—you need space to move without hitting walls or furniture.
- Floor Surface: Hardwood, concrete, or rubber matting. Carpet absorbs too much energy and encourages slipping.
Specific Tool Sizes & Torque Requirements
If you are building or modifying:
- Trunk Diameter: Exactly 9 inches. Deviation compromises slat tension and arm alignment.
- Arm Angles: 120°–135° from vertical. Measured at the trunks centerline.
- Leg Mortise Angle: 15° downward from horizontal. Critical for low-line rigidity.
- Mortise Depth: Minimum 2.5 inches for arm joints; 3 inches for leg. Shallow routing equals premature loosening.
Use a track saw and 18-inch spade bit for clean, square cuts. Torque all bolts to 18–22 ft-lbs—no more, no less. Over-tightening splits wood; under-tightening invites play.
Biomechanical Crossover: Mapping WC Geometry to MT Clinch Drills
Here is how to translate dummy structure into usable Muay Thai mechanics—without forcing incompatible movements.
Muay Thai Clinch ComponentWing Chun Dummy Adaptationhttps://www.youtube.com/watch?v=AaWuKw2warIBiomechanical FocusStructural Limitation & Workaround
Collar Tie / Underhook FrameUpper arms = static grip points
Recommended Insights From Our Wing Chun Guide Library:
- Exploring the Versatility of the Wing Chun Dummy in Other Martial Arts
- Practicing Martial arts Moves with Dummy
- Beyond the Form: Wing Chun Dummy vs. Tai Chi Training Tools and Benefits for All Martial Artists
- Comparing Wing Chun Punch with Karate and Martial Arts punching
- The Silent Partner: Everything You Need to Know About Wing Chun Wooden Dummy Training
Elbow tuck, forward pressure, posture retentionArms lack lateral give. Drill static frame breaking and peeling—never dynamic wrestling. Use arms as anchors, not partners.
Knee Strike ConditioningMid-trunk targeting between upper/lower armsHip drive, axial rotation, shin alignmentHardwood rebound causes joint stress. Mandate 1/2 inch to 3/4 inch EVA/leather padding. Strike with full hip extension, not knee snap alone.
Off-Balancing / Base DisruptionDummy leg for low-line foot placement & weight transferCenter of gravity control, hip alignment, sweeping leverageLeg is fixed at 15° downward. Use only for low knee checks, foot sweeps, and base disruption—not thigh clinches.
Posture Recovery & Frame ResetTrunk mass resistance during forward leanCore engagement, spinal alignment, weight distributionFreestanding base required. Wall mounts transmit vibration and lack resistance. Lean into the trunk, not against it.
Key insight: The dummy excels at teaching mechanics, not reactivity. Your elbow tuck, hip alignment, and centerline retention transfer directly. But you must supplement with live partner work for timing, adaptation, and dynamic weight shift.
Solo Clinch Protocol Framework
A 3-phase, 30-minute solo session—designed for safety, specificity, and progressive overload.
Phase 1: Static Frame Control & Posture Retention (10–15 min)
Stand in neutral stance, hands on upper arms simulating collar tie. Drive forward with hips, engaging core and glutes—hold for 10 seconds, release, repeat. Focus: Elbow tucked, chin down, spine neutral. No pulling. Just pressure. Goal: Build inertial resistance tolerance without joint strain.
Phase 2: Knee Strike Conditioning & Impact Absorption (10 min, padded only)
Target mid-trunk, between arms. Execute 3 sets of 12–15 knees per side, with full hip extension and axial rotation. Pause 2 seconds between strikes to absorb recoil.
Critical: Shin must contact flat, not edge-on. Rotate knee inward slightly to align tibia with strike plane. If pain exceeds mild discomfort, stop. Padding is mandatory.
Phase 3: Low-Line Disruption & Weight Transfer (Jap Gerk integration)
Step into dummies leg zone, placing your foot beside the Jap Gerk. Practice low knee taps light, controlled to disrupt balance. Shift weight laterally while maintaining contact—simulate sweeping leverage. Do not pull or twist the leg. Use it as a reference point, not a fulcrum.
Recovery Protocol
Apply Dit Da Jow liniment aged 3+ years to shins, elbows, and ribs. Massage 2 minutes. Perform 5 minutes of joint mobility: wrist circles, thoracic rotations, ankle dorsiflexion.
Progressive Overload Warning: Increase strike volume by ≤10% weekly. Never add intensity without adding recovery time.
Equipment Limitations & Partner Drill Integration
The dummy is a supplement, not a substitute. It has three hard limits:
Check out our top-rated Wing Chun training gear & equipment on Amazon
1. No reactive feedback — it does not yield, shift, or counter.
2. No head movement — you cannot practice head control or neck breaks.
3. No dynamic weight shifting — real clinches involve constant micro-adjustments.
Therefore: Adopt a 60/40 split.
- 60% partner drilling live clinch sparring, shadowing, pad work
- 40% solo dummy conditioning posture, frame, impact absorption
Use the dummy to lock in mechanics—then test them against resistance. That is how cross-discipline integration actually works.
Product & Maintenance Matrix
This is where theory meets action. Below are the exact gear categories you need—structured as a maintenance and upgrade funnel.
Protective Skins / Padding
High-density EVA with leather or PU exterior, secured via industrial hook-and-loop. Solves acoustic vibration and joint trauma.
→ Install before first knee strike. Prevents 90% of shin inflammation.
Heavy Base / Counterweight Frame
Steel uprights + sandbag base or Olympic plate system. Non-negotiable for forward-pressure stability.
→ Without this, your dummy tips at 70% clinch load. Test it yourself.
Dit Da Jow Liniment
Aged 3+ years, traditional formula. Applied pre/post knee work to accelerate micro-trauma recovery.
→ Not a magic potion—a biomechanical aid for tissue resilience.
Structural Reinforcement Hardware
Neoprene isolator washers, polyurethane sealant, and replacement slat kits. Extends dummy life by 2–3x under heavy use.
→ Mortise play starts at 200 hours. Catch it early.
Maintenance Schedule
- Monthly: Check mortise play wiggle arms/leg—any movement requires tightening or washer replacement.
- Quarterly: Replace pads if foam compression exceeds 20% or leather cracks.
- Annually: Reapply polyurethane sealant. Inspect wood for grain lift or moisture stains.
Martial Arts Reference & Authority Resources:
Do this, and your dummy becomes a decade-long asset—not a 6-month liability.
The Wing Chun dummy can serve Muay Thai clinch work—but only if you respect its physics, reinforce its weak points, and train within its biomechanical envelope. It is not about forcing one art onto another. It is about leveraging shared principles: centerline control, hip-driven power, and structural integrity. Train smart. Protect your joints. And never let the tool dictate the technique.
🔍 Explore More: See all Wing Chun training guides for Wing Chun dummy for Muay Thai clinch work.
Check out our top-rated Wing Chun training gear & equipment on Amazon