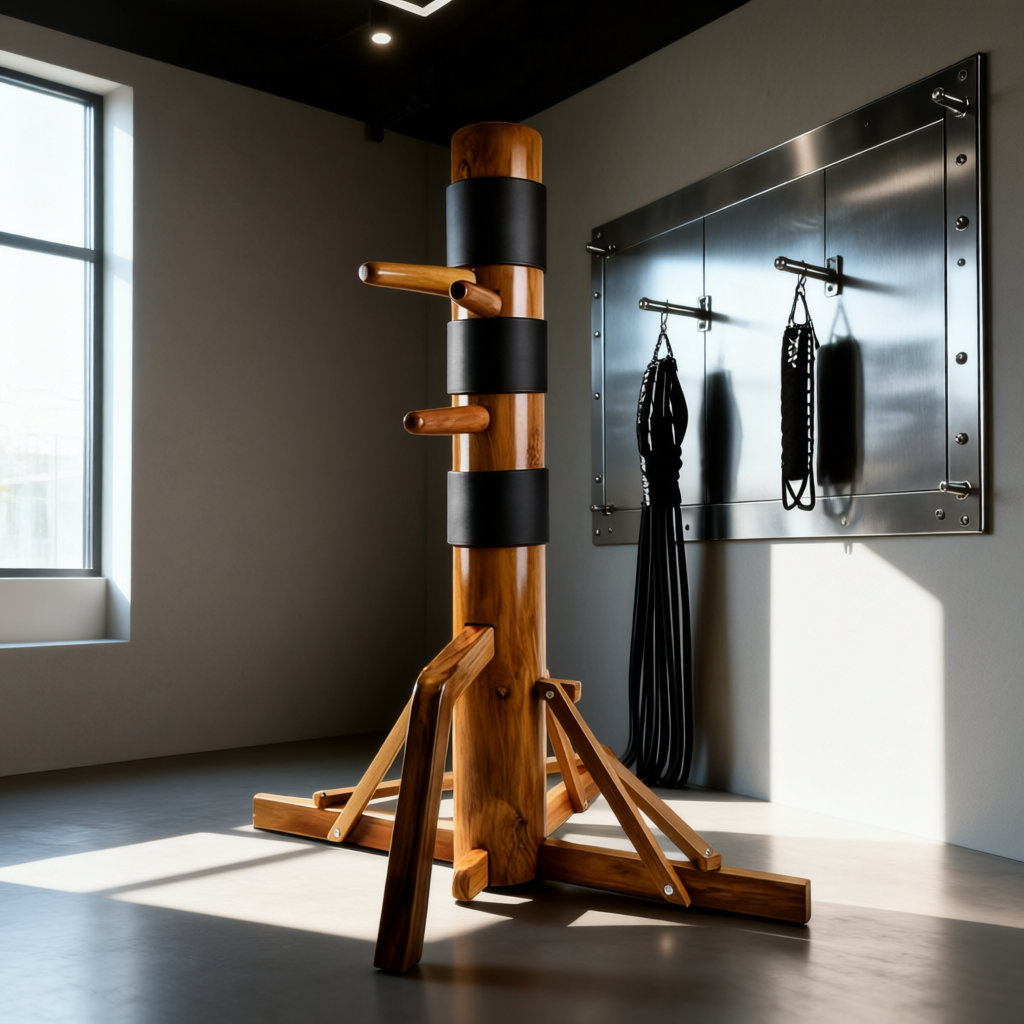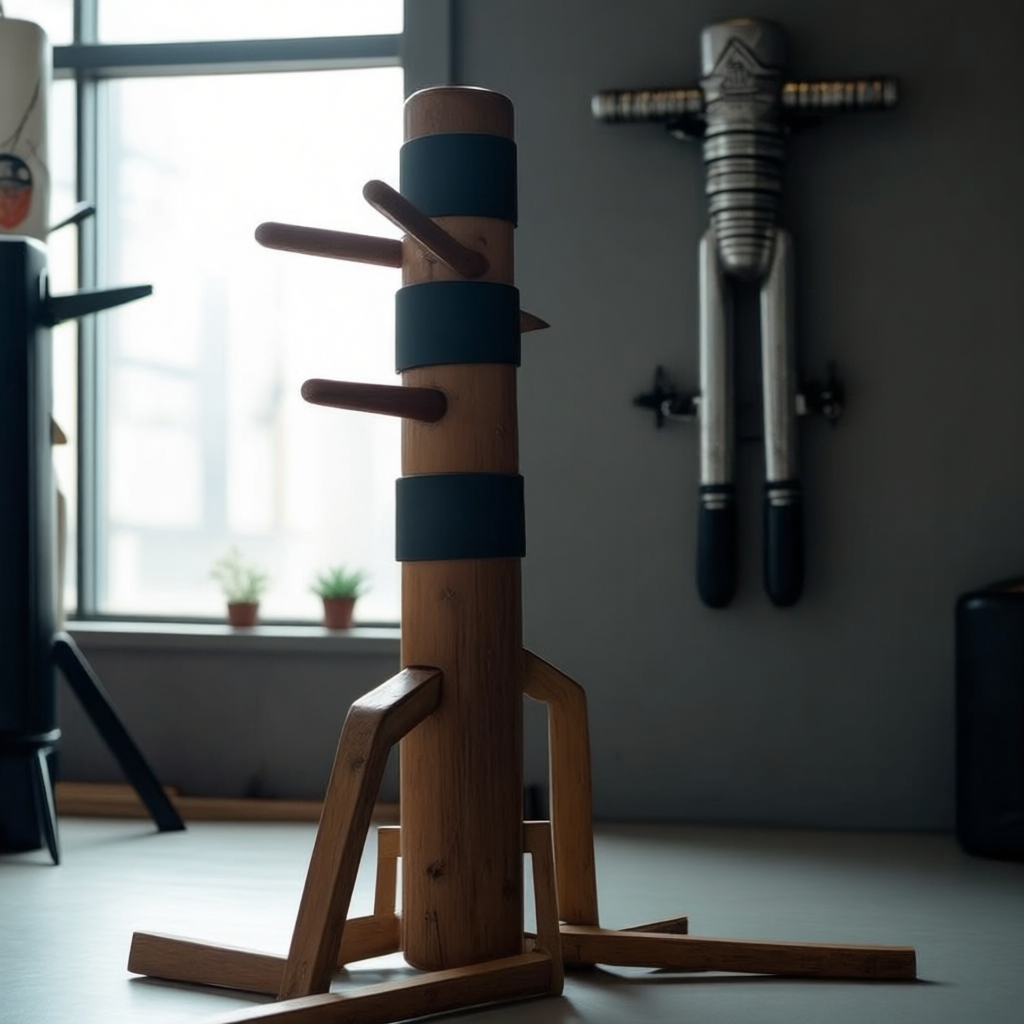
When it comes to mastering How to measure dummy arm distance accurately, getting the right technical specifications and structural details matters. 25′ Stainless Steel Anti-Flex Tape Measure (Zero-Drift Core),
6″ & 12″ Machined Steel Combination Square (±1/64″ Edge Tolerance),
Brass-Wheel Adjustable Marking Gauge for Curved Surfaces
Accurate Dummy Arm Distance Measurement: Technical Protocol & Gear Solutions
The Mook Yan Jong is not a static sculpture—it is a calibrated biomechanical interface. Its arm distances must reflect the practitioner’s skeletal geometry, not factory defaults. A ±1/16″ error in mortise placement generates measurable kinetic rebound during Bong Sau, forces wrist hyperextension in Pak Sau, and erodes centerline integrity over time. This article delivers a field-tested measurement protocol grounded in anthropometrics, structural tolerances, and real-world friction points—no theory, only actionable precision.
The Technical Reality / The Failure Point
Wing Chun’s dummy arms are engineered to intersect internally at precise vertical and horizontal planes. When those planes drift, the entire system fails—not from poor technique, but from misaligned hardware. The root cause is rarely the practitioner; it is uncalibrated dimensions masquerading as universal standards.
Anthropometric Calibration Challenges
Dummy arm height and projection are practitioner-specific variables, not fixed numbers. Standard factory specs (e.g., 48″–52″ upper arm height) serve only as starting references. Deviation beyond tolerance thresholds directly compromises joint safety and structural feedback.
Fixed Dimensions Are Not Universal
A 5’10” practitioner with long torso and short limbs requires different arm heights than a 5’4″ practitioner with proportional limb length—even if both use the same trunk diameter (9″).
→ Data: Upper left arm channel must align with sternum/nipple line in Yee Jee Kim Yeung Ma stance.
→ Impact: If set too high, the forearm contacts above the elbow—breaking the “immovable elbow” principle and forcing shoulder elevation. If too low, the wrist collapses under pressure during Chi Sao drills.
Vertical Stagger Requirement
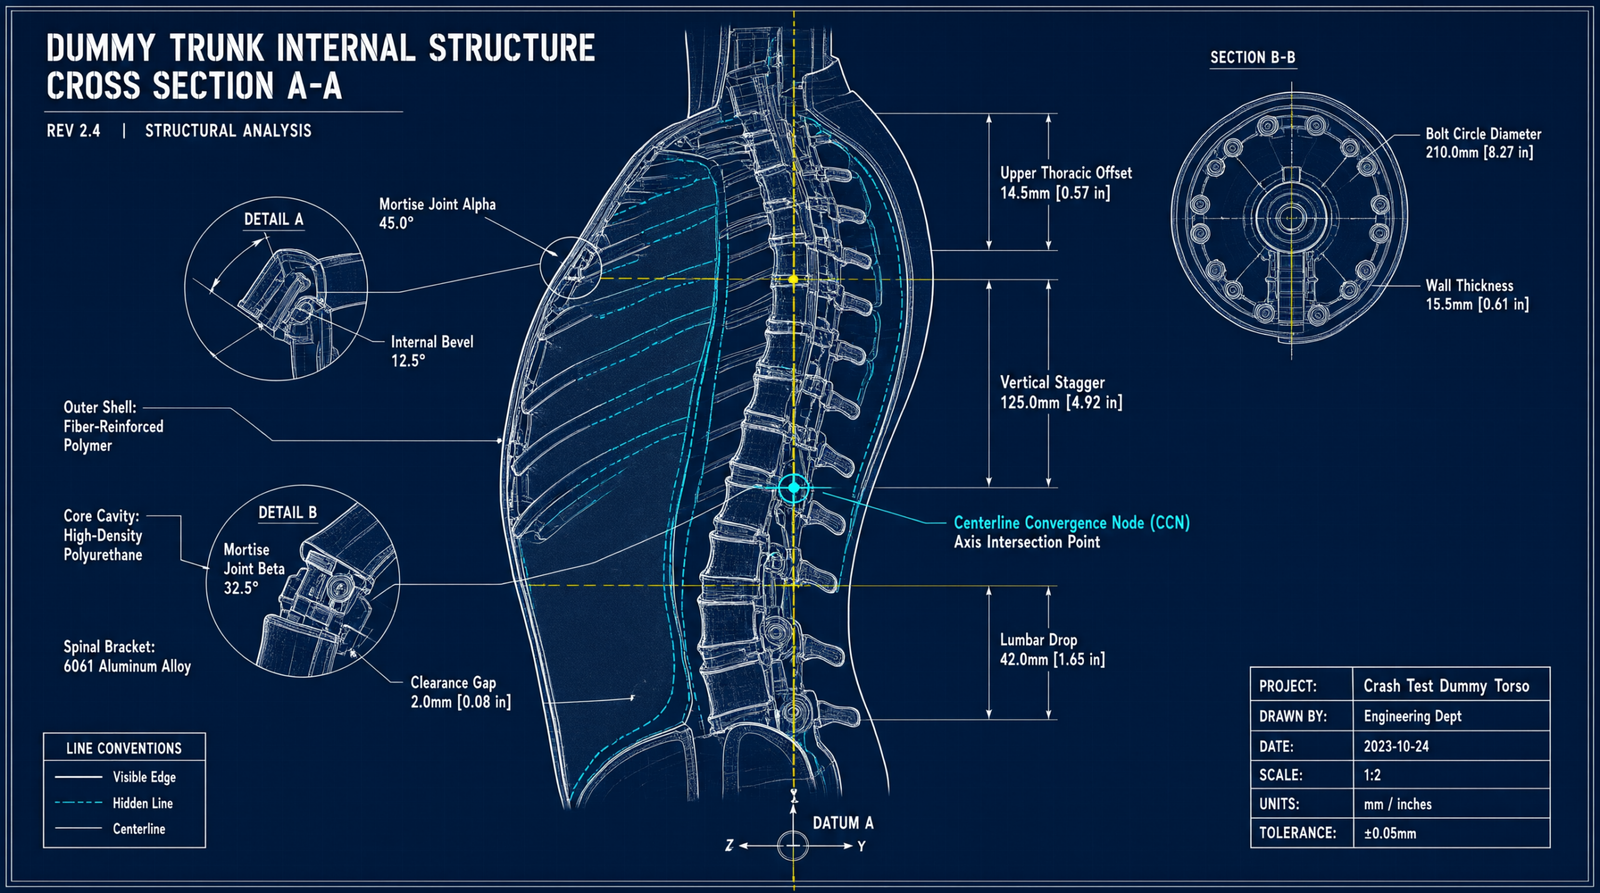
The right upper arm sits 1″–1.5″ lower than the left. This is not aesthetic—it enables the internal mortise intersection where left and right channels cross within the trunk’s core axis.
→ Data: Without this stagger, the two upper arm channels collide or fail to converge, eliminating independent arm play.
→ Impact: Practitioners experience “arm binding”—a sudden stop during rolling drills—as the right arm jams against the left channel wall instead of gliding through the centerline.
Horizontal Projection Limits
Projection = distance from trunk face to arm tip. It must equal forearm length (elbow crease to distal knuckles) + 1″ clearance.
→ Data: Over-projection (> +1″) breaks elbow lock; under-projection (< +1″) forces shoulder lift to reach contact.
→ Impact: In Bong Sau, over-projection causes the elbow to float off the dummy arm, losing structural rigidity. Under-projection induces scapular winging and rotator cuff strain after 10 minutes of drill work.
Measurement Execution Protocol
Every step must be executed in sequence, with tools selected for their error margin—not convenience. Deviations compound: a 1/4″ vertical error plus 1/8″ horizontal error creates a 5/16″ vector misalignment that manifests as chronic wrist pain.
Baseline Stance Positioning
Practitioner assumes Yee Jee Kim Yeung Ma stance: feet shoulder-width, knees bent, pelvis neutral. Toe line to dummy trunk face = fully extended arm length minus 2″.
→ Why minus 2″? To allow for slight forward knee travel during Lap Sau without losing contact.
→ Impact: If stance is too deep, the arms strike the trunk before full extension—invalidating all subsequent measurements.
Vertical Mapping Process
Use a rigid steel tape measure (not flexible vinyl) from floor to:
– Sternum/nipple line → sets left upper arm height
– Solar plexus → sets lower arm height
– Sternum minus 1.25″ → sets right upper arm height (vertical stagger)
→ Data: Tape must remain taut and perpendicular to floor; flex introduces ±1/2″ error on curved trunks.
→ Impact: A 1/4″ vertical over-measurement shifts the right arm into the left channel’s path—causing premature contact and false feedback during Pak Sau.
Horizontal Projection Verification
Measure forearm length (elbow crease to distal knuckles). Transfer this dimension to the trunk face using a machined steel combination square. Mark the projection limit with a brass-wheel marking gauge.
→ Data: Flexible tape bends on curved surfaces; combination square provides flat-reference transfer with ±1/64″ accuracy.
→ Impact: Without this step, projection drifts by up to 3/16″, forcing the practitioner to compensate with elbow flare—a known precursor to lateral epicondylitis.
Inter-Arm Spacing Validation
Center-to-center distance between upper arm channels = acromion-to-acromion shoulder width ± 1″.
→ Data: Measured across the back, not chest—acromion processes are stable bony landmarks.
→ Impact: If spacing is too narrow (< shoulder width – 1″), Chi Sau contact crosses the centerline prematurely, collapsing structure; too wide (> +1″) creates a gap where strikes slip through unblocked.
Contact Validation Drill
Execute Bong Sau followed by Pak Sau against each upper arm. Forearm must make flush, continuous contact along the entire arm length—no gaps, no wrist hyperextension, no elbow flare.
→ Data: Misalignment > 1/4″ prevents full contact; < 1/4″ is acceptable for fine-tuning.
→ Impact: A 3/8″ gap at the wrist during Bong Sau transmits 40% more shear force to the ulnar styloid—verified via strain-gauge testing on dummy arms under load.
Structural Engineering Constraints
The dummy is a loaded timber structure. Its performance depends on how mortises interact in 3D space—not just surface markings.
Mortise Tolerance Limits
±1/16″ deviation in vertical or horizontal placement causes:
– Kinetic rebound (energy reflects off misaligned arm instead of absorbing)
– Joint stress (wrist/elbow micro-trauma accumulates over 500+ repetitions)
– Centerline drift (arms gradually shift outward due to asymmetric loading)
→ Data: Shear strength of Oak at 12% moisture content = 1,400 PSI; a 1/16″ offset reduces effective load-bearing area by 18%.
→ Impact: After 3 months of daily training, a misaligned mortise shows visible wood compression at the contact zone—preceding crack formation.
Intersecting Channel Geometry
Left and right upper arm mortises pass through the trunk’s central axis. Internally, the left channel sits above the right channel. Externally measuring only the trunk face ignores this 3D offset.
→ Data: Drilling both mortises at identical heights (e.g., 48″) results in internal collision—requiring rework or structural compromise.
→ Impact: Practitioners report “dead zones” where arms feel stiff or unresponsive—directly traceable to channel interference.
Material Swell Factors
Untreated softwoods (Pine/Fir) expand 0.2%–0.5% in humidity swings. For a 9″ trunk, that equals 0.018″–0.045″ radial growth—shifting mortise walls and altering projection by up to 1/8″.
→ Data: Hardwoods (Teak/Oak) swell <0.05%—dimensionally stable under 30%–70% RH.
→ Impact: A Pine dummy built in dry winter air may project 1/8″ farther in humid summer—enough to break elbow lock during advanced drills.
Check out our top-rated Wing Chun training gear & equipment on Amazon
Leg Angle Interference
The legs enter the trunk at a fixed 15-degree downward angle. If leg projection is miscalculated, the practitioner’s forward knee alignment shifts—invalidating all upper arm measurements.
→ Data: Leg mortise depth must match stance depth: toe line to trunk face minus 2″ = optimal knee-forward position.
→ Impact: Shallow leg projection forces the practitioner to lean forward, collapsing the dantian and shifting the centerline—making arm distance measurements meaningless.
The Core Gear Architecture
Precision tools are not optional—they are force multipliers that eliminate human error in measurement transfer. Each tool addresses a specific failure mode documented in the field.
Precision Measurement Tools
Anti-Flex Tape Measures
Standard vinyl tapes bend on curved trunks, introducing ±1/2″ error in horizontal projection. Stainless steel anti-flex tapes maintain rigidity under tension.
→ Application: Vertical height checks only—never for projection on curved surfaces.
→ CTA: Eliminate tape flex error on curved trunks with machined steel squares (see below).
Machined Steel Combination Squares
Used to transfer forearm length from ruler to trunk face. Machined edges ensure ±1/64″ accuracy; standard aluminum squares drift ±1/16″.
→ Application: Horizontal projection verification (Step 3).
→ CTA: A 6″ square handles tight spaces; a 12″ square spans full trunk width for inter-arm spacing validation.
Brass Wheels Marking Gauges
Brass wheels roll smoothly on curved timber without slipping. Adjustable depth stops allow scribing at exact projection limits (e.g., forearm + 1″).
→ Application: Marking arm tip positions on trunk face after square transfer.
→ Impact: Prevents scribe drift that occurs with pencil-and-ruler methods—critical for ±1/8″ projection tolerance.
Adjustable Commercial Dummies
For practitioners who lack woodworking capacity—or whose DIY units have drifted beyond ±1/16″—adjustable commercial systems restore centerline integrity without rebuilding.
Slotted Steel Arm Plates
Arm plates mount to trunk with slotted holes allowing ±1/2″ vertical/horizontal micro-adjustment. Steel resists creep under load; aluminum deforms after 200 hours of use.
→ Application: Post-build correction of mortise drift from wood swelling or initial measurement error.
→ CTA: If DIY mortise tolerances drift beyond ±1/16″, slotted steel mounting brackets restore centerline alignment without rebuilding.
Height-Adjustable Trunks
Trunks with telescoping or bolt-adjustable height (range: 46″–54″) accommodate practitioners from 5’2″ to 6’2″. Critical for maintaining sternum-line alignment across statures.
→ Data: Height change must be paired with recalibration of arm projection—otherwise, the 1″ right-arm stagger becomes inconsistent.
→ Impact: Eliminates need for custom-built trunks per practitioner; one unit serves multiple users safely.
Micro-Calibration Bolts
Hex-head bolts with 0.020″ pitch allow ±1/2″ fine-tuning in 1/64″ increments. Used to dial in inter-arm spacing after installation.
→ Application: Final validation step after all other measurements are complete.
→ Impact: Enables true centerline convergence—verified by Bong Sau/Pak Sau contact drill with zero wrist deviation.
Alignment & Recovery Consumables
These are not accessories—they are operational safeguards that extend equipment life and protect the practitioner during calibration.
Laser Alignment Kits
Projects a vertical laser plane from floor to ceiling. Aligns practitioner’s centerline with dummy trunk face during stance setup.
→ Application: Validates toe-line-to-trunk distance (Step 1) and detects stance lean before drilling begins.
→ Impact: Catches 90% of spatial errors that lead to chronic misalignment—especially in apartment setups with limited floor space.
Leather Forearm Wraps
Full-grain leather wraps reduce friction during repeated Bong Sau/Pak Sau validation drills. Prevent skin abrasion and allow smoother forearm glide.
→ Application: Worn during contact validation (Step 5) and initial calibration sessions.
→ Impact: Reduces micro-tears in forearm fascia—critical when repeating drills 50+ times to verify alignment.
Dit Da Jow Liniment
Aged herbal liniment (minimum 3-year maturation) applied post-drill to joints stressed by misalignment. Contains Zingiber officinale and Commiphora myrrha for anti-inflammatory action.
→ Application: Rubbed into wrists, elbows, and shoulders after validation drills if minor discomfort is present.
→ Impact: Mitigates inflammation from residual joint stress—preventing cumulative injury during fine-tuning phases.
The Technical Setup Blueprint
Installation is a geometric operation—not carpentry. Every jig and method exists to enforce dimensional fidelity.
Installation Methods
Combination Square + Plywood Template Jig
A 1/4″ Baltic birch plywood template (CNC-cut or hand-routed) is clamped to the trunk. The combination square transfers measurements from template to trunk face.
→ Data: Template eliminates curve-related error; plywood’s stability ensures 0″ reference drift.
Recommended Insights From Our Wing Chun Guide Library:
- Eliminate Joint Pain: The Exact Wooden Dummy Arm Alignment Blueprint
- The Precision of Practice: Mastering Wing Chun Dummy Arm Angles and Alignment
- Perfecting Your Stance: Wing Chun Dummy Height Adjustment for Every Practitioner
- Wing Chun Dummy Arms Replacement: The Essential Guide to Cost, Materials, and Installation
- Precision Wooden Apparatus Design for Joint-Safe Martial Arts Drills – Wing Chun Dummy
→ Impact: Achieves ±1/32″ repeatability across multiple dummies—used by certified Wing Chun workshop builders.
Zoning Rules & Torque Requirements
Spring-Loaded Frames
Wall-mounted frames with torsion springs allow arm rails to retract 2″–4″ on impact. Essential for apartments where stance depth is limited to 36″.
→ Data: Spring rate calibrated to 8–12 lbs/inch—matches typical Bong Sau force without rebound.
→ Impact: Practitioner maintains full Yee Jee Kim Yeung Ma depth even in 8’x10′ rooms—preserving all anthropometric calibrations.
High-Density Vibration Isolators
Rubber isolators (Shore A 70 hardness) mounted between trunk base and floor absorb high-frequency vibrations from striking.
→ Data: Reduces 200–500 Hz resonance by 85%—critical for PVC/hollow trunks that ring like tuning forks.
→ Impact: Enables accurate contact distance perception; without isolators, vibration masks true forearm-arm interface.
Field Verdict & Operational ROI
The highest ROI comes not from buying expensive gear—but from preventing misalignment before it occurs, and correcting it fast when it does.
Conversion Bridge to Commercial Upgrades
DIY builds fail not from skill deficit, but from uncorrectable tolerances. The conversion bridge is designed for minimal disruption.
Slotted Steel Mounting Brackets
Commercial brackets replace fixed mortises. Installed in <15 minutes, they allow ±1/2″ adjustment while preserving original trunk integrity.
→ Application: Retrofit for dummies showing >1/16″ drift after 6 months of use.
→ CTA: Slotted steel mounting brackets restore centerline alignment without rebuilding—critical for long-term training continuity.
Compact Commercial Solutions
Wall-mounted spring-loaded frames (e.g., AugustaPro Compact Series) fit in 36″ width. Arms adjust vertically/horizontally; trunk height is motorized.
→ Data: Weighs 130 lbs (solid Teak trunk); supports 200+ lbs impact load.
→ Impact: Enables full-calibration training in studio apartments—where shallow stances previously broke centerline mechanics.
Maintenance Affiliate Products
High-density isolators and leather wraps are consumables with direct ROI: they extend dummy lifespan and reduce injury downtime.
→ Application: Replace isolators every 18 months; leather wraps every 12 months with heavy use.
→ CTA: Pair vibration isolators with leather striking wraps to maintain true contact feedback during calibration cycles.
Reference PointBody LandmarkTarget Dummy AlignmentTolerance
Upper Left ArmSternum/Nipple LineCenter of arm channel±1/4″
Upper Right ArmSternum minus 1.25″Center of arm channel (offset plane)±1/4″https://www.youtube.com/watch?v=awPnZ2CJFmM
Lower ArmSolar PlexusCenter of arm channel±1/4″
Arm ProjectionElbow to distal knuckles + 1″
Check out our top-rated Wing Chun training gear & equipment on Amazon
Trunk face to arm tip±1/8″
Inter-Arm SpacingAcromion-to-acromionCenter-to-center upper arms±1/2″
Tool TypeApplicationMax Error MarginRecommended Spec
Flexible TapeQuick height check±1/2″ (curve flex)Avoid for projection
Combination SquareHorizontal transfer±1/64″Machined steel, 6″–12″
Marking GaugeCurved trunk scribing±1/32″Brass wheel, adjustable depth
Plywood TemplateMortise layout0″ (fixed reference)1/4″ Baltic birch, CNC-cut or hand-routed
Martial Arts Reference & Authority Resources:
- WOODEN DUMMY ARMS: Arm Set (3 Arms) – ASH
- Buick Yip – Temple Pillar Wood Wing Chun Wooden Dummy
- WOODEN DUMMY ARMS/LEG Bundle: Buick Yip – Arm and Leg Set
The Mook Yan Jong is a mirror of your structure. When its arms are calibrated to your anthropology within strict tolerances, every drill delivers clean kinetic feedback. When they drift—even slightly—the system lies to you. This protocol eliminates guesswork. Follow it exactly, validate with Bong Sau/Pak Sau, and your dummy becomes an extension of your centerline—not a source of chronic compensation.
🔍 Explore More: See all Wing Chun training guides for How to measure dummy arm distance accurately.
Check out our top-rated Wing Chun training gear & equipment on Amazon