

Wing Chun is a traditional Chinese martial art that emphasizes close-range combat and practical self-defense techniques.
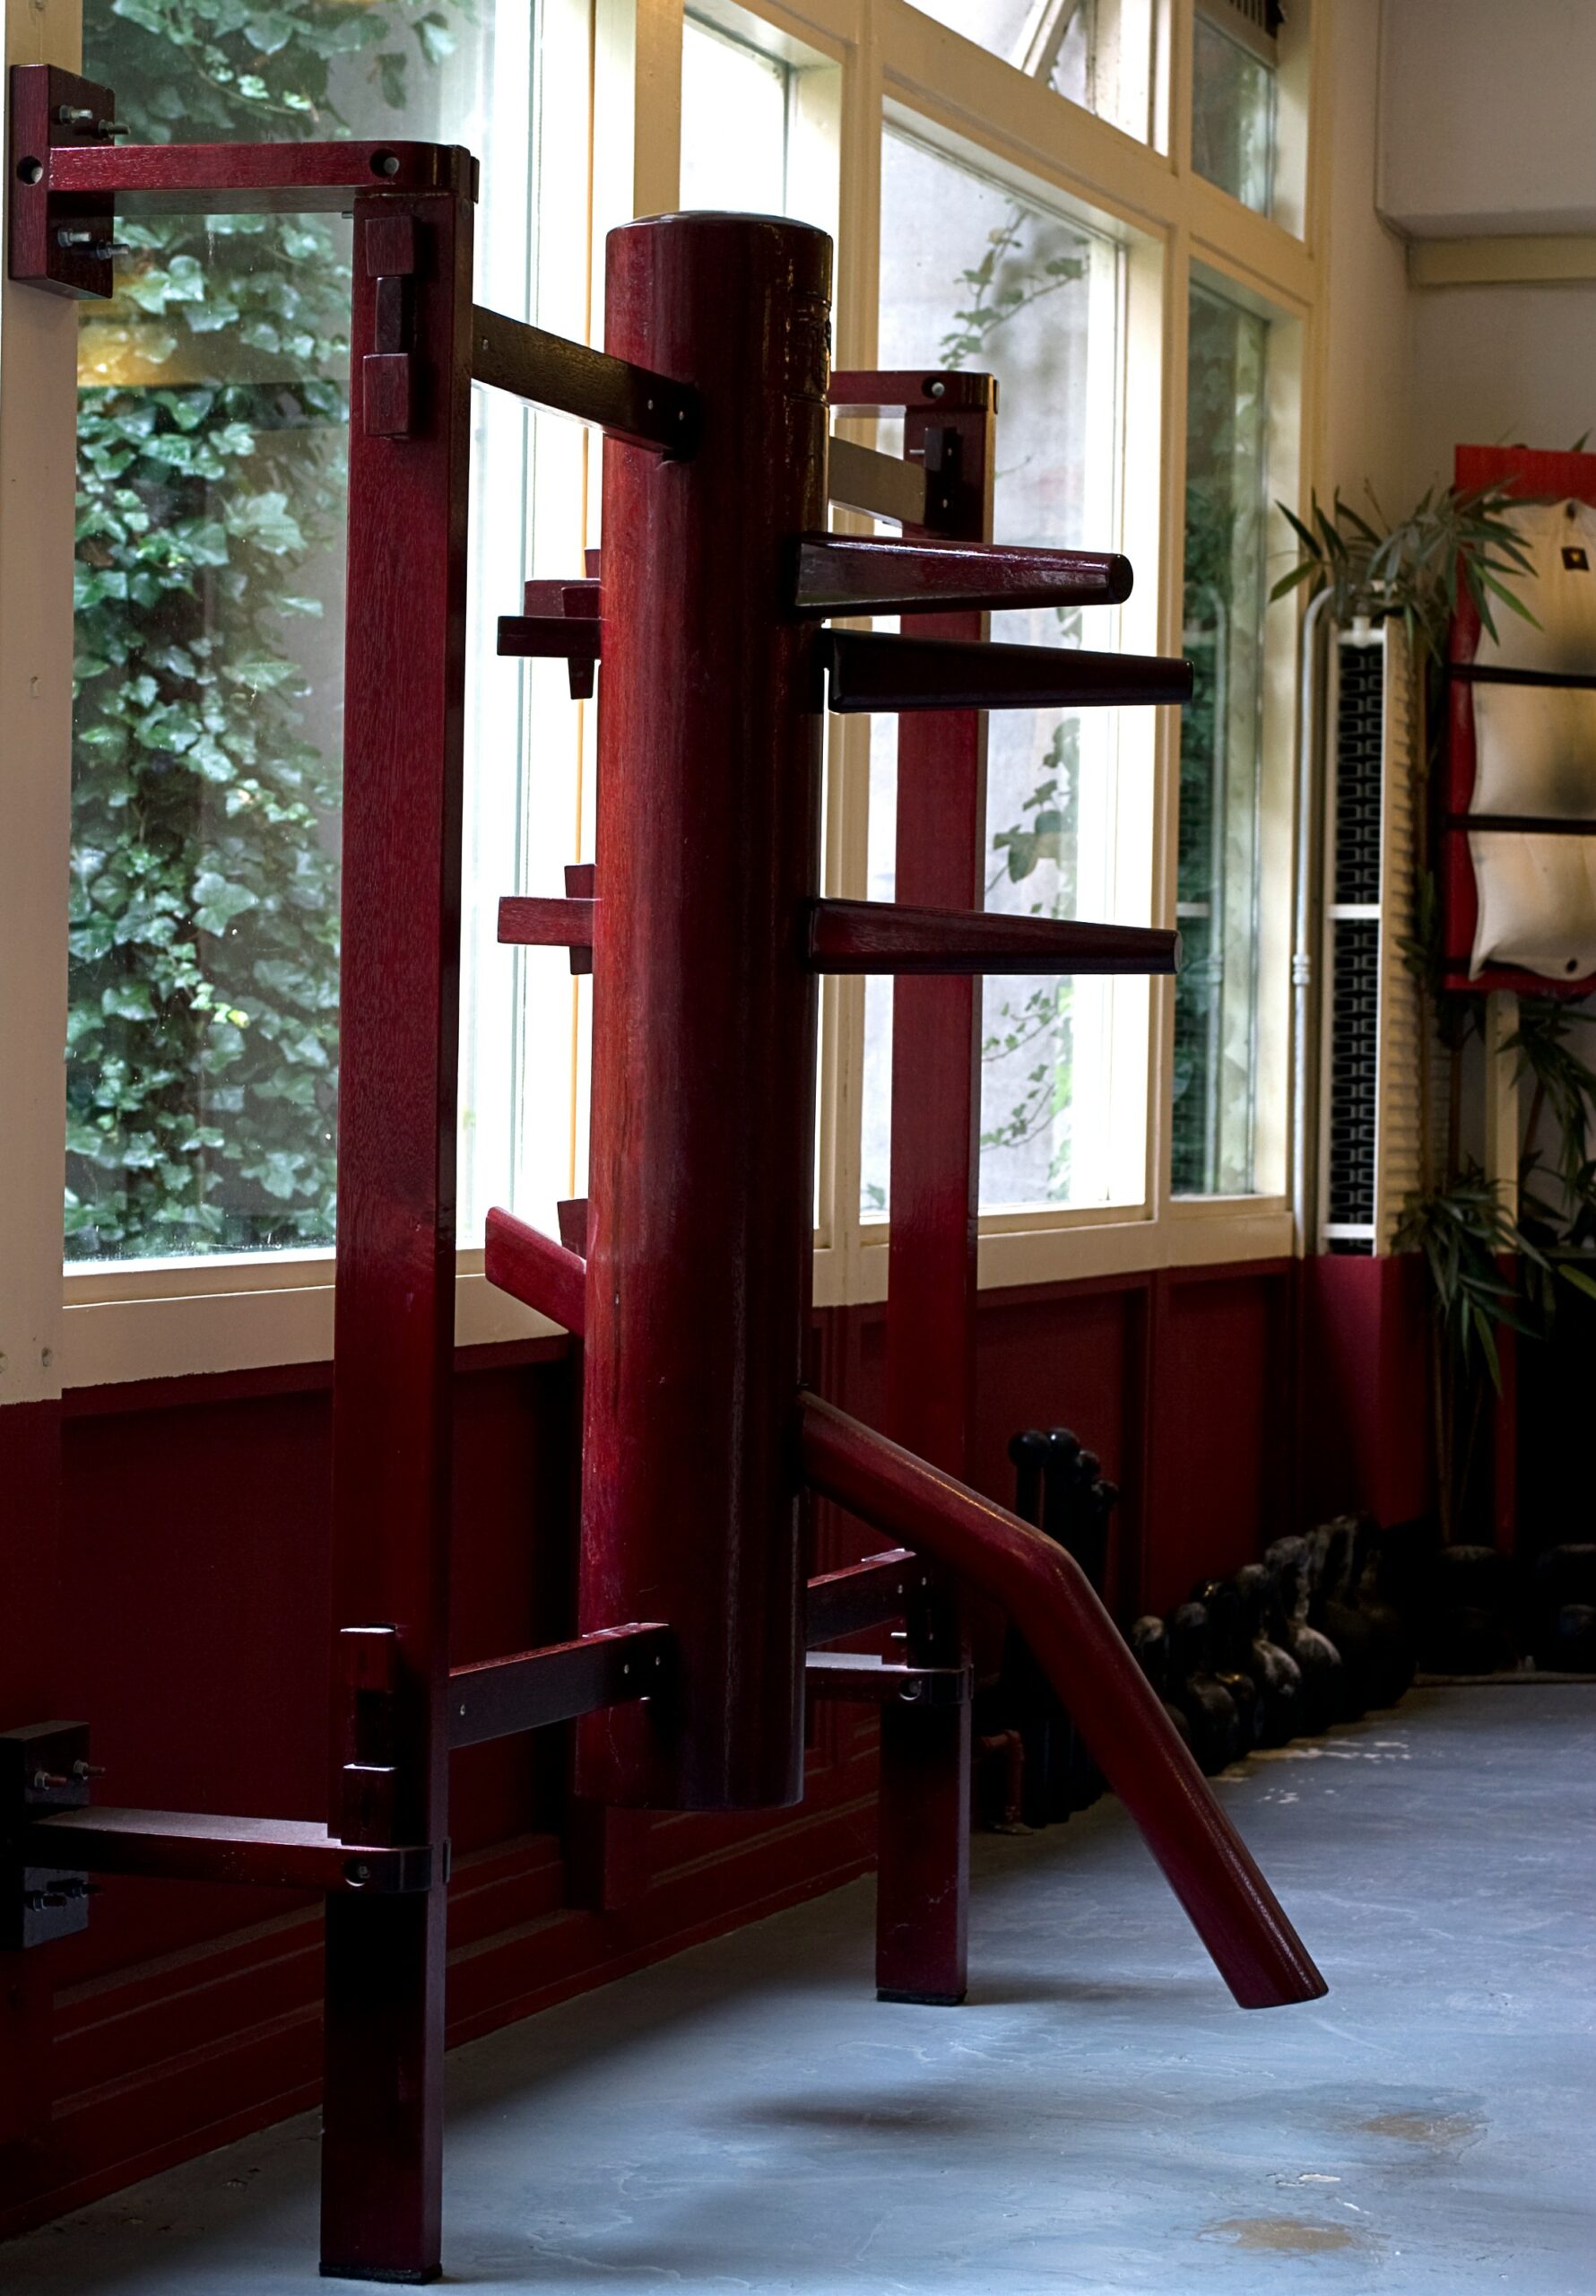
One of the key training tools used in Wing Chun is the wooden dummy.
also known as the Wing Chun dummy or the Muk Yan Jong.
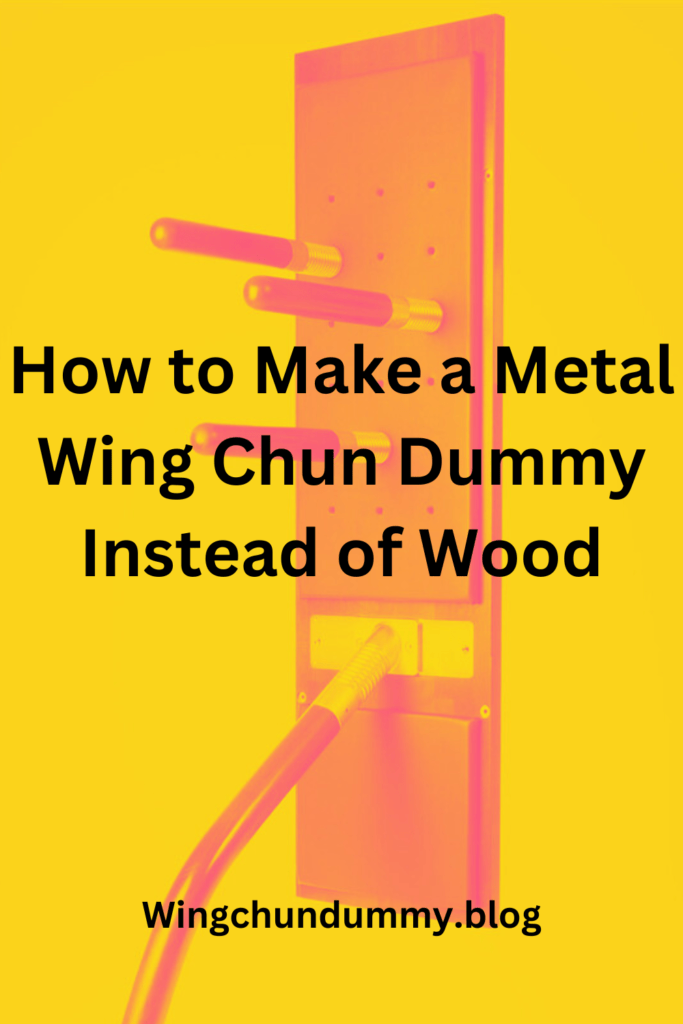
While the wooden dummy is the most common type, some practitioners prefer a metal version for its durability and unique training benefits.
we will explore how to make a metal Wing Chun dummy instead of wood.
Benefits of a Metal Wing Chun Dummy
Before we dive into the process of making a metal Wing Chun dummy, let’s first understand the benefits it offers:
- Durability: Unlike wood, metal is highly resistant to wear and tear, making it a long-lasting training tool.
- Realistic Feedback: The solid and unyielding nature of metal provides a more realistic feel when striking, allowing practitioners to develop their techniques with precision.
- Variability: Metal dummies can be customized with adjustable arms and legs, enabling practitioners to train for different body types and techniques.
- Portability: Metal dummies are often lighter than their wooden counterparts, making them easier to transport and set up.
Materials and Tools Needed
To make a metal Wing Chun dummy, you will need the following materials and tools:
Materials:
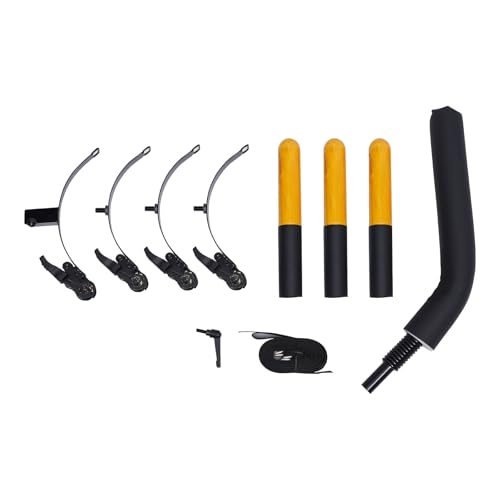
- Metal pipes (for the body and arms)
- Metal plates (for the base and leg supports)
- Bolts and nuts
- Padding material (foam or rubber)
- Adhesive
Tools:
- Measuring tape
- Hacksaw or angle grinder
- Drill
- Wrench
- Screwdriver
Step-by-Step Guide
Follow these steps to make your own.
Step 1: Design and Measurements
Decide on the dimensions and design of your metal dummy.
Measure and mark the lengths of the body and arms on the metal pipes.
Step 2: Cutting and Shaping
Using a hacksaw or angle grinder, carefully cut the metal pipes according to the measurements.
Smooth any rough edges with a file or sandpaper.
Step 3: Assembly
Attach the arms to the body using bolts and nuts.
Ensure they are securely fastened.
Attach the body to the base using metal plates and bolts.
Step 4: Padding
Wrap the metal pipes with padding material such as foam or rubber.
Use adhesive to secure the padding in place.
This will prevent injuries and provide a more comfortable training experience.
Step 5: Finishing Touches
Inspect the dummy for any sharp edges or loose parts.
File or sand down any rough edges and tighten any loose bolts or nuts.
Conclusion
While the wooden Wing Chun dummy is the traditional choice, a metal version offers its own set of advantages.
By following the steps outlined in this article, you can create your own metal Wing Chun dummy that is durable, adjustable, and provides realistic feedback.
Remember to prioritize safety during the construction process and regularly inspect the dummy for any maintenance needs.
Happy training!