
Wing Chun dummies, known as Muk Yan Jong in Cantonese, are an integral part of Wing Chun martial arts training.
These traditional wooden structures are designed to simulate an opponent, providing practitioners with a stationary target to practice strikes, blocks, and various techniques.
The historical significance of Wing Chun dummies dates back to the Shaolin Monastery, where they were used to enhance the agility, precision, and power of monks’ martial arts skills.
Over time, the wooden dummy has become a symbol of dedication and discipline within the Wing Chun community.
While the wooden dummy remains the gold standard for training, creating a DIY Wing Chun dummy from clothes offers a range of advantages, making martial arts training more accessible.
For many enthusiasts, the cost of a wooden dummy can be prohibitive, as these intricate pieces often require skilled craftsmanship and high-quality materials.
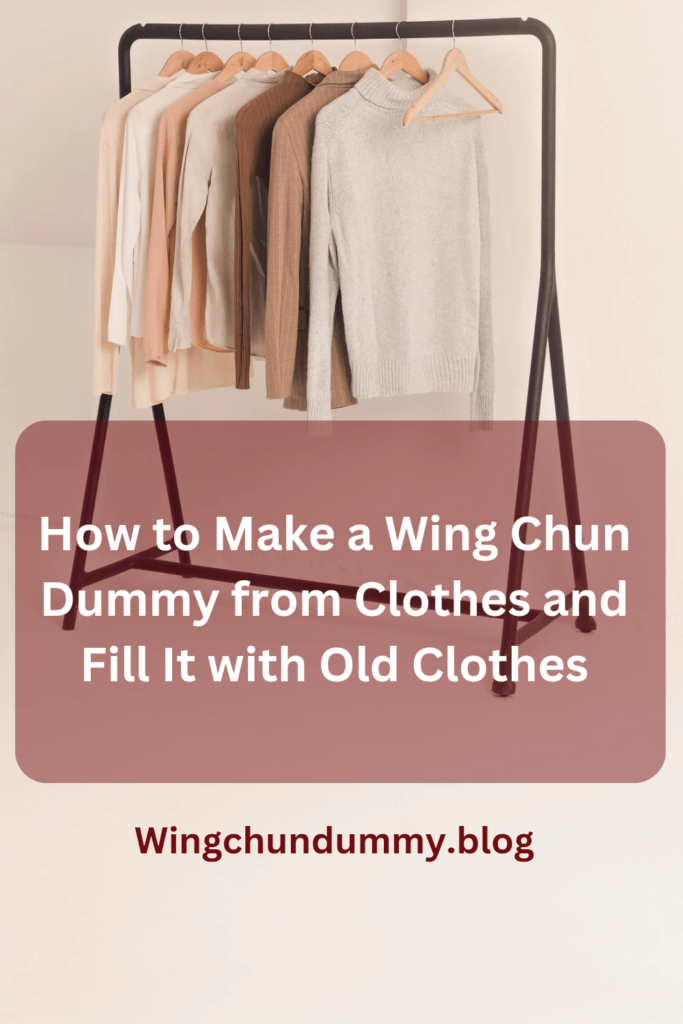
A DIY version, on the other hand, can be made from readily available and inexpensive materials, such as old clothes, making it a cost-effective alternative.
In addition to being budget-friendly, a DIY Wing Chun dummy made from clothes can be tailored to individual training needs.
By adjusting the size, shape, and density of the dummy, practitioners can create a customized training tool that meets their specific requirements.
This flexibility ensures that even those with limited space or resources can still benefit from regular Wing Chun practice.
Moreover, constructing a Wing Chun dummy from clothes not only repurposes old garments but also promotes sustainability by reducing waste.
This eco-friendly approach aligns with the values of mindfulness and resourcefulness often emphasized in martial arts.
By choosing to make a Wing Chun dummy at home, individuals can enjoy the benefits of traditional training methods while fostering creativity and environmental consciousness.
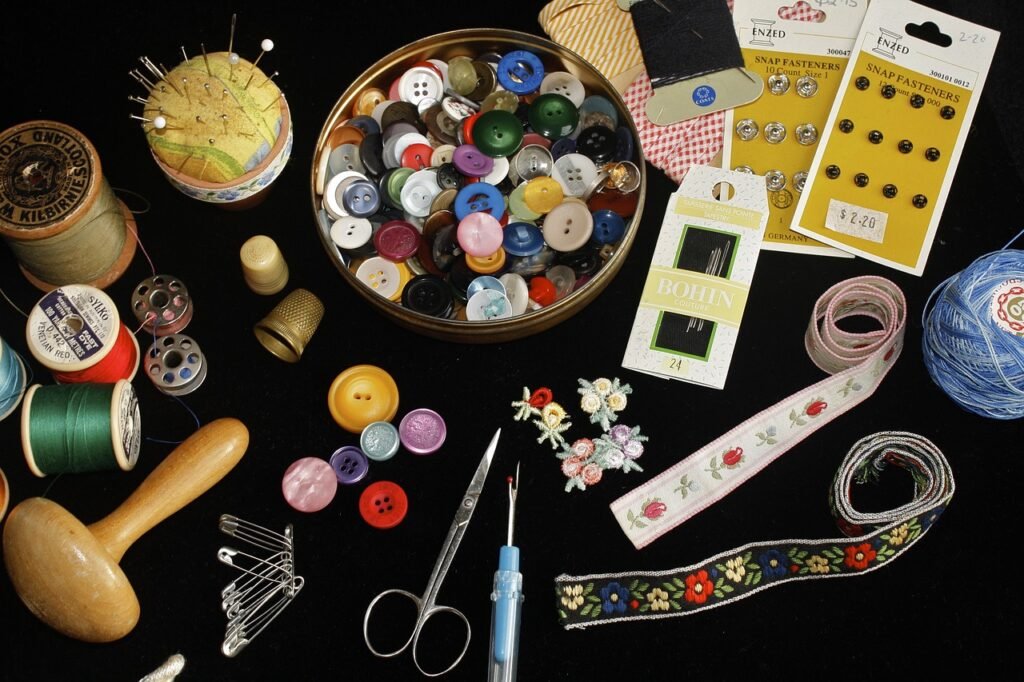
Materials Needed for Your DIY Wing Chun Dummy
Creating a Wing Chun dummy from clothes is a resourceful and sustainable way to repurpose old garments while crafting a functional training tool.
To ensure your Wing Chun dummy is durable and effective, you will need a specific set of materials.
Below is a detailed list of items required, along with explanations for their selection and potential alternatives.
First and foremost, gather old clothes. These will serve as the primary filling material for your dummy.
Opt for garments made of dense fabrics like denim, flannel, or heavy cotton, as they provide a more substantial fill and better mimic the resistance needed for effective Wing Chun practice.
Avoid using lightweight materials like silk or thin polyester
, as they may not offer the necessary firmness.
Next, a strong fabric such as denim or canvas is essential for the outer layer of the dummy.
These fabrics are chosen for their durability and ability to withstand repeated strikes.
Canvas, in particular, is an excellent choice due to its rugged texture and high tensile strength.
If you cannot find denim or canvas, heavy-duty upholstery fabric can serve as a viable alternative.
For binding the dummy, you will need rope or strong thread.
Nylon rope is highly recommended due to its strength and slight elasticity, which helps maintain the dummy’s shape.
If nylon rope is not available, consider using polyester or polypropylene rope.
Strong thread like upholstery thread or waxed thread is crucial for stitching the outer fabric securely.
Lastly, you will require basic tools such as scissors and a sewing needle.
Scissors should be sharp enough to cut through thick fabric without fraying the edges, ensuring clean cuts for better sewing.
A heavy-duty sewing needle is necessary to penetrate the dense outer fabric and layers of clothing inside.
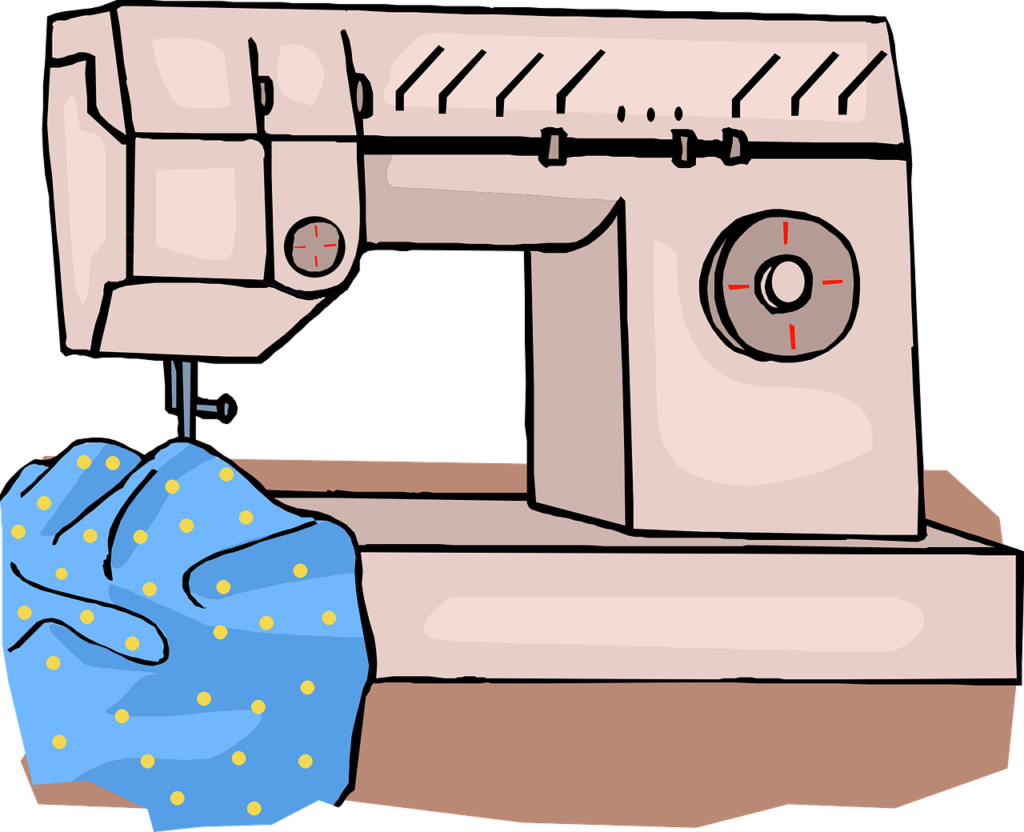
If you have access to a sewing machine, it can expedite the process and provide stronger, more uniform stitches.
By assembling these materials, you will be well-equipped to create a robust and effective Wing Chun dummy, tailored to your training needs.
Designing Your Wing Chun Dummy
Designing your Wing Chun dummy is a crucial step that sets the foundation for an effective training tool.
The goal is to mimic the traditional wooden dummy as closely as possible, ensuring that the structure supports the development of proper technique and form.
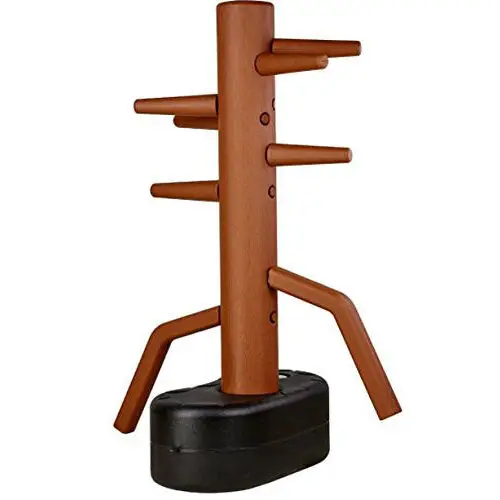
Start by understanding the dimensions and overall structure of a traditional Wing Chun dummy.
Typically, a Wing Chun dummy stands about 5 to 6 feet tall, with a central body diameter ranging from 8 to 12 inches.
The dummy features three arms and one leg, positioned at strategic points to simulate an opponent’s limbs.
To begin, sketch a basic design on paper, delineating the central body and the placement of the arms and leg.
The top two arms should be placed at shoulder height, spaced about 8 to 10 inches apart horizontally.
The third arm should be positioned slightly below the top two, representing an opponent’s midsection.
The leg should be attached at the bottom, angled outward to mimic a real-life stance.
Stability and durability are paramount in the design of your Wing Chun dummy.
Given that the dummy will endure significant impact and pressure during training sessions, ensure that the central body is robust.
Using old clothes as the primary material, tightly pack and reinforce the central body to maintain a firm structure.
Consider adding a sturdy base to prevent the dummy from toppling over during use.
Securing the dummy against a wall or a stable support can also enhance its stability.
Attention to detail in this planning phase will significantly influence the effectiveness and longevity of your Wing Chun dummy.
By carefully sketching and structuring your dummy, you can create a reliable training partner that closely emulates the traditional wooden dummy’s functionality, aiding in the refinement of your Wing Chun techniques.
Constructing the Body of the Dummy

Creating the main body of your Wing Chun dummy involves a meticulous process of cutting, stitching, and forming a cylindrical shape using old clothes.
This section will guide you through the steps necessary to construct a sturdy and durable dummy body.
First, gather a sufficient amount of old clothes.
Ensure they are clean and free from any heavy embellishments, as these could affect the final shape and weight of the dummy.
Begin by laying out the clothes flat and cutting them into rectangular pieces.
The dimensions can vary based on the desired size of your dummy, but a general guideline is to have pieces measuring approximately 30 inches by 20 inches.
Once you have your fabric pieces, arrange them in a stack and begin stitching them together along the longer sides.
Use a strong, durable thread, and double-stitch the seams for added strength.
This will form the basic cylindrical shape of the dummy’s body.
To ensure a symmetrical shape, it is essential to maintain consistent seam allowances throughout the stitching process.
Next, turn the stitched fabric inside out, so the seams are on the inside.
This will give a cleaner look to the finished dummy.
Now, it is time to reinforce weak points.

Identify the areas around the seams and any points where the fabric might stretch or tear.
Using additional fabric strips, create reinforcing patches by stitching them over these vulnerable areas.
This step is crucial as it contributes significantly to the durability and longevity of the dummy.
After reinforcing, check the overall structure for any loose threads or gaps in the stitching.
Address these immediately to avoid future issues.
The cylindrical fabric body is now ready to be stuffed, forming the core of your Wing Chun dummy.
This preparation ensures that the body is robust enough to withstand rigorous training sessions, providing an effective and reliable practice tool.
Creating and Attaching the Arms and Legs
The process of crafting the arms and legs for your Wing Chun dummy involves a creative yet practical approach, utilizing rolled-up clothes or fabric.
To begin, gather a selection of old clothes, preferably durable materials such as denim or thick cotton, to ensure the appendages can endure training impacts.
To create an arm or leg, lay out a piece of clothing or fabric flat.
Starting from one end, tightly roll the fabric until it forms a cylinder.
The diameter should be sufficient to mimic the size of an arm or leg for effective training.
Secure the roll at intervals using strong adhesive tape or stitching to prevent it from unrolling during use.
Repeat this process to create four appendages: two arms and two legs.
Next, consider the attachment methods to connect these appendages to the main body of the dummy.
One effective method is sewing.
Begin by positioning the rolled fabric arms and legs on the torso of the dummy.
Use a heavy-duty needle and strong thread, such as upholstery thread, to stitch the appendages securely to the body.
Ensure that the stitches are tight and evenly spaced to provide a robust hold.
Double-stitching the attachment points can offer additional strength.
Alternatively, strong adhesive can be employed for attachment.
Industrial-strength fabric glue or a hot glue gun can provide the necessary adhesion.
Apply a generous amount of adhesive to the ends of the rolled fabric and press firmly onto the torso.
Hold in place until the glue sets completely.
This method is quicker than sewing but requires ensuring that the adhesive is fully cured before subjecting the dummy to training.
Regardless of the attachment method chosen, it is crucial to periodically check the stability of the appendages.
Regular inspection and re-securing, if necessary, will maintain the durability and functionality of your Wing Chun dummy, ensuring it withstands the rigors of consistent training practices.
Filling the Dummy with Old Clothes
Once you have constructed the frame of your Wing Chun dummy, the next step is to properly fill it with old clothes.
This process is crucial for ensuring that the dummy maintains a consistent shape and provides the right balance of firmness and flexibility for effective training.
Begin by collecting a variety of old clothes, such as t-shirts, jeans, and sweaters.
Make sure the clothes are clean and free of any sharp objects like buttons or zippers that might damage the outer material of the dummy.
Start stuffing the dummy from the bottom up.
This method helps in evenly distributing the filling and maintaining the dummy’s shape.
As you add the clothes, periodically stop to press down the contents.
This compression is essential for creating a solid training surface.
Aim for a firm but slightly flexible consistency; the dummy should provide resistance but also give a bit under pressure.
This balance is key to mimicking the human body, offering a realistic training experience.
To ensure an even distribution, use smaller pieces of clothing for areas that need more precision, like the arms and legs.
Larger garments can be used for the core sections.
If you find any areas too loose or too tight, adjust by adding or removing clothes as needed.
Consistency in stuffing will prevent the dummy from becoming misshapen over time.
As you continue to use the Wing Chun dummy, the filling will naturally compress.
To maintain its shape and effectiveness, periodically add more old clothes.
Check for any areas that have become softer and reinforce them by pushing more material into these spots.
Regular maintenance will ensure that your dummy remains a reliable training tool for years to come.
Finishing Touches and Enhancements
Once the Wing Chun dummy is adequately filled with old clothes, it is crucial to securely close off all openings to maintain its structure and durability.
Begin by ensuring that the stuffing is evenly distributed and firm.
Use strong thread and a needle to sew the openings shut.
Double-stitching is recommended to reinforce the seams and prevent any tearing or spilling of the filler material during intensive training sessions.
For a smoother finish, consider adding a fabric cover to the dummy.
This cover can be made from durable materials such as canvas or heavy-duty cotton.
which offer both resilience and a more polished appearance.
Tailor the fabric to fit snugly around the dummy and sew it on securely.
This additional layer not only enhances the aesthetic appeal but also provides extra protection against wear and tear.
To further enhance the durability of the Wing Chun dummy, reinforce high-impact areas with additional stitching or padding.
These areas typically include the torso, arms, and legs, which endure significant force during practice.
Use sturdy fabric patches and apply extra layers of stitching around these sections to prolong the lifespan of the dummy.
Alternatively, added padding can be employed to absorb impacts and reduce stress on the material.
For those seeking greater stability, adding a base is a viable option.
A weighted base can prevent the dummy from tipping over during vigorous training.
Construct the base from heavy materials such as wood or metal, and attach it securely to the bottom of the dummy.

If portability is a concern, consider adding wheels to the base for easy movement.
Creating a stand to elevate the dummy is another enhancement worth considering.
A stand not only improves accessibility but also allows for a more realistic simulation of training scenarios.
Construct the stand from robust materials, ensuring it is stable and can support the weight of the dummy.
Adjustable stands offer the added benefit of altering the dummy’s height to suit different training needs.
Using and Maintaining Your Wing Chun Dummy
Using a Wing Chun dummy effectively requires understanding its role in your training routine.
The DIY Wing Chun dummy you’ve created from clothes can be a valuable tool for practicing various techniques and enhancing your martial arts skills.
Begin by familiarizing yourself with basic Wing Chun movements, such as the Pak Sau (slapping hand), Tan Sau (palm up hand), and Bong Sau (wing arm).
These foundational techniques can be practiced repeatedly on the dummy to develop muscle memory and precision.
To maximize the benefits of your training, incorporate drills that simulate real-life combat scenarios.
Techniques like chain punches, low kicks, and elbow strikes can be seamlessly integrated into your practice sessions.
It’s essential to maintain proper form and posture during these exercises to ensure you are building the correct habits and techniques.
Combining these movements into fluid sequences will help you develop the coordination and reflexes necessary for effective self-defense.
Regular maintenance of your Wing Chun dummy is crucial to ensure it remains a reliable training partner.
Periodically check the dummy for any signs of wear and tear, especially in high-impact areas.
If you notice any damage, make the necessary repairs promptly to prevent further deterioration.
Additionally, ensure that the filling remains evenly distributed.
Over time, the old clothes inside may shift, causing uneven surfaces that could affect your training.
Simply readjust the filling as needed to maintain the dummy’s shape and functionality.
Consistent practice with your Wing Chun dummy offers numerous benefits, including improved technique, enhanced strength, and increased endurance.
By dedicating time to regular training and proper maintenance of your dummy, you can make significant progress in your Wing Chun journey.
Remember, the key to mastery lies in persistence and attention to detail, both in your practice and in the upkeep of your training tools.