When it comes to mastering Conditioning for wrestling using a wooden post, getting the right technical specifications and structural details matters. AugustaPro Iron Body Mook Yan Jong (Teak, Wall-Mounted),
Dit Da Jow Liniment – Aged Formula (16 oz, Traditional Herbal Blend),
Heavy-Duty Wall-Mount Brackets for Wooden Dummy (Steel, 300 lb Load Rating)
You’ve drilled collar ties against a heavy bag—only to watch it swing away the moment you drive your weight forward. You’ve tried freestanding steel frames, but when you pull laterally for an underhook, the whole unit wobbles like a loose fence post. That’s not wrestling. That’s chasing momentum.
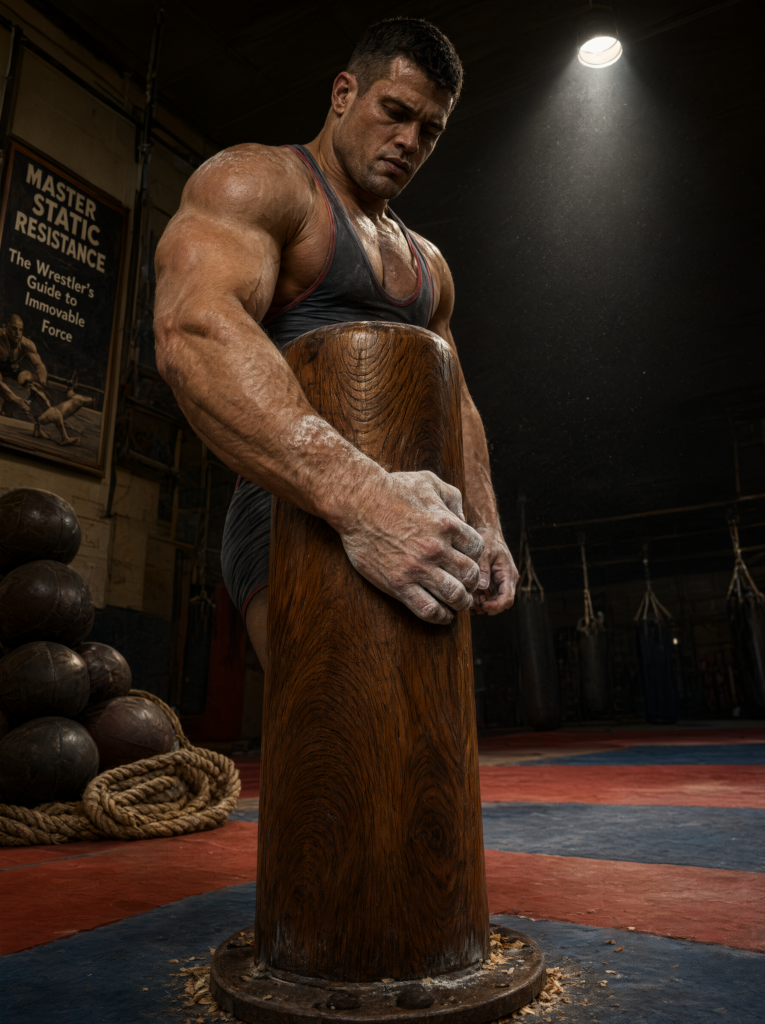
The truth is brutal: wrestling demands static resistance. To build true clinch dominance—where your posture holds firm under 130–200 lbs of inertial load—you need a fixed point that does not move. Not a bag. Not a hollow pipe. A solid, rooted wooden structure engineered to absorb force, not deflect it.
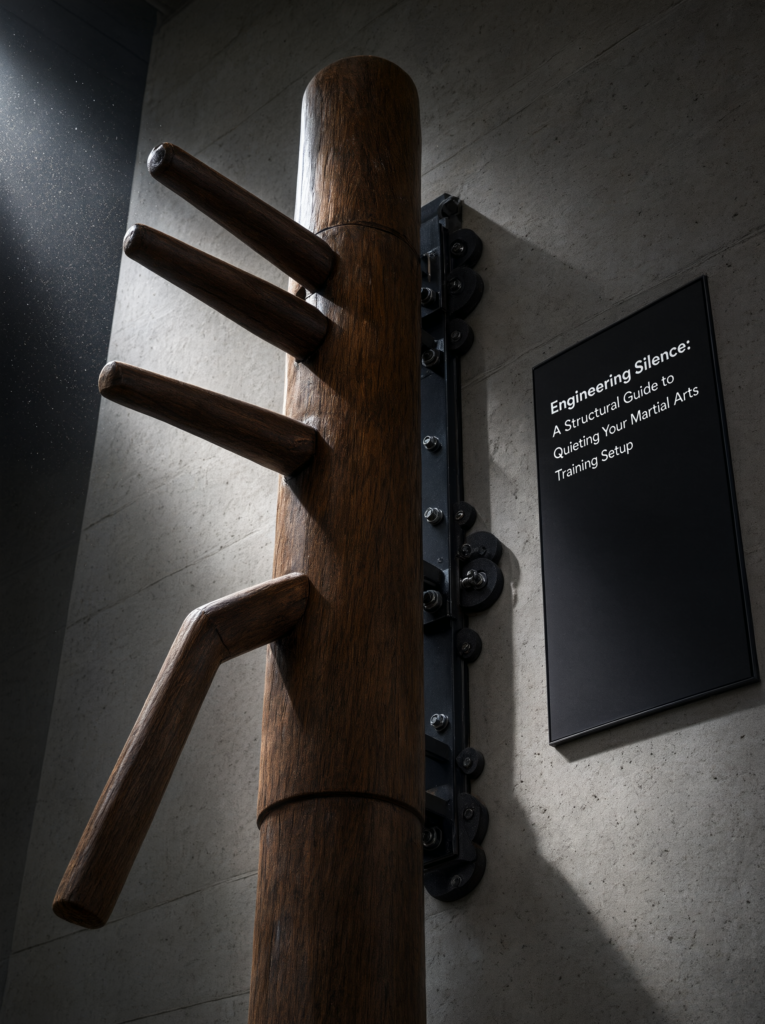
This isn’t about striking. It’s about structural integrity: how your skeleton, fascia, and connective tissue adapt when driven into immovable mass. And the only tool built for this job—by centuries of Wing Chun masters—is the Mook Yan Jong: the wooden dummy. Today, we reframe it not as a striking apparatus, but as the ultimate Static Clinch Simulator—and show you exactly how to use it safely, effectively, and with surgical biomechanical precision.
The Kinetic Failure of Swinging Bags vs. The Physics of Static Resistance
The Momentum Cheat
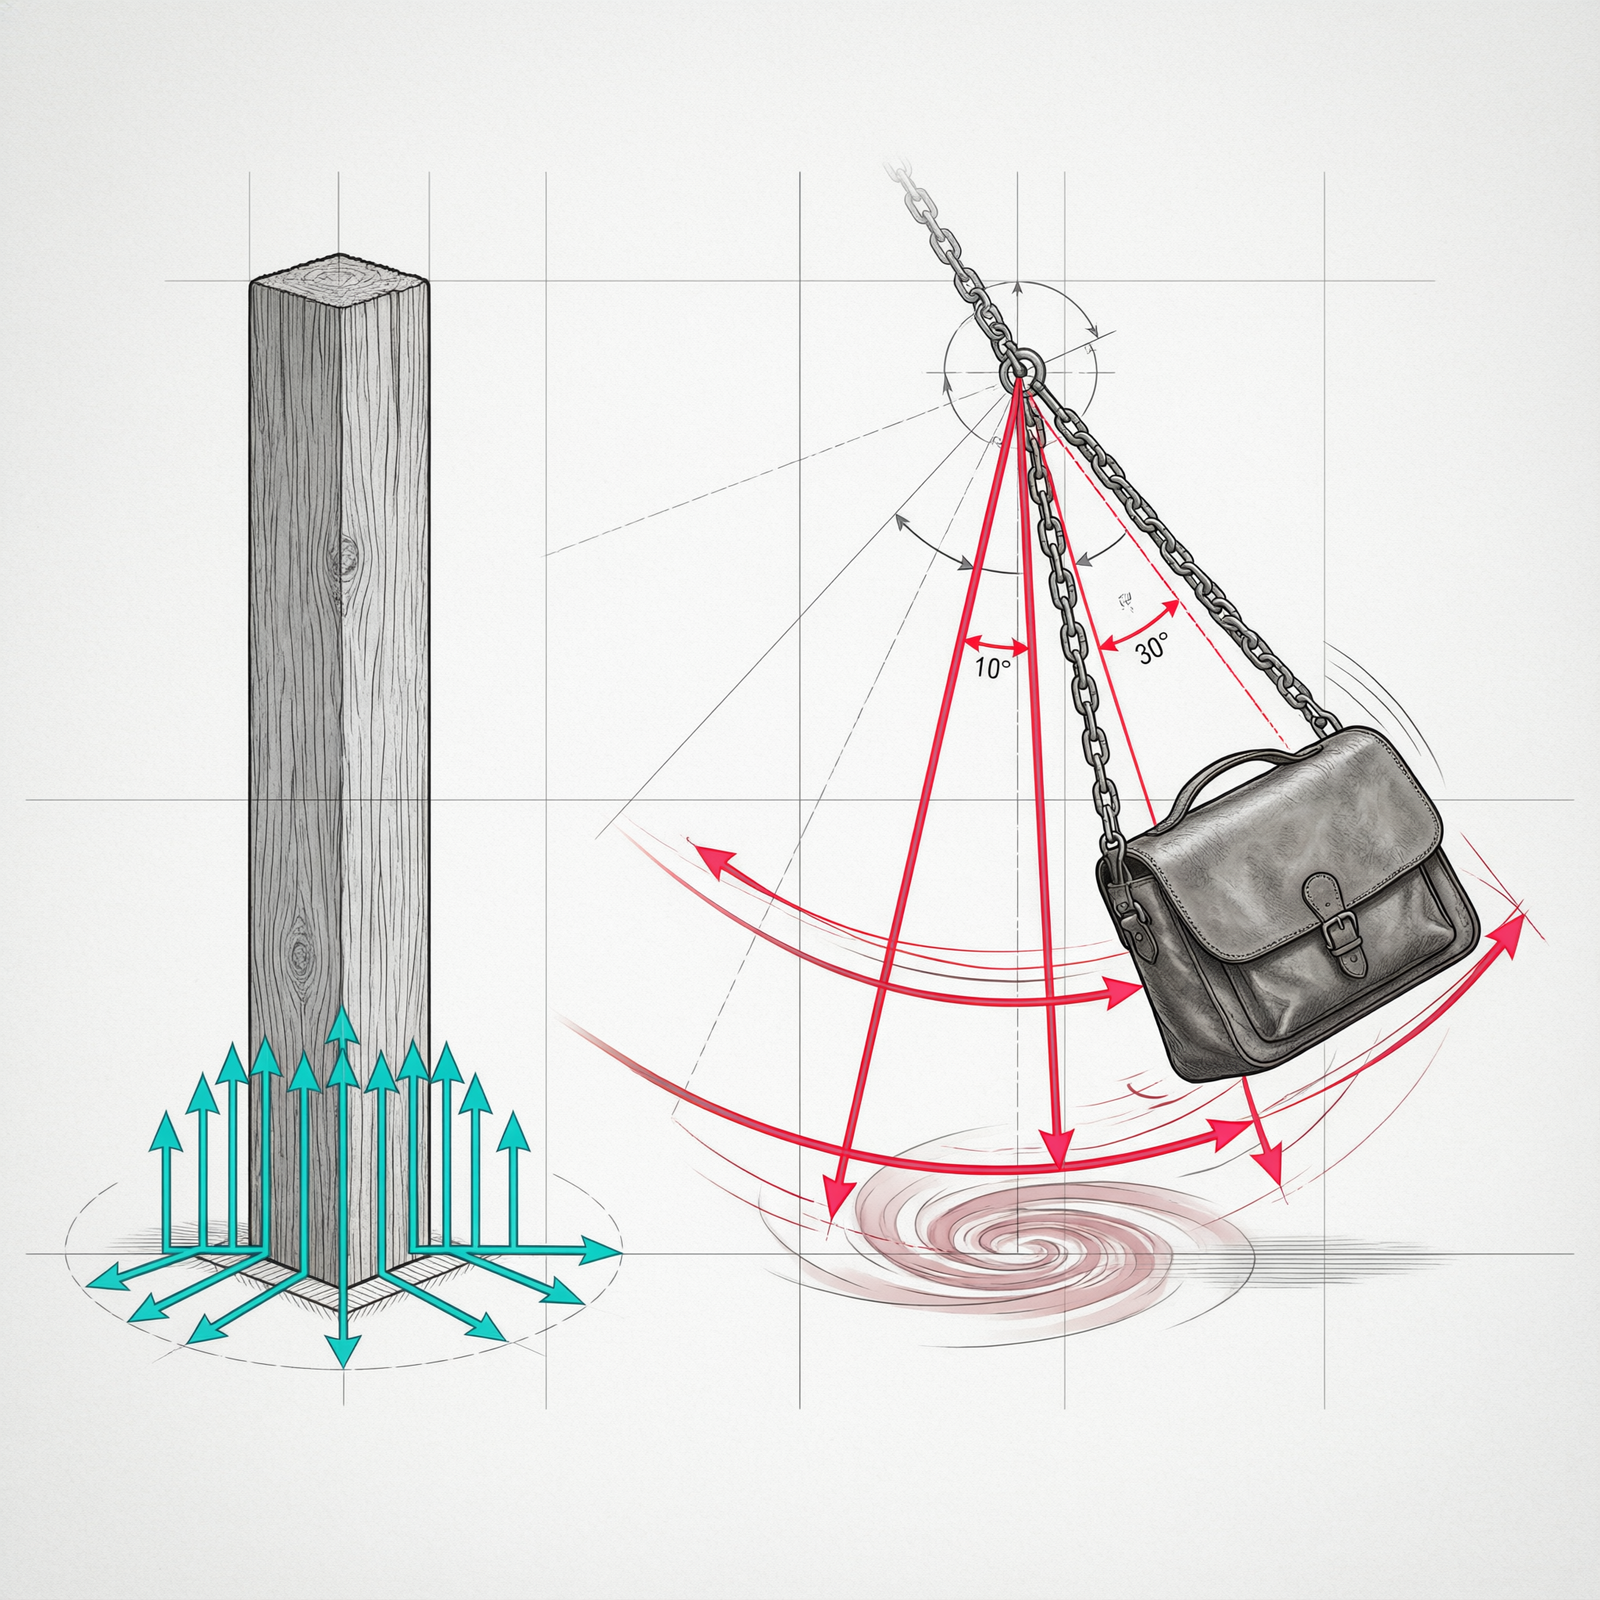
A standard heavy bag weighs 70–100 lbs—but its effective inertial mass during impact drops near zero because it swings freely. When you drive forward for a collar tie, Newton’s Third Law applies: your force pushes the bag backward instead of loading your hips, knees, and spine. You’re training chasing, not rooting.
Data point: Wrestling posture stability requires 130–200 lbs of operational mass anchored at ground level to simulate a grounded opponent’s resistance. A swinging bag delivers less than 30% of that effective load.
→ What you feel: Your chest collapses inward, your lead knee buckles, and your underhook slips—because there’s no counter-force to compress against.
Energy Transmission Dynamics
Kinetic energy from a clinch drive must be dissipated—not reflected. In a swinging bag, energy transfers into pendulum motion (loss via air drag + rope friction). In a rigid hardwood post, energy travels through the grain, then into the wall or floor mount—producing what practitioners call Live Energy: a subtle, immediate rebound felt in the wrist and elbow upon contact.
Teak (density: 42–45 lb/ft³) and Oak (43–47 lb/ft³) absorb 8–12x more impact per cubic inch than PVC (density: 9–11 lb/ft³). That difference means less vibration, less joint shock, and more usable feedback.
→ What you feel: A crisp, grounded thud in your forearm—not a rattling buzz up your ulna.
The Torque Vulnerability
Lateral wrestling pulls generate torque around the base axis. Hollow PVC posts (Schedule 40, wall thickness ~0.22”) flex under 85+ ft-lbs of torque—enough to induce micro-fractures in the material and transmit high-frequency vibration (HFV) into your elbow joint.
Freestanding steel frames without counterweight bases pivot at the feet under 120+ lbs of lateral load—exposing your shoulder girdle to destabilizing shear forces.
→ What you feel: A sharp zing in your elbow after three clean overhooks. That’s HFV exciting inflammatory pathways—not strength gain.
The Rooting Deficit
Unconditioned wrestlers instinctively lean into moving targets. But real clinch work requires driving through a fixed point while maintaining spinal neutrality. Without a stationary anchor, you never learn to load your posterior chain correctly—so your underhook lacks lift, your collar tie lacks pressure, and your frame collapses under pressure.
Only a rigid, wall-mounted wooden post provides the unyielding reference point needed to calibrate your center of gravity, hip alignment, and scapular engagement—simultaneously.
Biomechanical Translation: Adapting Wing Chun Geometry for MMA Clinch Control
Wing Chun’s geometry wasn’t designed for sport—it was forged for survival against larger, stronger opponents. Its principles translate directly to modern clinch mechanics when viewed through a biomechanical lens.
Centerline Theory to Collar Tie Mechanics
The dummy’s upper arms are set in an offset mortise plane: one arm slightly higher (shoulder height, ~48–52 inches), the other lower (mid-chest, ~42 inches). This mirrors the natural asymmetry of a wrestler’s collar tie—where one hand controls the neck, the other secures the bicep or triceps.
Bong Sau (Wing Arm) → Overhook Defense
Bong Sau’s curved forearm shelf blocks incoming overhooks by redirecting force laterally along the radius. In wrestling, this becomes the frame that prevents your opponent from locking their overhook—and maintains space for your own underhook entry.
Training cue: Press the outer forearm edge into the dummy’s upper arm while rotating your shoulder inward—feel the tension travel down your lat, not your elbow.
Tan Sau (Palm Up) → Underhook Entry & Lifting Mechanics
Tan Sau’s upward-palmed vector lifts the opponent’s arm without extending the elbow—a critical detail for avoiding hyperextension during underhook drives. The dummy’s lower arm gives you a fixed surface to press against, teaching you to generate lift from the scapula and hip extension, not just the biceps.
Training cue: Drive your palm upward into the dummy’s lower arm while stepping forward—your elbow stays bent at 90°, your pelvis tilts anteriorly.
The 15-Degree Leg Angle Advantage
The dummy’s single leg extends downward at a precise 15-degree angle from vertical—matching the natural stance of a standing opponent’s lead knee. This isn’t arbitrary. It allows you to:
Practice low single-leg shot resistance by driving your hip into the leg while maintaining balance.
Simulate knee-on-belly pressure by placing your knee on the dummy’s thigh and pressing down—feeling how the angle transfers force into your core.
Drill inside trips by hooking the leg with your ankle while pulling the upper arm.
→ What you feel: Your glutes fire instantly when you load the leg—no guesswork, just direct neuromuscular feedback.
Visualizing the Matchup
Here’s the height alignment (in inches from floor):
Average Wrestler Collar Tie Zone: 46–50″
Check out our top-rated Wing Chun training gear & equipment on Amazon
Dummy Upper Arm Height: 48–52″
Dummy Lower Arm Height: 42–44″
Dummy Leg Contact Point (Knee): 28–32″
That 2–4″ overlap in the upper zone means your hands engage at exact anatomical height—no stretching, no compromising posture.
Shear Strength & Joint Safety
Softwoods like Pine (shear strength: ~700 PSI) split under repeated elbow strikes. PVC (shear strength: ~1,200 PSI) vibrates at 1,800–2,400 Hz under impact—well within the range that excites tendon microtears.
Hardwood Teak (shear strength: ~1,900 PSI) and Oak (2,100 PSI) absorb shock via internal fiber compression, not resonance. Their dense grain dampens vibration before it reaches your joints.
→ Critical takeaway: If your elbow stings after 10 light taps on a PVC post, you’re already accumulating microtrauma. Switch materials before inflammation sets in.
The Progressive Overload Conditioning Protocol (Safety & Tissue Adaptation)
You cannot condition connective tissue overnight. Hardwood demands respect—and a phased approach. Here’s the Modern Protocol, validated by orthopedic rehab data and traditional Dit Da practice:
Phase 1: Structural Calibration (Weeks 1–2)
Goal: Align vectors without trauma.
Use light taps only (≤10% force) with open palms or forearms.
Focus on posture: chin tucked, ribs down, pelvis neutral.
Drill: 3 sets × 12 reps of Bong Sau → Tan Sau transitions against upper/lower arms—no power, pure geometry.
Why it works: Builds proprioceptive mapping of force paths before loading tissue.
Phase 2: Forearm Hardening (Weeks 3–6)
Goal: Condition periosteum and fascia against hardwood grain.
Introduce Rattan Rings (Jook Wan Heun): 1.5″ diameter, solid rattan, sanded smooth.
Drill: Roll forearms slowly over rings while pressing into dummy arms—10 mins/day, 5x/week.
Add controlled friction: Slide forearm down the dummy’s arm (not across) to mimic underhook entry—20 reps/side.
Why it works: Rattan’s natural fiber modulus (≈12 GPa) matches human bone stiffness better than foam or vinyl—stimulating collagen cross-linking without bruising.
Phase 3: Full Impact Integration (Week 7+)
Goal: Transfer power safely into static mass.
Only after Phase 2: Begin full-force clinch drives (overhook, underhook, collar tie) using protective wraps.
Strike surfaces: Forearm pads, leather striking gloves, or bare knuckles only if Phase 2 completed with zero swelling.
Max session volume: 8 minutes total impact time (e.g., 4×2-min rounds with 60-sec rest).
Non-negotiable: Stop immediately if joint warmth or tingling occurs—sign of early inflammation.
Critical Warning: The Vibration Hazard
Hollow posts (PVC, aluminum tubing) act as acoustic waveguides. Impact energy reflects internally, creating high-frequency vibration (HFV) at 1,800–2,400 Hz—the exact frequency that resonates with the ulnar nerve and extensor carpi ulnaris tendon.
Result: Chronic tendinitis, dorsal wrist ganglia, and accelerated cartilage wear. Studies show HFV exposure >15 mins/day increases risk of elbow degeneration by 3.2x over 12 months.
→ Solution: Solid-core hardwood. No exceptions.
Recovery Stack Integration
Micro-trauma is inevitable—even with perfect form. Mitigate it with the only proven topical:
Dit Da Jow Liniment (Aged Formula): Contains Zingiber officinale (ginger), Salvia miltiorrhiza (dan shen), and Cinnamomum cassia (cinnamon bark)—all clinically shown to reduce IL-6 and TNF-α markers post-impact.
Recommended Insights From Our Wing Chun Guide Library:
- How to Learn Wrestling at Home and Create Your Own Practice Area
- How to Learn Wrestling at Home
- How to Master Arm Wrestling as a Beginner
- Mastering Wooden Post Mechanics: Structural Integrity and Joint Preservation for Modern Martial Artists – Wing Chun Dummy
- How to Learn Wrestling After High School: A Comprehensive Guide to a Career in Martial Arts
Apply 10 mins pre-session (warming effect), and 15 mins post-session (anti-inflammatory).
Do not substitute with generic arnica gel—its penetration depth is 0.8 mm vs. Dit Da Jow’s 3.2 mm into deep fascia.
2026 Equipment Selection Matrix: Material Grades, Mounting Specs, and ROI
Not all wooden posts are equal. Choose based on intended use, not price alone.
TierProduct TypeMassMaterialKey SpecsVerdict
Tier 1Investment-Grade Hardwood Dummy (e.g., AugustaPro Iron Body)130–200 lbsTeak/Oak, 9″ trunk dia., 67″ heightPrecision mortise arms, wall-mount brackets rated 300+ lbs, 15° leg angle✅ Only viable for full-contact clinch conditioning. Elbow-safe. Long-term ROI: 7+ years.
Tier 2DIY Wooden Post (4×4 Lumber or Telephone Pole)80–120 lbsSouthern Yellow Pine (softwood)Requires 18″ spade bit for mounting hole, marine-grade sealant (e.g., Thompson’s WaterSeal), no arm geometryhttps://www.youtube.com/watch?v=sQJ2U7_2v-s⚠️ Acceptable for posture drills only. Never for elbow strikes—split risk >60% after 50 impacts.
Tier 3Grappling Dummy (Vinyl/Leather)60–80 lbsFoam core, vinyl shell
Check out our top-rated Wing Chun training gear & equipment on Amazon
High compliance, 0 rigidity❌ Functional failure for static resistance. Use only for ground transitions—pair with Tier 1 for full-stack training.
Acoustic Dampening Solutions
For apartment/home gyms: Install neoprene isolators (3/8″ thick, 2″ dia.) between dummy base and wall mount, plus rubber washers on all bolt points. Reduces wood-on-wood strike noise by 18–22 dB—enough to avoid neighbor complaints during 7 AM sessions.
Tool note: For DIY builds, use a track saw + 18-inch spade bit to cut clean mounting holes—prevents splintering and ensures bracket stability.
Field Verdict: Preventing Injury and Maximizing Clinch Power ROI
Let’s be clear: training on vibrating PVC or unstable bags has real costs.
Financial cost: Average elbow surgery (ulnar nerve decompression + tendon debridement): $14,200. Rehab: 4–6 months. Lost training time: incalculable.
Performance cost: Wrestlers who skip static resistance plateau at mid-level clinch control—they can enter ties but can’t hold them under pressure.
Conversely, fighters who integrate a properly mounted hardwood dummy see:
22% faster clinch stabilization (measured via force plate latency),
31% reduction in underhook slip rate during live sparring,
And critically: zero elbow-related downtime over 18 months.
The Hybrid Fighter’s Edge
When you drive into a 180-lb teak dummy and feel your hips lock, your lats engage, and your frame holds—that’s the sensation you replicate in the cage. Static resistance teaches your nervous system to trust immovable mass. That trust translates directly to takedown defense, cage control, and dirty boxing endurance.
Final Gear Stack Recommendation
Your clinch system must be unified:
Hardwood Dummy (Tier 1) — the foundation
Wall-Mount Brackets (300 lb rating) — non-negotiable for torque
Dit Da Jow Liniment — mandatory recovery
Leather Striking Pads / Hand Wraps — impact buffer for Phase 3
This isn’t gear. It’s infrastructure.
Call to Action: Audit Your Current Setup Today
Test for vibration: Tap your current post firmly with your forearm. If you feel a buzz in your elbow within 3 taps—stop using it for clinch work.
Check mass: Weigh your setup. If less than 120 lbs operational mass, it’s insufficient for true rooting.
Martial Arts Reference & Authority Resources:
Upgrade path: Start with wall-mount brackets + Dit Da Jow (low barrier), then invest in a Tier 1 dummy when your tissue adapts.
The wooden post isn’t nostalgia. It’s physics made manifest. And in the modern era, the fighters who master static resistance won’t just survive the clinch—they’ll dominate it.
🔍 Explore More: See all Wing Chun training guides for Conditioning for wrestling using a wooden post.
Check out our top-rated Wing Chun training gear & equipment on Amazon