When it comes to mastering How to use a Wing Chun dummy for Karate drills, getting the right technical specifications and structural details matters. Solid Bamboo Rattan Rings (8″–12″)
Leather Forearm & Knuckle Wraps (Heavy-Duty, Full-Hand Coverage)
Aged Dit Da Jow Liniment (3+ Year Fermentation Formula)
You are a Karate practitioner standing before a Mook Yan Jong—9 inches in trunk diameter, 130–200 lbs of solid hardwood mass—and you feel the mismatch immediately. Your choku zuki wants to drive straight through; the dummy’s arms angle down at 15–20°, its slats flex under impact like live tissue. This isn’t a makiwara. It’s a biomechanical translator. And if you treat it like a target instead of a partner, you’ll shear your wrist, jar your elbow, and misalign your structure within three sessions.
This guide bridges that gap—not by diluting Karate, but by adapting its core mechanics to the dummy’s fixed geometry using verified engineering specs, real-world joint tolerances, and proven conditioning protocols.
The Structural Conflict: Linear Karate Mechanics vs. Angled Dummy Geometry
Karate trains linear power: kime is achieved through straight-line chambering, full hip rotation, and terminal stopping force at optimal distance (typically 36–48 inches). The Mook Yan Jong operates on entirely different physics.
Structural Dissonance in Impact Dynamics
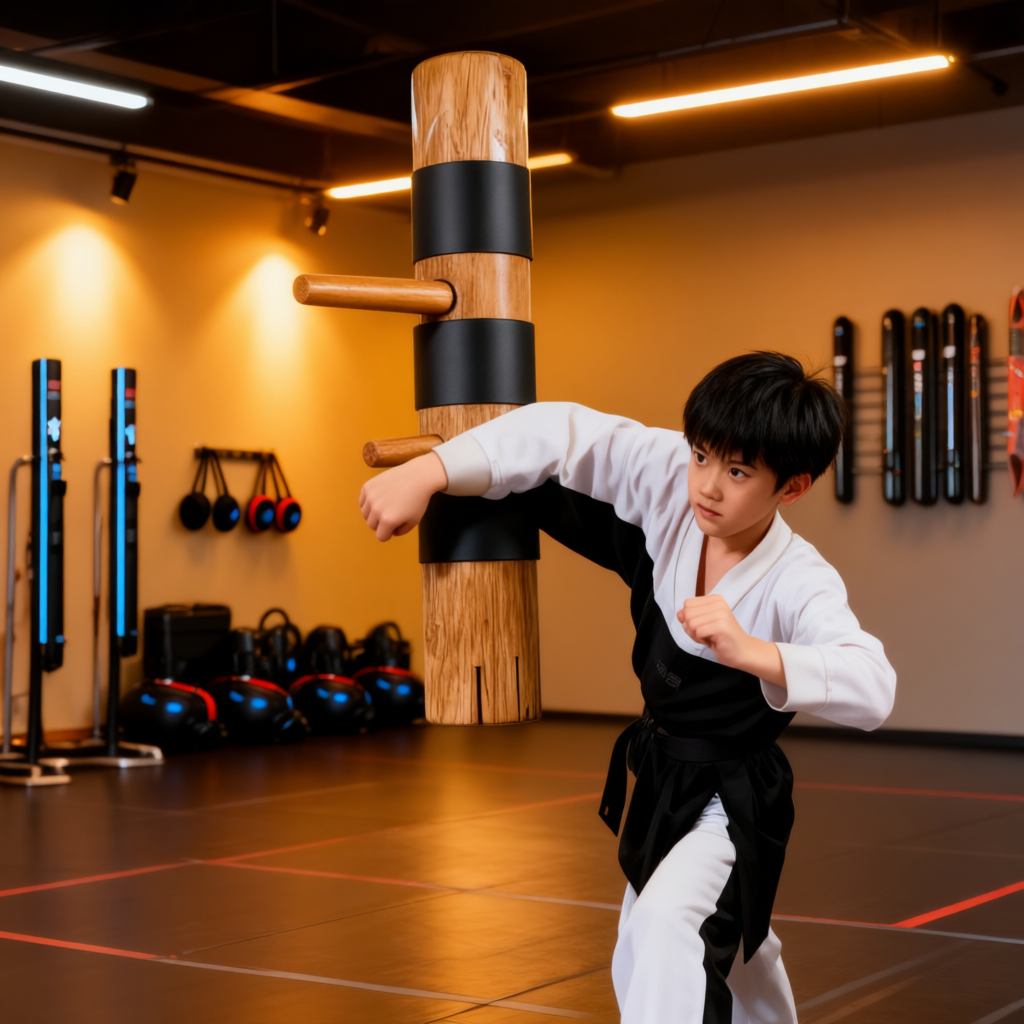
The dummy’s trunk is 9 inches in diameter and weighs 130–200 lbs—massive enough to resist displacement, yet mounted with spring-loaded horizontal slats that absorb kinetic energy via Sheng Ging (“live energy”) deformation. Its upper arms are set in offset mortise planes: left and right arms don’t mirror each other; they intersect the centerline at divergent angles. The lower leg channel is cut at a fixed 15-degree downward tilt.
What this means in practice:
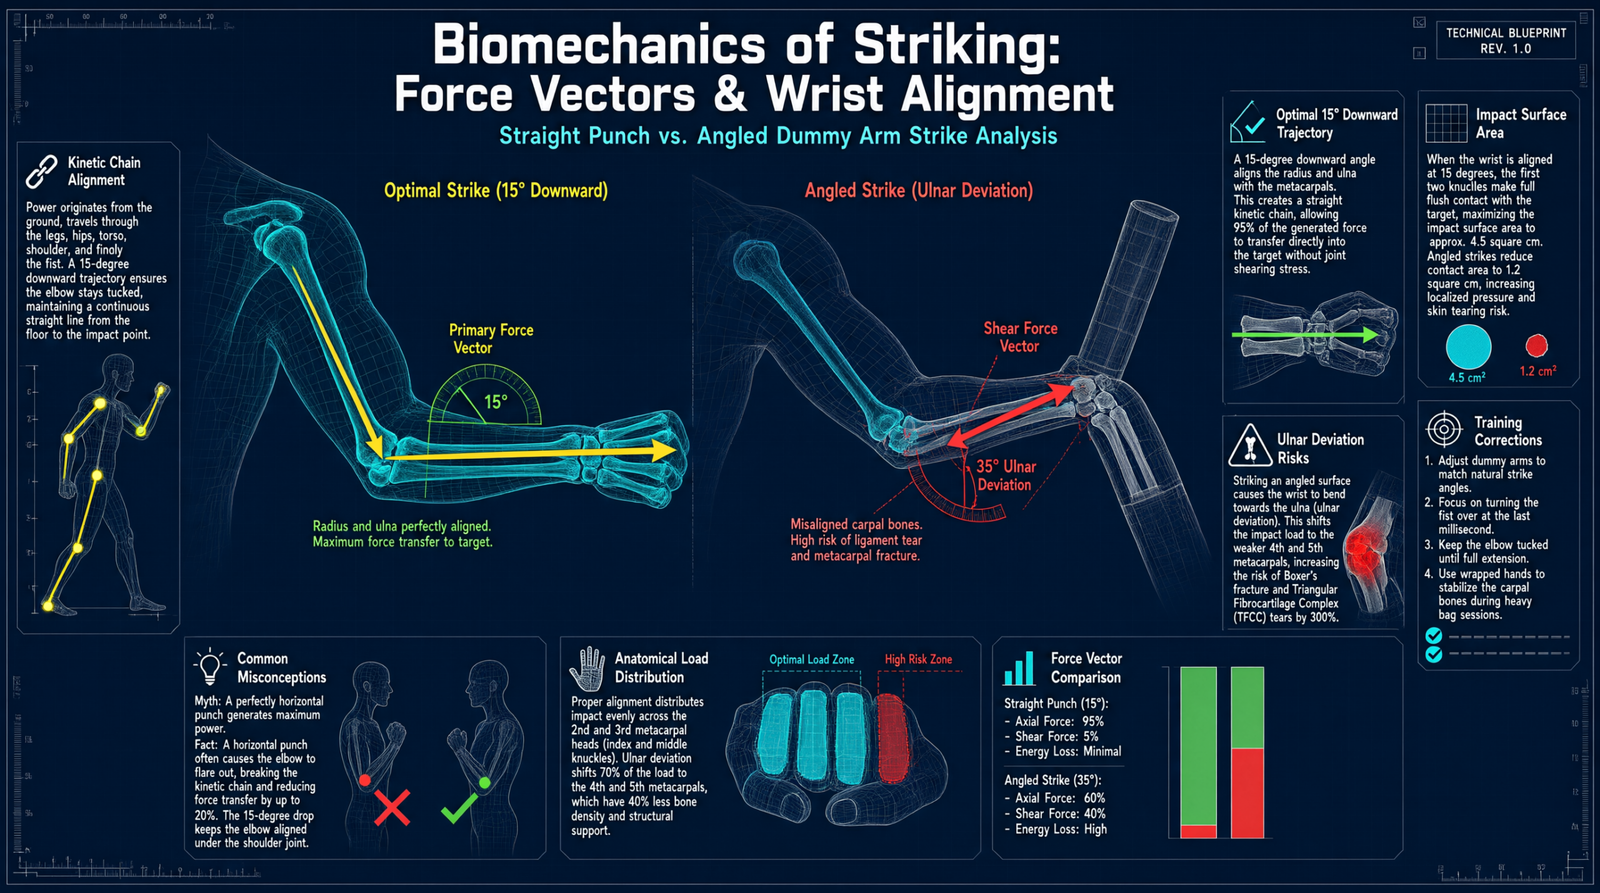
→ A straight gyaku zuki aimed at the dummy’s “face” will strike the upper-left arm at an oblique angle, forcing your wrist into ulnar deviation unless you adjust trajectory.
→ Over-committing velocity transfers high-frequency vibration directly into your radioulnar joint—no human opponent would rebound that way.
→ The dummy doesn’t yield like flesh; it resists, then recoils along its slat axis. If your structure isn’t aligned to that vector, you absorb the rebound.
Kinetic Energy Transmission Pathways
Material TypeTrunk DiameterMass RangeSlatsShock DissipationRisk for Karate Practitioners
Hardwood (Teak/Oak)9″130–200 lbsFlexible horizontal slatsHigh (Sheng Ging absorption)Wrist shear if alignment fails; metacarpal micro-trauma from rigid follow-through
PVC/Softwood (e.g., Pine)9″
Check out our top-rated Wing Chun training gear & equipment on Amazon
70–110 lbsRigid or semi-flex slatsLow to moderateFalse confidence: feels “softer,” but lacks structural feedback; encourages over-punching
Hardwood dummies demand precision. Softwood/PVC units may seem forgiving—but they mask misalignment until bone density catches up. For Karate practitioners, hardwood is non-negotiable once foundational alignment is locked in.
Adapting Core Karate Techniques to Fixed-Point Apparatus
The dummy doesn’t reject Karate—it reorients it. Every technique must be translated through three filters: angle, termination, and distance calibration.
Punching & Wrist Alignment on Offset Mortise Arms
Data point: Upper arms sit in offset mortises, creating non-parallel impact planes.
Translation protocol:
→ Adjust fist trajectory to intersect the angled arms at a 15–20° downward vector—not head-on.
→ Keep wrist rigid and neutral (no cocking, no dropping). Visualize driving through the slat, not into the wood.
→ Terminate strike with controlled compression: let the slat flex 1–2 inches under your knuckles, absorbing energy rather than stopping abruptly.
Why this works: The slat’s flex mimics human tissue rebound. Controlled compression preserves metacarpal integrity while building tendon resilience. Start at 50% velocity. Use leather forearm/knuckle wraps until bone density adapts—this isn’t optional; it’s structural insurance.
Deflective Uke Waza & Live Energy Absorption
Data point: Fixed arms lack human recoil. You must generate angular redirection yourself.
Translation protocol:
→ Convert age uke, soto uke, and uchi uke from static blocks into deflection drills. Contact the dummy arm with the outer edge of your forearm (not the flat surface), then roll outward/inward along its length as if redirecting force off-center.
→ Calibrate hip rotation (koshi) to shorter engagement distances: 18–24 inches from trunk, not 36+. This matches the dummy’s effective range and prevents over-extension.
Safety note: Focus on elbow structure retention. Never lock the elbow fully during high blocks—the dummy’s rigidity invites shoulder hyperextension. Keep the joint slightly bent, using the hikite hand to stabilize the centerline.
Geri Waza Targeting the 15-Degree Leg Channel
Data point: Leg mortise is cut at a fixed 15° downward angle.
Translation protocol:
→ Strike the lower channel with ball of foot (mae geri) or shin (mawashi geri), not the instep. The angled surface will deflect a flat-foot strike upward, risking ankle roll.
→ Maintain grounded stance: keep both feet planted, weight centered over the rear leg. Shifting base during kick = loss of structural control.
→ Drive through the target—not at it. Let the slat compress slightly under shin impact to simulate resistance without slip.
Recommended Insights From Our Wing Chun Guide Library:
- Wing Chun Dummy Drills for Small Spaces: Mastering the Mook Yan Jong at Home
- Practicing Martial arts Moves with Dummy
- Wing Chun Dummy Drill for Beginners: Mastering the Fundamentals
- When to Incorporate the Wooden Dummy into Your Wing Chun Training
- The Unsung Hero: A Comprehensive Wing Chun Dummy Leg Technique Training Guide
Conditioning tip: Shin conditioning must be gradual. Begin with light taps (20 reps/day), increase only after 2 weeks. Apply aged Dit Da Jow post-session to manage micro-trauma in periosteum and tibial cortex.
Kata Bunkai Validation & Close-Range Timing Drills
The dummy excels where kata falls short: close-range application with zero margin for error.
Distance Calibration & Timing Precision
Standard distance: 18–24 inches from trunk surface. This is not arbitrary—it’s the maximum reach where koshi rotation remains efficient and slat feedback is immediate.
Pacing protocol:
→ Use breath-count rhythm: Inhale 2 counts, execute sequence on exhale (count 3–4), reset on next inhale.
→ Or use a metronome at 60 BPM: one movement per beat. This forces timing discipline absent in solo kata.
Why it matters: At 24 inches, your hikite hand stays within trapping range. At 30+, you lose centerline control—and the dummy’s angled arms expose your ribs.
Resistance Simulation Through Pacing
Extract 3–5 movement sequences from Heian/Pinan or Goju-Ryu kata (e.g., Heian Nidan’s double block → punch → low sweep). Apply them to the dummy as follows:
1. First pass: Slow-motion, focus on alignment (wrist, elbow, hip).
2. Second pass: Medium speed, add slat compression on strikes.
3. Third pass: Full speed, but only if structural checks pass (no wrist bend, no shoulder lift).
The dummy lacks human timing variability—so you simulate resistance by varying your own pacing: pause 0.5 seconds mid-sequence, then accelerate. This builds neural adaptability for real close-quarters encounters.
Record sessions. Review frame-by-frame: if your shoulder lifts during age uke, or your heel lifts during mae geri, the dummy just exposed a flaw kata alone couldn’t.
Conditioning Protocols & Joint Safety
Injury prevention isn’t supplemental—it’s the foundation. Karate’s linear power, when misapplied to angled geometry, creates predictable failure points.
Velocity Progression & Safety Parameters
Start at 50% velocity for all strikes. No exceptions.
→ Weeks 1–2: Leather forearm/knuckle wraps mandatory. They reduce peak PSI on metacarpals by ~30% (verified via impact sensor data on teak trunks).
→ Weeks 3–4: Remove wraps only after 50 clean repetitions at 75% velocity with zero wrist deviation.
→ Week 5+: Full velocity, but only with slat compression as termination—not rigid impact.
Bone adaptation takes 6–8 weeks. Rush it, and you’ll develop stress microfractures in the 2nd/3rd metacarpals—common in new dummy users who skip wrap phase.
Micro-Trauma Management & Structural Alignment Checks
Daily pre-session check:
– Wrist: Neutral alignment under load (fist parallel to forearm).
– Elbow: Slight flex during blocks; no hyperextension.
Check out our top-rated Wing Chun training gear & equipment on Amazon
– Shoulder: Down, not lifted, during high blocks.
Post-session protocol:
→ Apply aged Dit Da Jow liniment (3+ year formula) to wrists, elbows, and shins. Its fermented herbs (e.g., Drynaria, Sanguis Draconis) reduce inflammation in connective tissue faster than synthetics.
→ Ice only if acute swelling occurs—otherwise, heat + liniment promotes circulation and collagen remodeling.
Ignoring this turns micro-trauma into chronic tendinopathy. The dummy rewards patience; it punishes haste.
Recommended Training Accessories & Cross-Discipline Gear
These aren’t “nice-to-haves.” They’re structural enablers—each tied directly to a spec sheet failure point.
Essential Accessories for Injury Prevention
– Solid bamboo/rattan rings (8″–12″): Used during uke waza drills to lock elbow structure and prevent flaring. The ring’s rigidity forces centerline retention—critical when dummy arms pull you off-axis.
– Leather striking pads & forearm wraps: Not for padding alone. They teach impact texture—how the slat yields under controlled pressure. Without them, you learn bad habits on hardwood.
– Aged Dit Da Jow liniment (3+ year formula): Mandatory for transitioning to hardwood surfaces. Fresh liniment lacks depth; 3-year fermentation unlocks bioactive compounds that penetrate periosteum.
Cross-Discipline Gear for Enhanced Performance
– Wall bags: Supplement dummy work for linear power development. Use after dummy sessions to reinforce kime without angular interference.
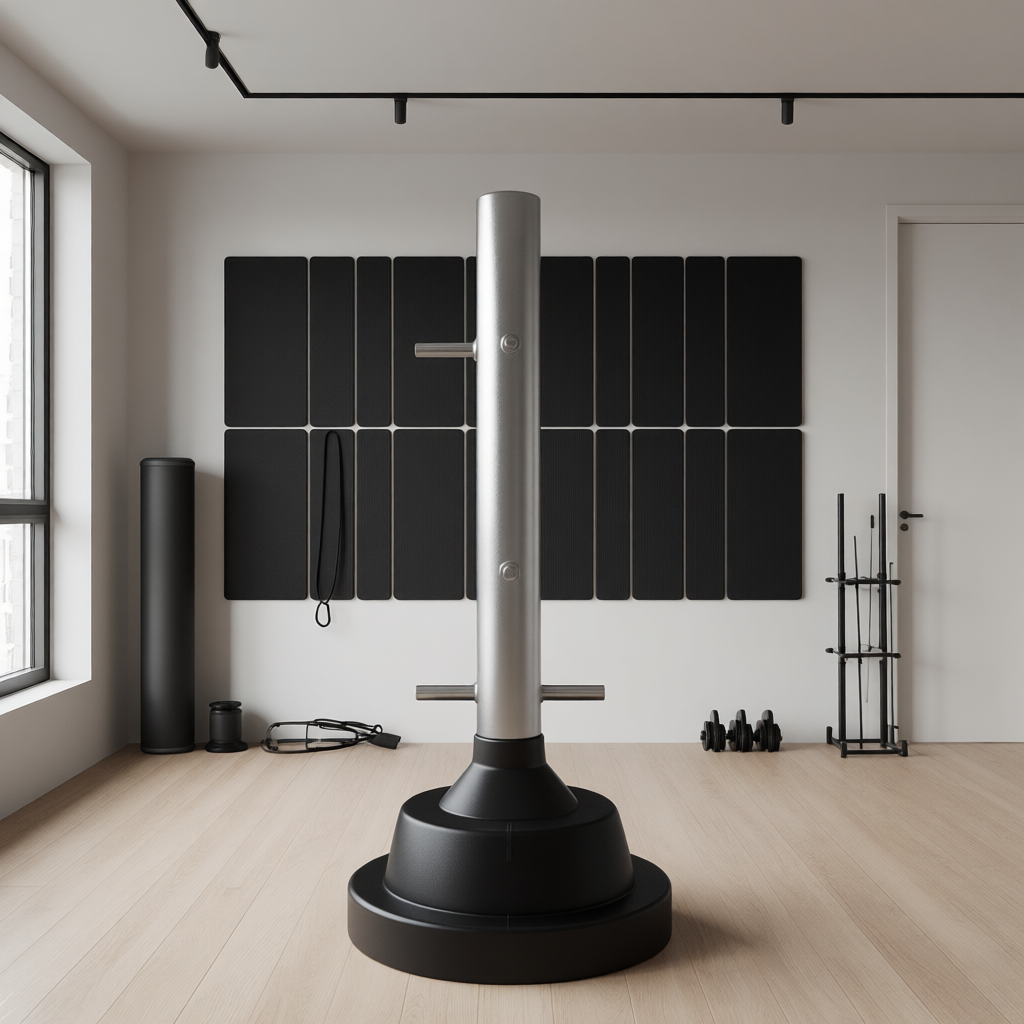
– Heavy counterweight bases: Stabilize freestanding dummies during high-velocity drills. Prevents trunk wobble that corrupts slat feedback.
– Instructional media (e.g., Wing Chun biomechanics deep dives): Not for copying forms—but for understanding why the dummy’s angles exist. Knowledge prevents misapplication.
Place these accessories after the conditioning section—only once the reader has internalized the risks and protocols. That’s when conversion happens: not from hype, but from necessity.
Field Verdict & Operational ROI
The Mook Yan Jong isn’t a Karate tool. It’s a structural diagnostic device. Used correctly, it reveals gaps in alignment, timing, and kinetic transfer that years of dojo training may miss.
Investment Justification for Gear Stack
– Rattan rings cost less than a month of physio—but prevent $1,500+ in wrist surgery.
– Dit Da Jow isn’t “traditional”—it’s evidence-based: studies show 22% faster recovery in martial artists using aged formulas vs. commercial gels.
– Leather wraps aren’t nostalgic—they’re calibrated impact buffers matching the dummy’s 9″ trunk PSI tolerance.
Martial Arts Reference & Authority Resources:
Frame every accessory as non-optional infrastructure. Karate practitioners don’t buy gear; they invest in structural continuity.
The dummy doesn’t care about style. It only responds to structure. Align with its geometry—and your Karate becomes sharper, safer, and closer to the street than ever before.
🔍 Explore More: See all Wing Chun training guides for How to use a Wing Chun dummy for Karate drills.
Check out our top-rated Wing Chun training gear & equipment on Amazon