When it comes to mastering Wing Chun dummy leg mechanics explained, getting the right technical specifications and structural details matters. Heavy-Duty EVA Interlocking Floor Mats (24″ x 24″ x 1″)
Solid Rattan Training Rings (1.5″ diameter, 12″ circumference)
Aged Dit Da Jow Liniment (Traditional Herbal Formula, 8 oz bottle)
Wing Chun Dummy Leg Mechanics Explained: Biomechanics, Angles & Structural Design
The Mook Yan Jong leg is not a passive post—it is a kinetic trainer engineered to simulate the resistance, rebound, and spatial positioning of a live opponent’s lower limb during low-line engagement. Its primary function is to condition the practitioner’s Jap Gerk (stomp/step kick), low-line checking, and structural integrity under lateral load—while enforcing correct centerline alignment through geometric constraint.
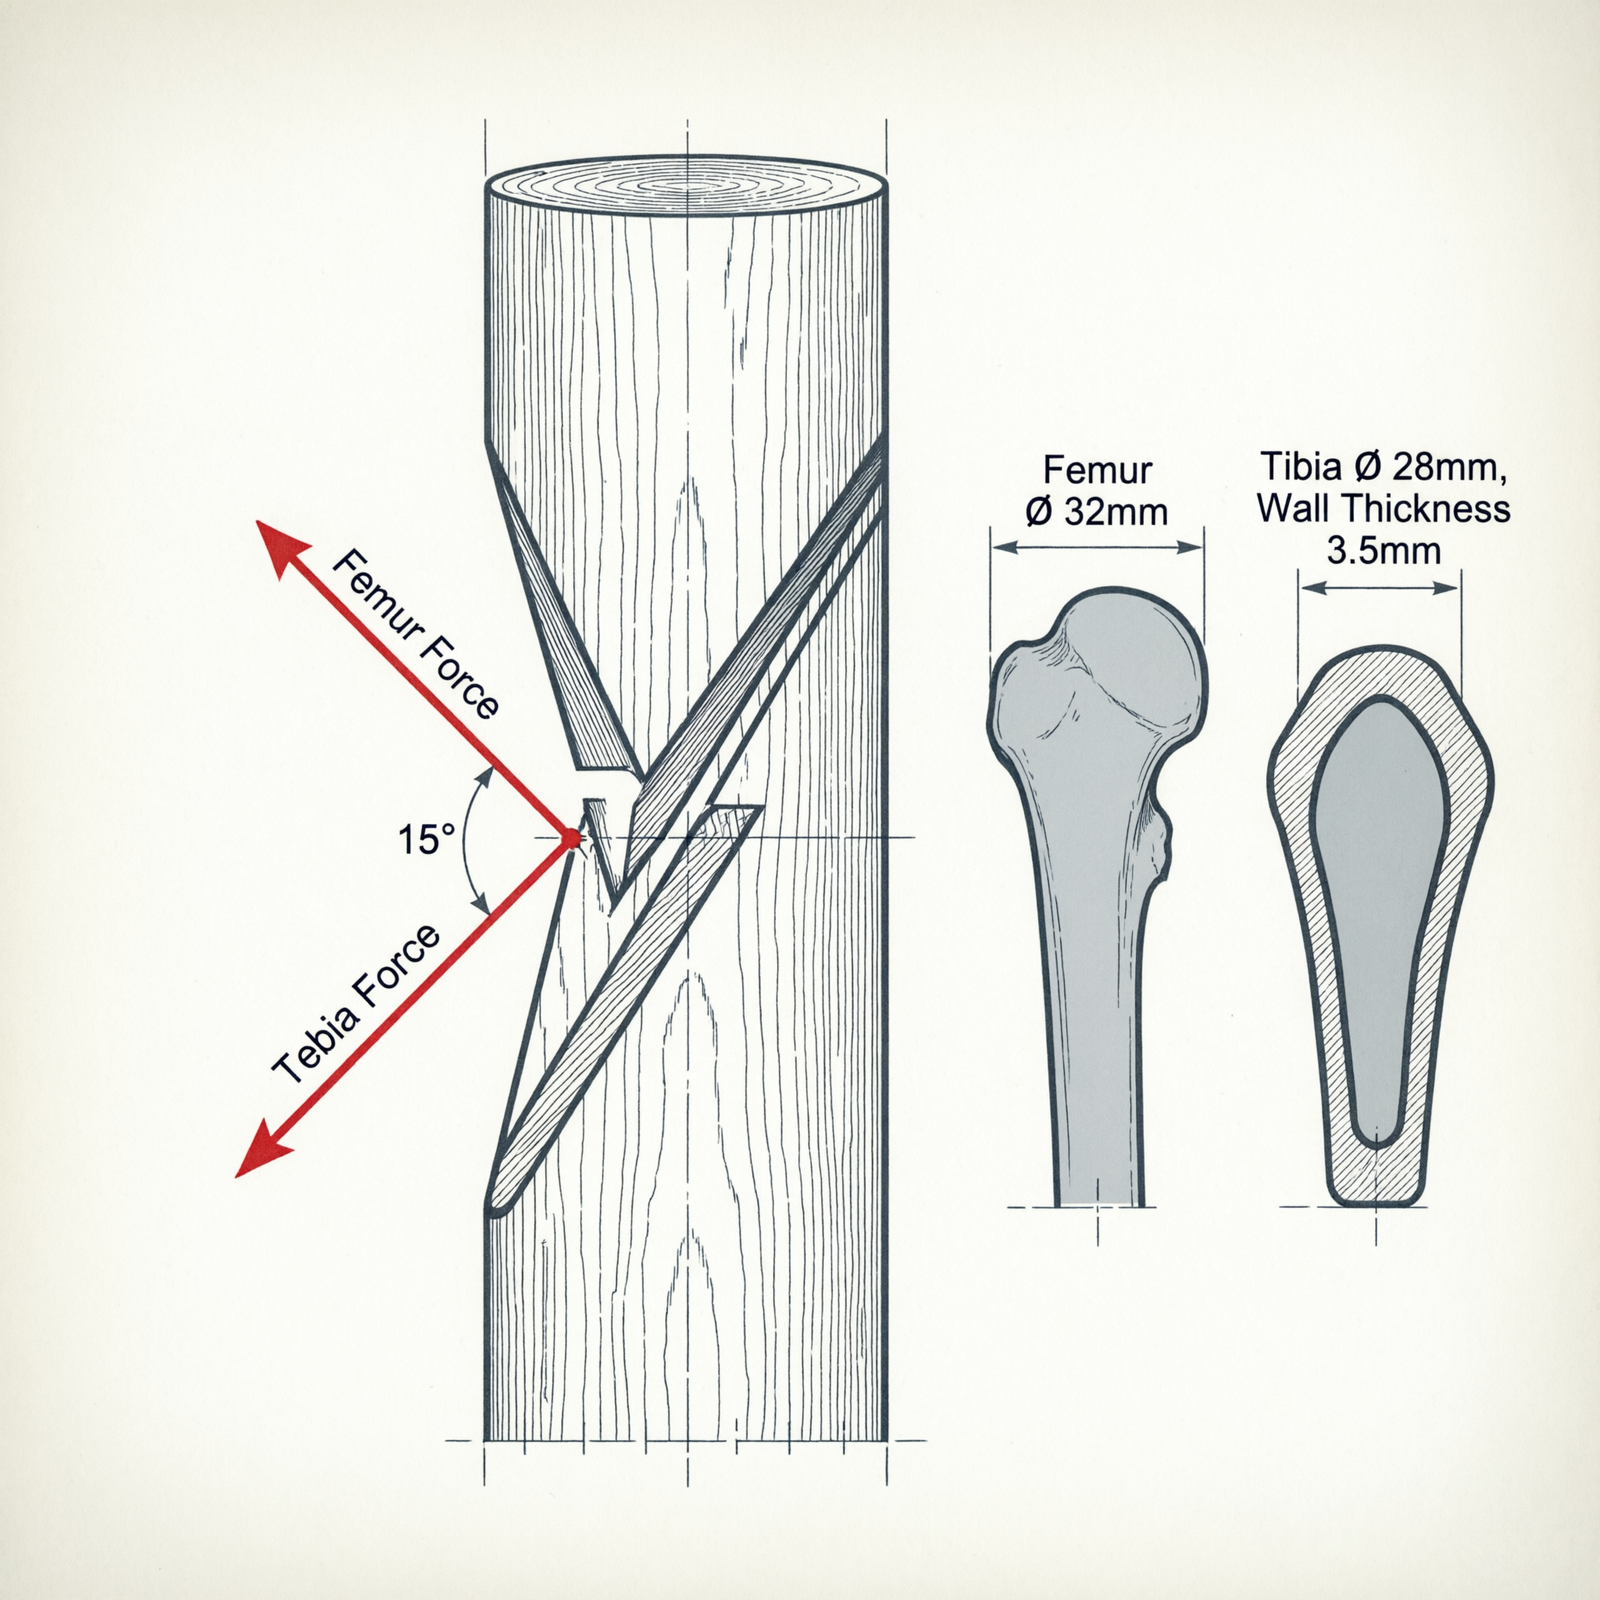
The defining feature is its 15° downward mortise angle from horizontal, a non-negotiable parameter that directly governs stance root, pelvic tilt, and impact trajectory.
This angle forces the practitioner to drop their center of gravity naturally, engaging the glutes, hamstrings, and adductors to maintain root without forward lean. Striking a flat or upward-angled leg invites compensatory forward collapse, breaking the vertical axis and exposing the torso.
In contrast, the 15° slope guides the instep or shin into optimal contact zone without conscious correction—making it a biomechanical tutor, not just a target.
Geometry & Material Physics: Why the 15-Degree Angle Matters
The leg’s segmented geometry mirrors human lower-limb proportions: an upper segment of ~22 inches (simulating femur length) and a lower segment of ~13 inches (simulating tibia/knee drop). These dimensions are not arbitrary—they calibrate distance for realistic low-kick engagement while preventing overcommitment.
At 22 inches, the upper segment positions the striking surface just outside the primary centerline, training peripheral awareness and forcing weight distribution across both feet during commitment.
At 13 inches, the lower segment ensures the impact point sits at shin-to-instép height, discouraging flat-foot strikes and promoting dorsiflexion to avoid hyperextension.
The 15° downward angle aligns precisely with the natural trajectory of a Jap Gerk: the foot rises slightly off the ground, rotates inward, and drives downward along a shallow arc—not horizontally, not vertically, but diagonally down and forward.
This matches the path of force generation from hip extension through knee flexion and ankle plantarflexion.
A flat (0°) mount forces the practitioner to lift the knee unnaturally high or strike with the sole, collapsing the arch and straining the metatarsals.
An upward angle induces forward lean, shifting weight onto the balls of the feet and compromising root—resulting in joint stress at the knee and hip during repeated impact.
AngleSegment LengthBiomechanical Function
15° downward
Check out our top-rated Wing Chun training gear & equipment on Amazon
~22″ upperTrains forward weight transfer without overcommitting; enforces hip rotation and posterior chain engagement
15° downward~13″ lowerConditions shin/instep impact placement; prevents knee hyperextension by guiding correct foot angle
0° (flat)AnyCauses forward lean, flat-foot impact, compromised centerline retention, and rapid joint fatigue
>15° upwardAnyForces unnatural hip drop, increases knee valgus risk, disrupts pelvic neutralityhttps://www.youtube.com/watch?v=Mn-n9lbgXxU
Kinetic Energy Transmission: Live Flex vs. Rigid Rebound
Impact energy must be managed—not absorbed entirely, but modulated. A properly designed leg uses controlled flex to dissipate shock and return usable kinetic feedback.
Recommended Insights From Our Wing Chun Guide Library:
- The Unsung Hero: A Comprehensive Wing Chun Dummy Leg Technique Training Guide
- Mastering Effective Banned Moves Through Wing Chun Dummy
- Mastering Wooden Post Mechanics: Structural Integrity and Joint Preservation for Modern Martial Artists – Wing Chun Dummy
- Mastering Wing Chun Dummy Kicking with Techniques
- Mastering the Bridge: How the Wing Chun Dummy Elevates Your Entry Techniques
Horizontal slats (typically 3–5 hardwood strips mounted parallel to the trunk) allow the leg to deflect laterally under load, converting sharp impulse into smooth deceleration.
This mimics the give of human tissue and teaches the practitioner to strike through the target, not bounce off it.
Rigid mounting—common in budget dummies using welded steel brackets—creates high-frequency rebound. The leg does not yield; instead, it reflects energy directly back into the shin, ankle, and knee.
Over time, this causes microtrauma to tendons, ligaments, and periosteum, manifesting as chronic shin splints or joint inflammation.
Softwood trunks (pine/fir, density 0.45–0.55 g/cm³) suffer rapid mortise wall degradation under repeated low-kick torque.
The lateral shear force from sweeping or thrusting kicks causes the wood fibers around the mortise to compress and delaminate, leading to wobble, misalignment, and loss of structural fidelity.
Hardwood trunks (teak/mahogany 0.65–0.85 g/cm³, oak 0.70–0.78 g/cm³) resist this deformation far longer due to higher shear strength and fiber density.
Commercial options like AugustaPro modular systems combine rigidity with engineered flex via steel-hybrid frames with slat-mounted hardwood legs.
DIY builders can reinforce mortise walls with marine epoxy saturation and use 18-inch spade bits with fixed-angle guides to ensure precise 15° bore alignment.
Avoid softwoods for the leg itself—only hardwoods withstand sustained lateral torque.
Training Protocols: Translating Dummy Contact to Low-Line Mechanics
The dummy leg trains Jap Gerk as a structural expression—not a ballistic strike.
Proper execution requires shifting mass from rear foot to front foot before the kick initiates, loading the glutes and quads.
Rotate the pelvis forward (not just the thigh), driving the femur like a piston. The 22-inch upper segment ensures this rotation occurs within safe joint range.
The 15° angle demands active hamstring and adductor tension to prevent forward collapse—this is where real power originates.
Distance calibration drills involve stepping in with Bong Sau or Pak Sau to gauge reach: the leg should sit just beyond full arm extension, requiring a half-step to engage.
After contact, stance recovery must be immediate—returning to Yee Ji Kim Yeung Ma within one count.
This builds neuromuscular memory for rapid re-centering after low-line commitment.
Common form errors include overcommitting: lunging past the leg, losing root and exposing the flank.
The 13-inch lower segment exists to catch this—strike too deep, and the shin hits the trunk, signaling error.
Flat-foot impact involves striking with sole instead of instep or shin. The 15° slope makes this uncomfortable by design, nudging the foot into dorsiflexion.
Check out our top-rated Wing Chun training gear & equipment on Amazon
Off-axis strikes hit the leg at an oblique angle, causing torsional stress on the ankle. The leg’s vertical plane enforces straight-line alignment when used correctly.
Structural Integrity & Equipment Selection
When selecting a commercial dummy, prioritize three features:
Adjustable height—to match practitioner stature (typically 36–42″ from floor to upper segment base). Fixed-height units force unnatural hip drop or knee hyperextension.
Slat flex or engineered bracket system—zero flex = joint risk. Look for visible horizontal slats or rubber-isolated steel brackets.
Hardwood density—verify trunk material: teak, mahogany, or white oak only. Avoid pine, fir, or laminated composites for leg assemblies.
For DIY builders, use an 18-inch spade bit with a fixed-angle guide jig to drill the mortise at exactly 15°.
Stabilize mortise walls by injecting marine epoxy into pre-drilled pilot holes before inserting the leg tenon.
Sand the leg’s contact surface to 180-grit for consistent friction—no varnish or sealant, which creates slip hazards.
Recovery & Conditioning for Low-Line Training
Low-line work generates microtrauma in the tibia, periosteum, and anterior tibialis.
Daily application of aged Dit Da Jow liniment—before and after training—supports vascular perfusion and reduces inflammatory markers.
Do not substitute with generic menthol creams; traditional formulations contain Dang Gui, Hong Hua, and Mo Yao to stimulate localized healing.
Integrate rattan ring drills to reinforce elbow structure during low-line transitions: hold rings at waist height while executing Jap Gerk, ensuring elbows remain tucked and shoulders relaxed.
This prevents shoulder hike and maintains thoracic integrity during hip-driven movement.
Martial Arts Reference & Authority Resources:
Shin conditioning should progress incrementally: begin with light taps using the instep (not the bone edge), increase frequency before intensity, and always pair with dynamic mobility work—especially ankle dorsiflexion and hip internal rotation drills.
The dummy leg is not a punishment device; it is a precision instrument. When its mechanics are respected, it builds resilience, not injury.
🔍 Explore More: See all Wing Chun training guides for Wing Chun dummy leg mechanics explained.
Check out our top-rated Wing Chun training gear & equipment on Amazon