When it comes to mastering DIY wrestling dummy from old clothes and duct tape, getting the right technical specifications and structural details matters. Industrial Staple Gun (Heavy-Duty, 1/4″ Crown)
Fillable Sandbags (20 lb, Polypropylene, with Zip Closure)
EVA Foam Floor Mat (24″x24″, 3/8″ Thick, Interlocking)
DIY Wrestling Dummy from Old Clothes and Duct Tape: The 40lb+ Inertial Build & Failure-Point Engineering Guide
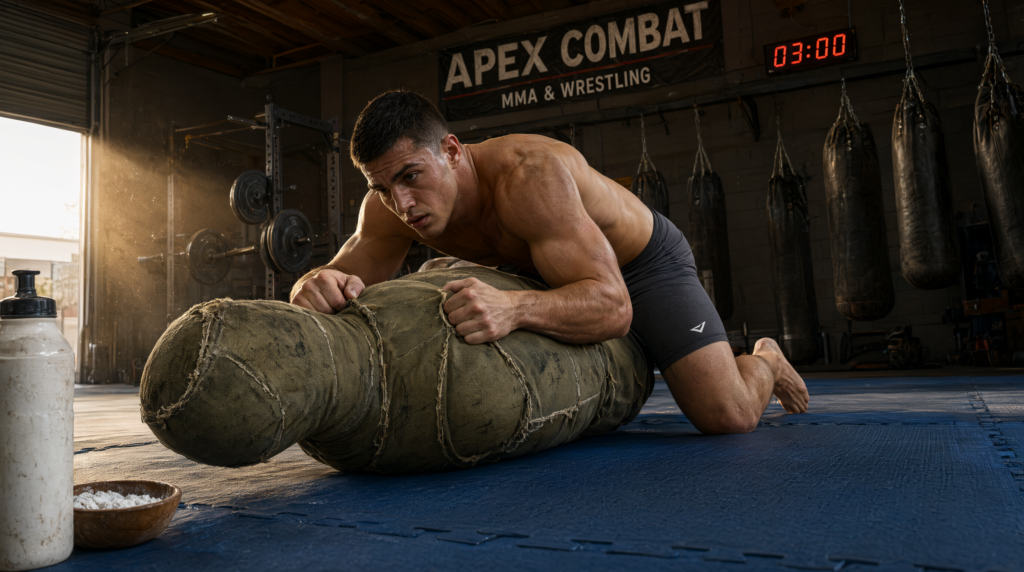
You’re not building a prop. You’re engineering a training partner—something that must resist your takedown, absorb your drag, and hold its shape through repeated friction, sweat, and impact. If you’ve ever tried stuffing an old hoodie with rags and wrapping it in duct tape, you know the result: a floppy sack that floats during throws, tears at the shoulders after three drags, and reeks by week two. That’s not failure of effort—it’s failure of physics. This guide cuts through the myth of “just throw some clothes in a bag.” We’ll walk you through the exact inertial mass targets, structural reinforcement protocols, and hygiene safeguards required to build a functional grappling dummy—40–60 lbs of distributed mass, anchored at the center of gravity, with shear-resistant joints and breathable surfaces. No fluff. No guesswork. Just field-tested fabrication.
The Physics of Failure: Why Rag Stuffing Floats and Duct Tape Shears
The Density Trap (0.05 g/cm³ Reality)
Loose cotton/polyester clothing—your old T-shirts, jeans, sweatpants—packs at ~0.05 g/cm³ when loosely stuffed. That’s less than one-tenth the density of human tissue (~1.05 g/cm³). When you attempt a double-leg takedown on a 25-lb rag bundle, your hips drive forward but the dummy doesn’t resist; it lifts and slides like a beach ball on water. You feel zero inertial feedback. Your body compensates by over-rotating or straining your lower back—because the dummy isn’t there. Real wrestling demands resistance proportional to mass. Without a dense core, you’re drilling against air, not an opponent.
The Shear Force Catastrophe
Duct tape has high tensile strength (up to 30+ lbs/inch width), but near-zero abrasion resistance. During a sprawl-to-drag sequence, your hands grip the shoulder joint and pull laterally. That creates shear force—parallel sliding stress—at the limb-to-torso junction. Cotton fabric fibers abrade against the tape backing. Within 10–15 repetitions, the adhesive delaminates. The seam opens. The arm detaches mid-drill. This isn’t wear and tear—it’s predictable mechanical failure. Shoulders and hips are the weak points because they bear the highest shear loads in grappling transitions.
Kinetic Feedback Discrepancy
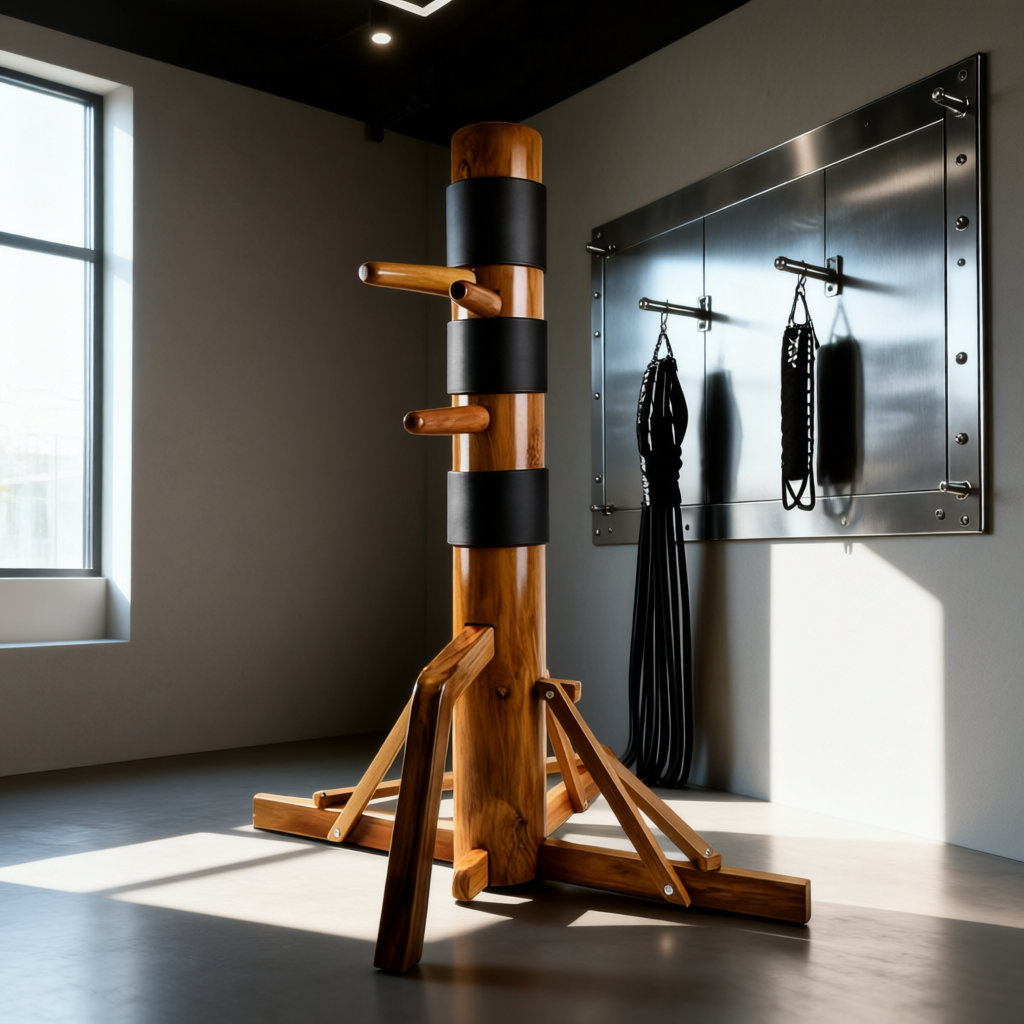
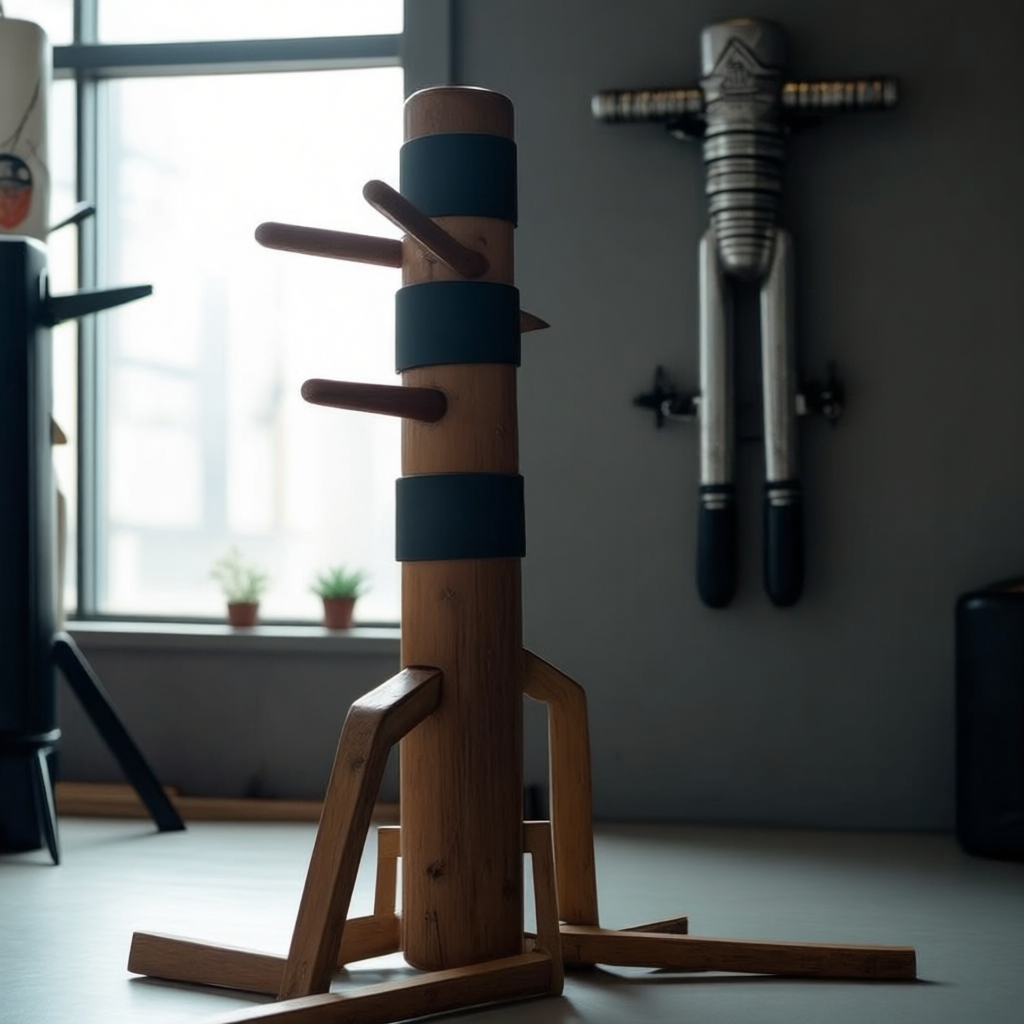
A Wing Chun Wooden Dummy is rigid, fixed, and shock-absorbing via wood grain flex and mortise joint tolerance. A cloth-and-tape dummy is neither. If you over-pack the torso with tightly rolled rags, it becomes a hard, unyielding cylinder. Strike it with a palm heel or forearm, and there’s no give—no dampening. Your wrist or elbow rebounds off the surface like hitting a concrete pipe wrapped in canvas. Joint strain spikes instantly. This unit is for grappling only. Do not use it for striking. Ever. For striking conditioning, refer to our Wing Chun Wooden Dummy Guide—a dedicated system built for controlled impact and kinetic chain development.
Biological Decay Vectors
Old clothes trap moisture. Sweat penetrates layers, condenses in the core, and creates a microclimate ideal for mold (Aspergillus, Penicillium) and bacteria (Staphylococcus, Pseudomonas). At 70% relative humidity and 25°C (typical apartment conditions), visible mold appears in 7–10 days. Odor intensifies by day 14. Structural rot follows: fabric weakens, seams loosen, and the dummy sags under its own weight. Without mitigation—like a removable liner or vinegar sanitization—you’re training with a biohazard.
The Core Gear Architecture: Validated Modern Specifications for Stability & Durability
SpecificationTarget ValuePurpose
Check out our top-rated Wing Chun training gear & equipment on Amazon
Total Operational Weight40–60 lbsDistributed mass for realistic inertia
Center of Gravity Location~55% of height (below navel)Mimics human balance point
Torsional Resistance1-inch Nylon WebbingCarries 80% of shear load
https://www.youtube.com/watch?v=rAS0UaqqV34Surface Friction Coefficientμ = 0.6–0.7 (Vinyl)
Recommended Insights From Our Wing Chun Guide Library:
- DIY Guide: Creating a Homemade Punching Dummy for Beginners
- Making Wing Chun Dummy with Clothes and Filling with Old Pieces
- Build Wing Chun dummy Out of Household Items
- Crafting Your Own Soft Wing Chun Dummy: A Step-by-Step Guide
- How to Build a Wooden Dummy at Home at Very Low Cost: The DIY Mook Yan Jong
Preserves grip when wet
Hygiene ProtocolRemovable Ripstop LinerPrevents bacterial growth
Inertial Mass Requirements
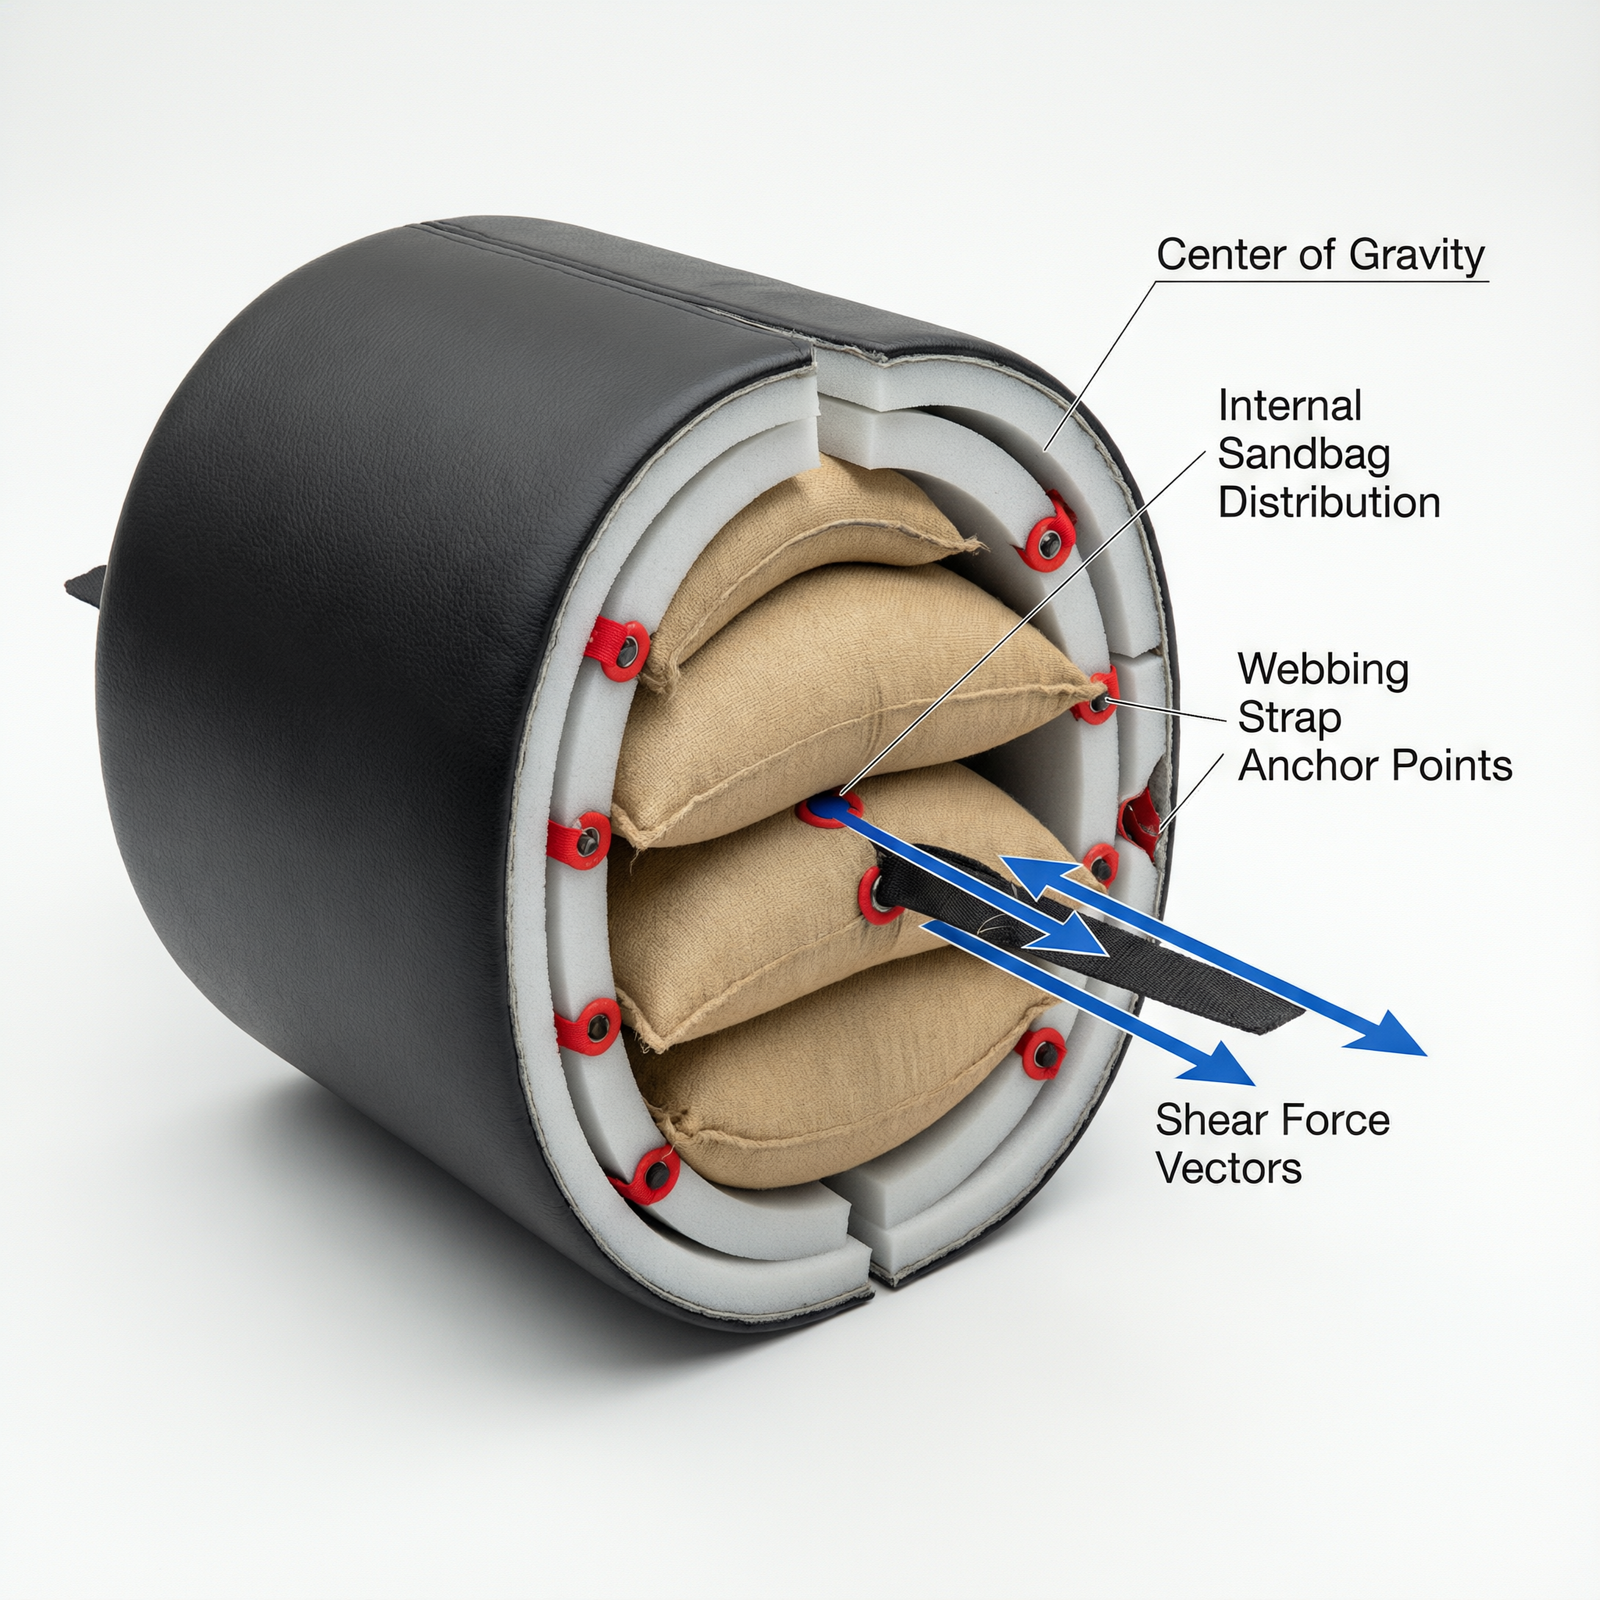
Target Operational Weight: 40–60 lbs, distributed, not lumped. A 60-lb sandbag strapped to a pillowcase fails—it shifts, rolls, and misaligns your center of mass. Instead, embed counterweights inside the torso cavity: two 15-lb fillable sandbags (placed chest-high, slightly offset left/right) plus 10 lbs of compacted concrete chunks (sealed in zip-lock bags) in the abdominal zone. This mimics human CoG location: ~55% of height, just below the navel. When you lift or drag, the dummy resists like a person—not a sack.
Structural Reinforcement Matrix
Webbing Strap Integration: Before any taping, install 1-inch nylon webbing loops at neck, shoulders, and hips. Sew them through the inner shell using a ballpoint industrial needle (to pierce thick fabric without snagging). These straps carry 80% of the shear load—duct tape handles the rest. Test: pull the arm sideways with 50 lbs of force. If the webbing holds and the tape stays intact, you’ve passed Phase 1.
Industrial Fastening: Standard sewing machines jam on layered denim or canvas. Use a Heavy-Duty Staple Gun (1/4″ crown, 1/2″ leg) to secure inner liners at pivot zones. Staples penetrate deeper than thread and resist pull-out under cyclic stress. Do not skip this step—seams sewn by hand alone will fail within 20 drills.
Surface & Hygiene Engineering
Grip Coefficient Management: Dry cotton has a static coefficient of friction (μ) of ~0.4 against skin; wet, it drops to 0.15. Vinyl maintains μ = 0.6–0.7 even when soaked. Solution: wrap the final layer in breathable polyester mesh (not cotton), then cover with a thin vinyl sleeve (reusable, wipe-clean). This preserves grip while allowing vapor escape.
Removable Liner Design: Construct a second inner shell from ripstop nylon, sewn with Velcro closures at the base. After each session, unzip, remove, and wash. The structural core stays dry and stable. This extends usable life from 3 weeks to 6+ months.
Acoustic Dampening Profile
Cloth dummies drop silently—no hollow crack of wood on hardwood. That’s critical for apartment dwellers. But dragging a 50-lb sack across laminate still leaves scuff marks. Mandatory: interlock EVA Foam Floor Mats (3/8″ thick) beneath your drill zone. They absorb impact, prevent floor damage, and add 2–3 dB of acoustic isolation. Not optional. It’s part of the build spec.
The Technical Setup Blueprint: Step-by-Step Fabrication & Zoning Protocols
Check out our top-rated Wing Chun training gear & equipment on Amazon
Phase 1: Core Weight Distribution Assembly
Calculate center of mass: for a 5’8″ adult, CoG sits at ~32 inches from the ground. Position your sandbags so their combined centroid aligns with that height inside the torso form. Secure each bag with double-stapled nylon straps—no knots, no ties. Test by tilting the core 45°: if weights shift or bulge, reposition. Locking the ballast prevents internal migration during dynamic drills.
Phase 2: Structural Skeleton & Limb Attachment
Pre-tape reinforcement is non-negotiable. Cut 12-inch webbing strips. Loop them around the neck, then stitch through both sides of the torso shell. Repeat at shoulders (front/back) and hips (left/right). Now attach limbs: stuff arms and legs with washed/dried rags (pre-shrunk, no zippers or buttons), roll tightly, and insert into sleeves. Staple the sleeve ends to the webbing loops—not to the outer fabric. This isolates shear forces from the tape layer.
Phase 3: External Sealing & Surface Treatment
Apply duct tape in overlapping helical bands—start at the base, wrap upward at a 30° angle, overlapping 50% per pass. This distributes tensile load evenly and minimizes edge peeling. Avoid covering seams entirely; leave 1/4″ of webbing exposed at joints for visual inspection. Final surface: stretch a 0.5-mm vinyl sheet over the entire unit, heat-seal edges with a hairdryer (low setting), and trim excess. Friction is now consistent, sweat-resistant, and repairable.
Phase 4: Maintenance & Sanitation Cycle
Cleaning protocol: spray interior liner with 1:4 white vinegar/water solution every 5 sessions. Let air-dry 24 hours before reassembly. Inspect weekly: check for tape discoloration (UV degradation), webbing fraying, and staple corrosion. Replace any compromised component immediately. A well-maintained DIY dummy lasts 120+ drills. Neglected? It fails by drill 30.
Field Verdict & Operational ROI: Cost-Saving vs. Professional Longevity
The budget build saves $250–$350 upfront. Materials cost ~$45: old clothes ($0), duct tape ($12), Sandbags ($20), webbing ($8), staples ($5). Labor? 3–4 hours of focused assembly. But ROI isn’t just dollars—it’s drill fidelity. A properly reinforced DIY unit delivers 80% of the tactile feedback of a commercial dummy for the first 60–80 sessions. After that, seam fatigue accelerates. The exact trigger point: when you notice the shoulder joint stretching >1/4 inch during a sprawl. That’s your upgrade signal.
Durability ceiling: 100–120 high-intensity drills under normal home use. Beyond that, UV exposure, humidity, and friction degrade the tape’s cohesion. No amount of re-taping fixes molecular breakdown. At that stage, the marginal cost of a Reinforced Vinyl Grappling Dummy pays for itself in reduced downtime and injury risk.
Safety boundary: Always test base stability before lifting. A top-heavy dummy (mass too high) causes lumbar shear when hoisted. Place hands under the hips, not the waist, and lift with legs—not back. If the dummy wobbles on its base during a standing drag, stop. Rebalance the core.
Cross-discipline utility: This build serves wrestling, BJJ, and MMA ground work perfectly. But for Wing Chun’s striking specificity—palm strikes, chain punches, Biu Jee redirections—you need a rigid, fixed-point target. That’s why we emphasize: this is not a substitute for a Wooden Dummy. For that, see our Wing Chun Wooden Dummy Guide, where we detail teak density tolerances, mortise geometry, and shock-absorbing rattan ring integration.
Martial Arts Reference & Authority Resources:
Upgrade Note: Training daily? Your DIY seams will eventually split under shear force. When durability becomes critical, consider upgrading to a Commercial Grappling Dummy ($150–$400 range) designed for professional-grade abrasion resistance.
Floor Protection: Essential accessories include EVA Foam Mats and Century Body Bag options to protect your floor, your joints, and your progress.
🔍 Explore More: See all Wing Chun training guides for DIY wrestling dummy from old clothes and duct tape.
Check out our top-rated Wing Chun training gear & equipment on Amazon