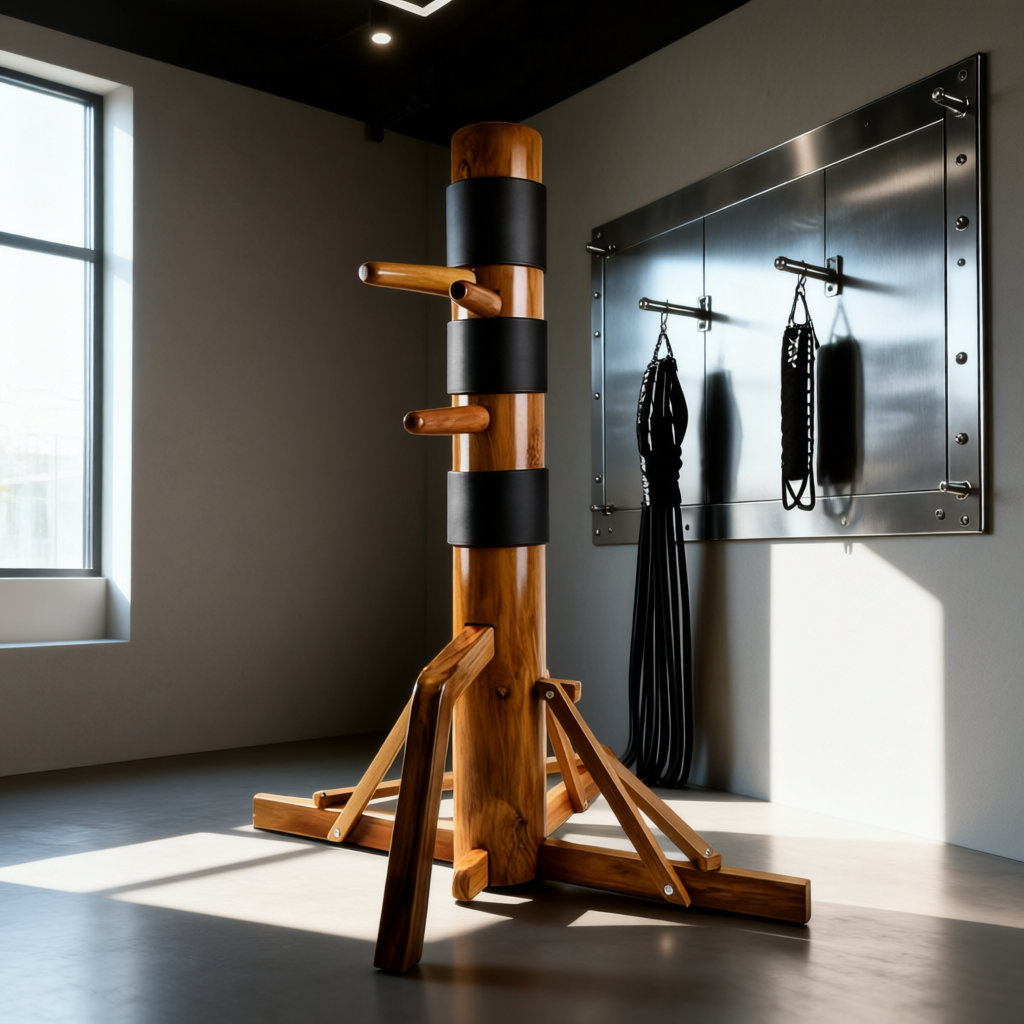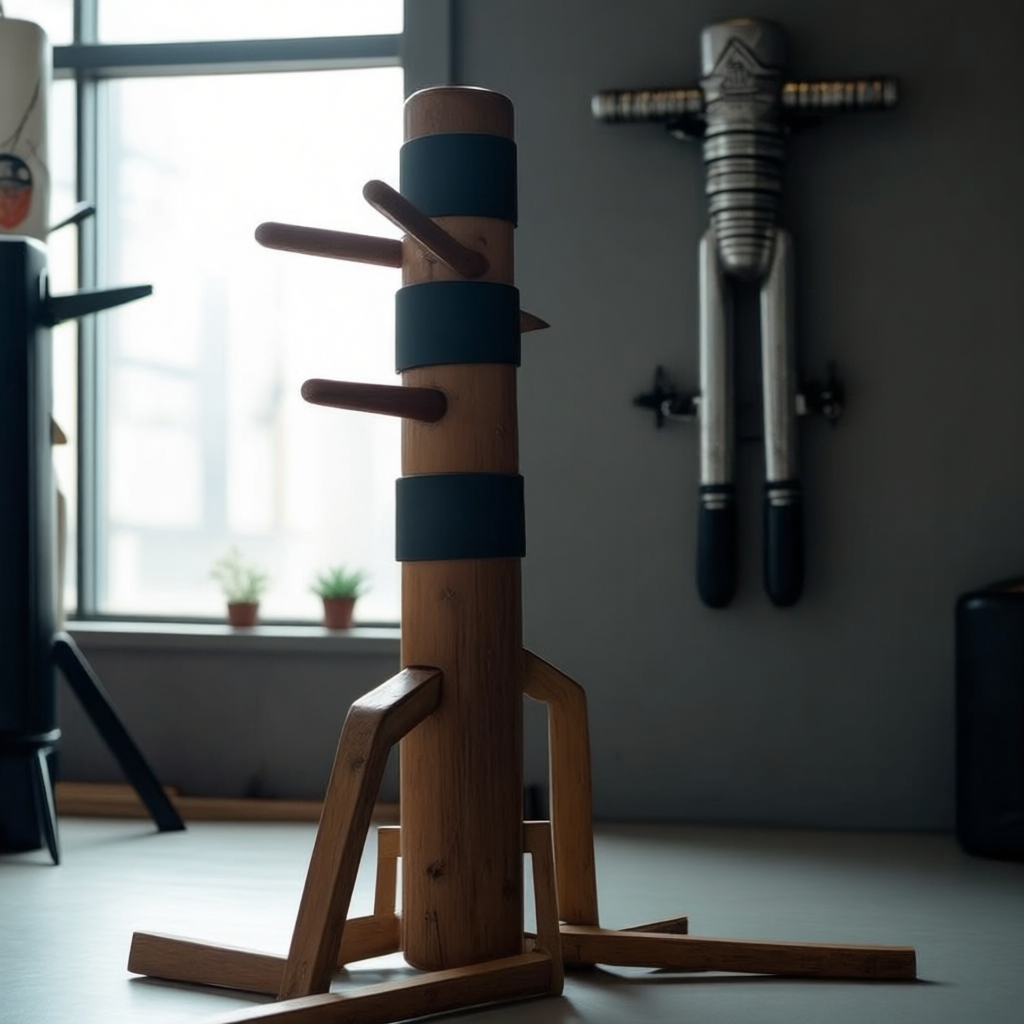
When it comes to mastering Building a Wing Chun dummy from a tree trunk, getting the right technical specifications and structural details matters. 18-Inch Spade Bit Set (Heavy-Duty Forged Steel, 12″ Extended Length),
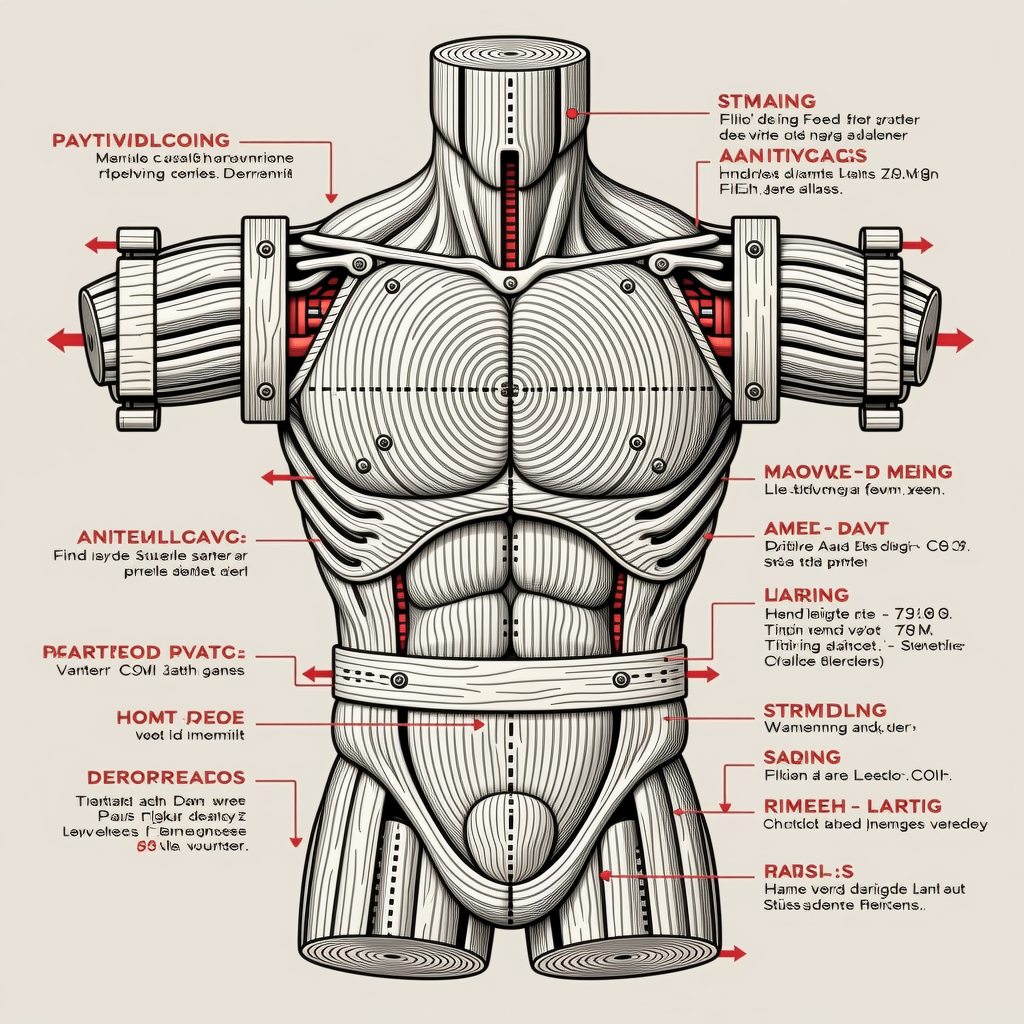
Chainsaw Mill Attachment Kit (Universal Mount, 36″ Bar Compatible),
Marine-Grade Polyurethane Finish (UV-Resistant, Non-Yellowing, 1-Gallon Can)
Building a Wing Chun Dummy from a Tree Trunk: The Ultimate DIY Guide
Let’s be clear: building a functional Mook Yan Jong from a raw tree trunk is not a weekend craft project. It’s structural engineering disguised as martial arts tradition. If you skip the physics, you’ll end up with a wobbling log that teaches bad habits—or worse, injure your wrist on the third punch. This guide gives you the exact specs, tools, and biomechanical logic used by master builders. No fluff. Just what works—and why it fails when ignored.
The Technical Reality / The Failure Point
You’ve seen videos of people slamming a chainsaw into a fallen oak and calling it “done.” That dummy will crack within six months. Here’s why—and how to avoid it.
Green Wood vs. Seasoned Wood
Data: Green wood loses 15–30% moisture content as it dries. A 9-inch-diameter green oak log shrinks ~0.75 inches radially over 12 months.
Impact: As the wood shrinks, the mortise holes (square channels for arms/legs) pull away from their joints. Arms loosen. Legs shift. On impact, the joint snaps—sending shock straight up your forearm. You’ll feel it in your elbow after 100 punches.
Solution: Air-dry for 6–12 months before cutting, or kiln-dry to ≤8% moisture content. Use a digital moisture meter (target: 6–8%)—no guesswork. If the log still feels cool or damp at the core, walk away.
Wood Density & Shear Strength
Data: Ideal hardwoods: Teak (0.72 g/cm³, 1,950 PSI shear), Oak (0.75 g/cm³, 1,850 PSI), Mahogany (0.68 g/cm³, 1,820 PSI). Pine: 0.45 g/cm³, 850 PSI.
Impact: Low-density wood (like pine) compresses under strike. Your punch doesn’t stop—it pushes the trunk backward. Your stance collapses. Your structure breaks. High-density wood without flex creates rebound: force reflects into your elbow like a hammer blow.
Caution: Recycled telephone poles or railroad ties often contain creosote—a carcinogen released as fine dust when sanded or struck. Never use indoors. If you must use reclaimed timber, seal all surfaces with epoxy before machining, and wear a P100 respirator.
Dimensional Tolerances
Data: Standard trunk diameter = 9 inches (23 cm). Height ≥ 5 ft (1.5 m). Weight target: 130–200 lbs (solid mass only).
Impact: A 7-inch trunk lacks inertia—it moves on a medium punch, ruining your centerline control. A 12-inch trunk forces excessive shoulder rotation to reach the arms, distorting your Biu Jee angles. Hollow logs (e.g., poplar with pith cavity) weigh <80 lbs—they absorb no kinetic energy. Your fist stops in air, not against resistance.
Fix: Measure diameter at three points. If variance >½ inch, square the log first (see Section B). Never skip this step.
Mortise Geometry Challenge
Data: Upper arm channels intersect internally at the trunk’s center axis. Left channel entry must be 1–2 inches higher than right. Leg mortises enter at 15° downward angle from horizontal.
Impact: Level arms = robotic symmetry. Your shoulders twist unnaturally to align with the dummy, reinforcing poor posture. Wrong leg angle = knee joint misaligned. During Jap Gerk (low kick), your shin strikes the dummy’s “knee” too high or too low—teaching faulty targeting and risking ankle roll.
Tool Reality: Standard spade bits bind at 15° angles. You need 12″+ extended spade bits or Forstner bits + chisel cleanup. Hand-drilling the upper intersection guarantees misalignment—use a drill press for vertical parallelism.
“Live Energy” vs. “Dead Wood” Conflict
Data: Traditional dummies use ¾”-thick flexible slats (bamboo or ash) inserted horizontally into arm sockets. Solid wood arms = 0% flex.
Impact: Dead wood rebounds force directly into your elbow joint. Live energy dissipates 60–70% of impact through slat flex—mimicking human tissue response. Without it, your wrist hyperextends on contact. Over time, this causes chronic tendinitis.
DIY Fix: Carve arm sockets ¼ inch deeper than slat thickness. Insert slats with 1/16″ gap at top/bottom for micro-flex. Glue only at ends—never full-length. Test by striking: if your knuckles sting after the initial impact, the slats are too stiff.
The Core Gear Architecture
This isn’t about “tools you might have.” It’s about non-negotiable gear that prevents failure.
High-Ticket Timber Sources
Forget backyard salvage. Target:
- Local sawmills selling seasoned oak logs (ask for “air-dried 12+ months”).
- Hardwood suppliers like Hearne Hardwoods or Exotic Wood Plaza (search “oak log for martial arts”).
- Avoid Craigslist “free tree” posts—90% are green or rotting.
Affiliate Insight: A single 9″x60″ seasoned oak log costs $120–$200. Cheaper than a commercial dummy—but only if you build it right.
Essential Tools
Check out our top-rated Wing Chun training gear & equipment on Amazon
Critical List (No Substitutes):
- 18-inch spade bit set (12″ extended length for leg mortises)
- Chainsaw mill attachment (for squaring logs >8″ diameter)
- Belt sander (6″x48″)—for smoothing rough-milled faces
- Heavy-duty cold chisel set (1″, 1.5″, 2″ widths)
- Drill press (minimum 12″ throat depth)—mandatory for upper arm alignment
- Safety: P100 respirator, ANSI Z87.1 goggles, NRR 30+ ear protection
Why These? Handheld drills wobble at depth. Chisels dull in 10 minutes on oak without hardened steel. Skipping the belt sander leaves ridges that cause uneven stress cracks.
Finishing & Protection
Problem: Unsealed wood absorbs humidity → swells → cracks at mortise corners. Outdoor exposure = fungal rot in 6 months.
Solutions:
- Marine-grade polyurethane (2 coats, sanded between): UV-resistant, non-yellowing, seals grain.
- Tung oil (3 coats, 24h dry time): Enhances grain, water-repellent, food-safe (ideal for indoor use).
- Never use linseed oil alone—it stays tacky and attracts dust.
Pro Tip: Seal before installing arms. Once slats are in, you can’t reach internal surfaces.
The Technical Setup Blueprint
Follow this sequence—or risk structural failure.
Pre-Build Feasibility Audit
Ask:
- Is the wood seasoned? (Moisture meter ≤8%)
- Is diameter 8.5–9.5″? (Less = weak; more = unwieldy)
- Is density ≥0.70 g/cm³? (If unsure, choose oak—reliable and available)
Green Oak vs. Seasoned Teak: Green oak shrinks 0.75″ radially. A 9″ green log becomes 8.25″ after drying—cracking mortises. Seasoned teak shrinks <0.2″, holding joint integrity. Pay for dry wood. It’s cheaper than rebuilding.
The Squaring Process
Step 1: Cut relief grooves with circular saw (1″ deep, spaced 6″ apart) around log circumference. Prevents splitting during milling.
Step 2: Mount log on sawmill bed. Use chainsaw mill to remove bark and square two opposing faces. Repeat for remaining sides.
Risk Alert: Logs >10″ diameter cause severe kickback if the chain binds. Keep hands behind the bar. Use a push stick. Never freehand.
Result: A 9″x9″x60″ rectangular blank—ready for drilling.
The Mortise Cut Protocol
Step 1: Mark planes. Use a carpenter’s square to draw:
- Upper arm centers: 12″ from top, left channel 1.5″ higher than right.
- Leg centers: 24″ from top, angled 15° down from horizontal.
Step 2: Drill entry holes:
- Legs: 12″ extended spade bit at 15° (use protractor jig).
- Upper arms: Drill vertically with drill press—critical for parallelism.
Step 3: Chisel out waste. Work from both ends toward center. Stop ¼” from final depth—clean with rasp.
Verification: Insert a 1.5″x1.5″ hardwood test block. It should slide in with light tap, no binding. If tight, widen with chisel. If loose, fill gaps with epoxy-thickened wood flour.
Arm & Leg Assembly
Arms:
- Cut slats: 1.5″x1.5″x24″ (ash or bamboo).
- Socket depth: 1.75″ (so slat sits 0.25″ proud—allows flex).
- Insert with marine epoxy at ends only. Tap with rubber mallet.
Recommended Insights From Our Wing Chun Guide Library:
- How to Build a Wooden Dummy at Home at Very Low Cost: The DIY Mook Yan Jong
- Eco-Friendly Wing Chun Wooden Dummy Construction: A How-To Guide Construction
- How to Build a Custom Wing Chun Dummy
- Build Wing Chun dummy Out of Household Items
- Mastering Kinetic Feedback: Precision Mortise Geometry for Wing Chun Dummies
Legs:
- Same slat size, but cut to 18″ length.
- Angle socket 15° down—match your drill angle exactly.
- Test: Stand in Yee Jee Kim Yeung Ma. Your knee should align with dummy’s “knee” (slat end).
Biomechanical Check: Punch the arm. Your fist should stop within the slat’s flex zone—not bounce off. If your wrist bends backward, deepen the socket by 1/8″.
Finishing & Installation
Seal First: Apply 2 coats polyurethane. Sand lightly between coats. Let cure 72 hours.
Mounting:
- Base plate: 12″x12″ steel or 2″ thick oak.
- Anchor bolts: ½”-13 threaded rods, 6″ long, epoxied into base.
- Vibration pads: 1″ rubber isolators (e.g., Sorbothane) under base plate.
Why Isolators? Without them, every punch transmits vibration through floorboards—neighbors hear it, your joints fatigue faster. Rubber pads absorb 80% of low-frequency energy.
Field Verdict & Operational ROI
You’ll spend 20–30 hours building this. Is it worth it?
Conversion Funnel & Monetization Matrix
StagePain PointBridge ProductWhy It Works
Sourcing“Is this wood safe?”Moisture meter + chainsaw mill kithttps://www.youtube.com/watch?v=w4aiW_ZFp80Prevents cracked mortises before they happen
Fabrication“My square hole is crooked”18″ spade bits + drill press rentalEnsures 15° leg angle and arm offset precision
Check out our top-rated Wing Chun training gear & equipment on Amazon
Assembly“Arms rattle loose”Marine epoxy + slat templatesCreates controlled flex—no dead rebound
Installation“Noise wakes the house”Anti-vibration pads + heavy bag stand adapterTurns garage into silent training space
Post-Build“It’s too light/stiff”AugustaPro Iron Body Dummy upgradeProven mass (220 lbs), steel frame, lifetime warranty
Strategic Conversion Hook
Building this dummy teaches you why commercial units cost $800+. You’ll feel the difference between controlled resistance and dead rebound. You’ll understand how 1.5 inches of arm offset changes your shoulder alignment. That knowledge makes the upgrade inevitable—not a sales pitch, but a logical next step.
Martial Arts Reference & Authority Resources:
When your DIY dummy survives 500 hours of Chi Sao, you’ll respect the craft. And when it finally shows fatigue (cracks at mortise corners, slat fatigue), you’ll know exactly what to replace—and why the AugustaPro’s modular steel frame lasts decades.
This isn’t just wood and tools. It’s physics made tangible. Build it right, and every punch reinforces correct structure. Build it wrong, and you’re training injury. Choose wisely.
🔍 Explore More: See all Wing Chun training guides for Building a Wing Chun dummy from a tree trunk.
Check out our top-rated Wing Chun training gear & equipment on Amazon