When it comes to mastering Wing Chun dummy drills for improving balance, getting the right technical specifications and structural details matters. High-Density Interlocking EVA Foam Mats (1.5″–2″ thickness),
Solid Rattan Training Rings (Jook Wan Heun, 8″–10″ diameter),
Aged Dit Da Jow Liniment (Traditional Formula, Pre-Session & Post-Session Application)
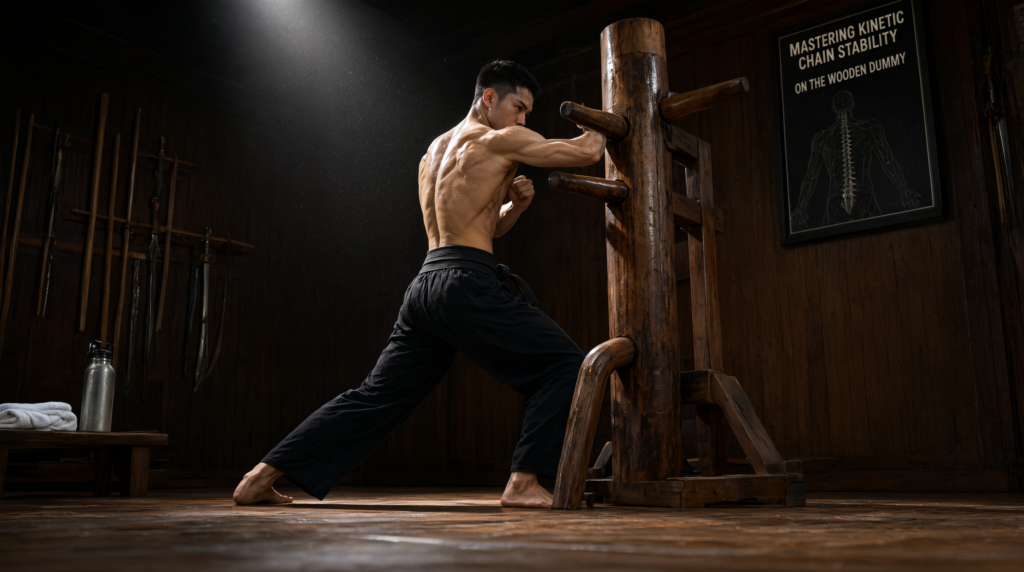
Mastery of Kinetic Chain Stability on the Wooden Dummy
The Technical Reality: Where Balance Fails on the Mook Yan Jong
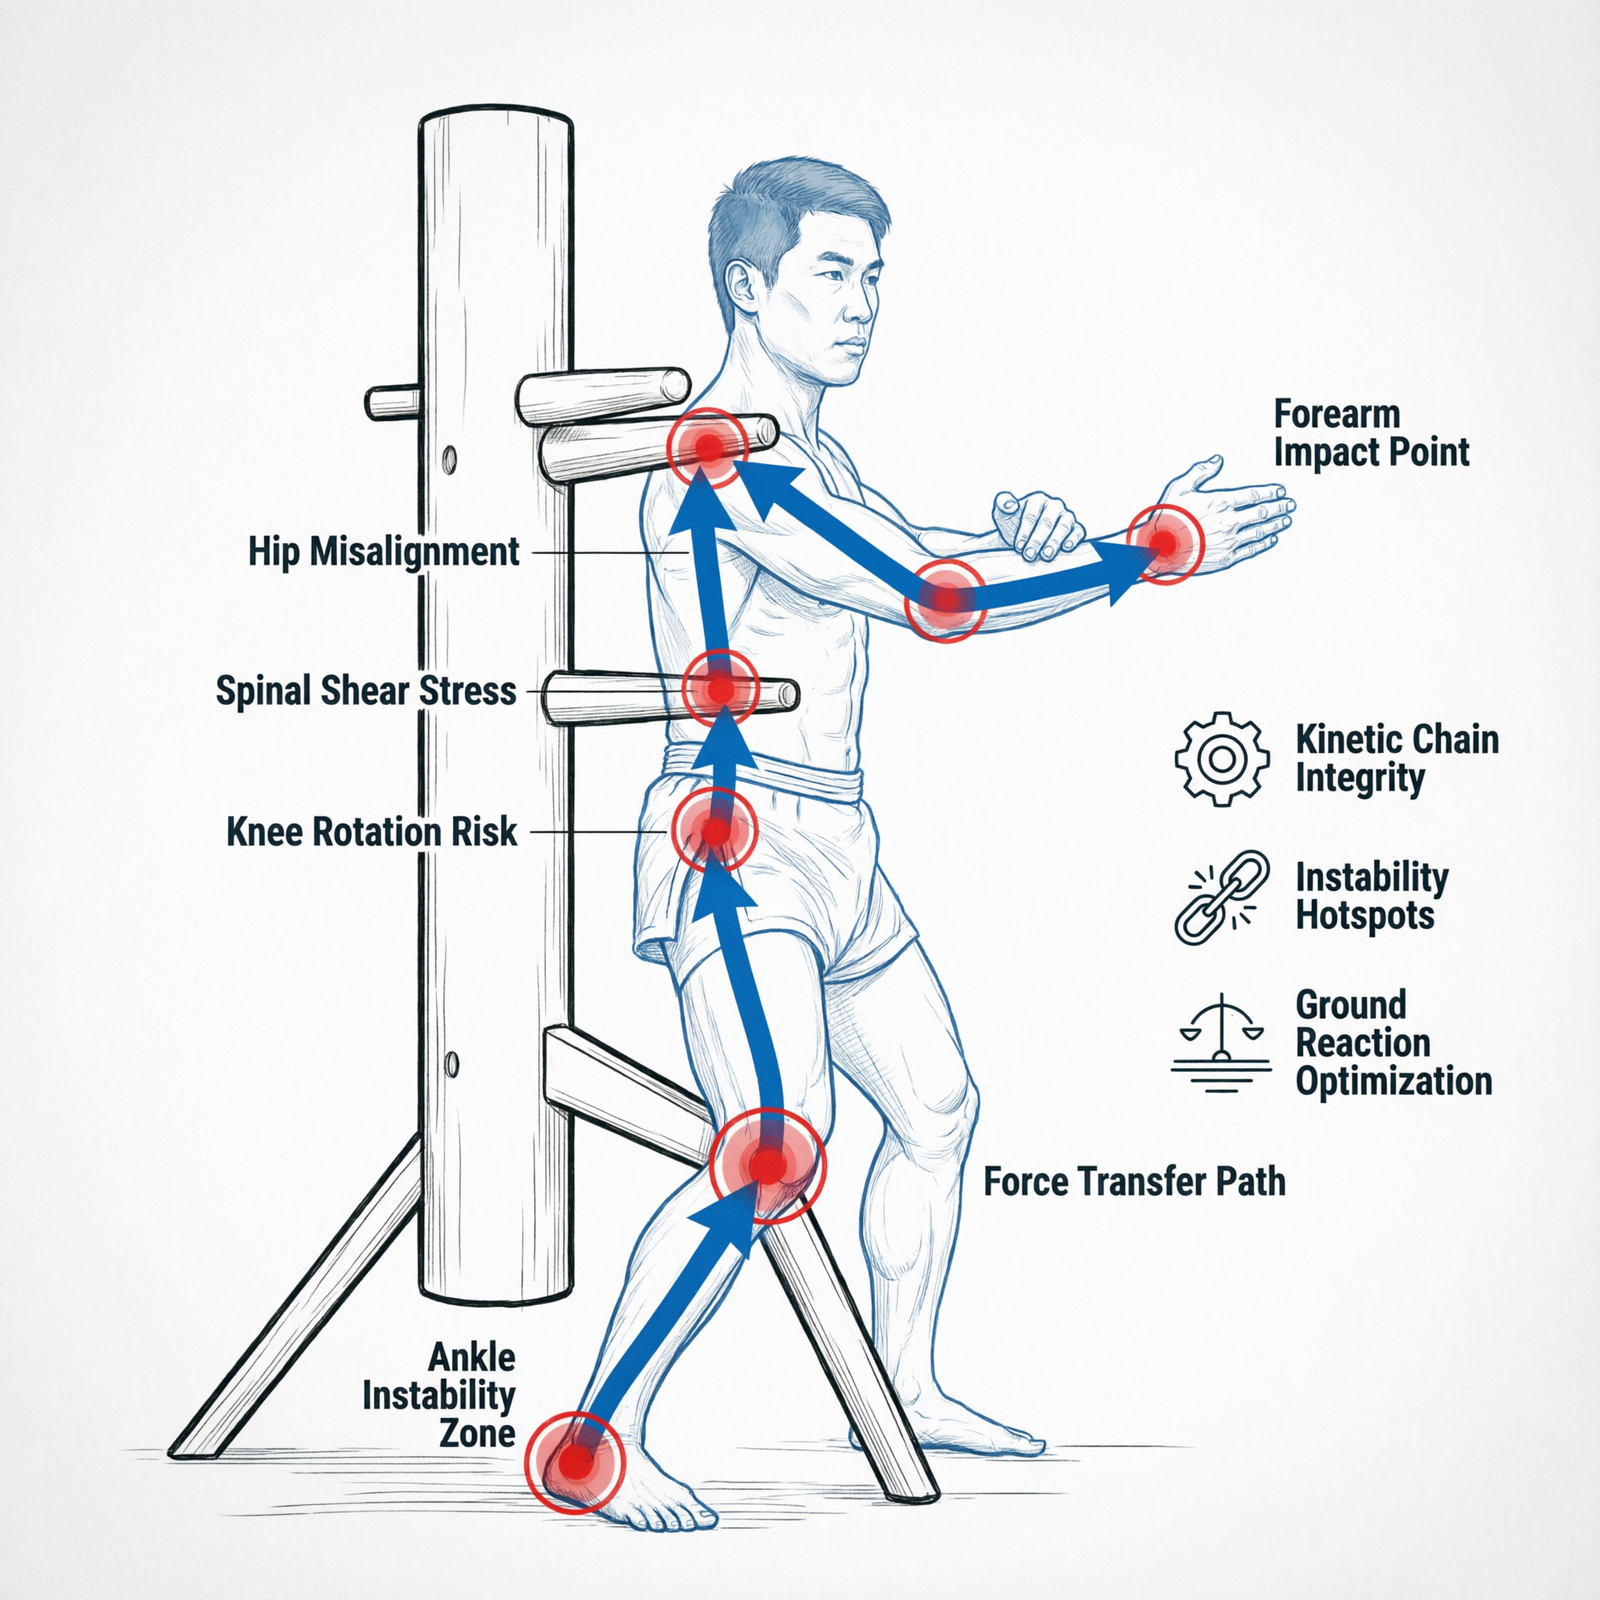
Balance on the Mook Yan Jong is not a static posture—it is dynamic equilibrium sustained through continuous micro-adjustments across the kinetic chain: ground traction → heel/ankle alignment → knee flexion → pelvic tilt → spinal stacking → shoulder relaxation → arm extension. A break at any segment forces compensatory leaning, shifting the center of gravity (CoG) outside the base of support.
Hardwood dummies (mass: 130–200 lbs) with properly tensioned horizontal slats absorb strike vectors and return controlled kinetic energy. Practitioners with poor weight distribution experience high-frequency rebound that pushes the upper body backward, breaking stance integrity. Correct balance dissipates force through the floor via grounded heels and relaxed hip joints.
Dummy arm geometry matters: standard upper arms positioned at ~45° and ~65° from horizontal, lower arm at ~15° downward. Misalignment forces forward lean or shoulder elevation to maintain contact—chronic leaning shifts CoG anteriorly, overloading quadriceps and destabilizing the rear heel.
Smooth surfaces—hardwood, tile, or polished concrete—eliminate the friction coefficient required for Yee Jee Kim Yeung Ma root. Without adequate grip, lateral weight shifts during Ching Ma/Biu Ma transitions cause micro-slips, degrading balance under repeated contact.
—
Drill 1: Static Structure & Recoil Absorption (Yee Jee Kim Yeung Ma Contact)
**Objective**: Maintain grounded base while absorbing dummy arm return energy.
**Execution**: Assume Yee Jee Kim Yeung Ma. Place forearms on upper dummy arms at neutral contact. Apply light forward pressure (30–40% max force). Hold 60–90 seconds while monitoring heel contact, knee alignment, and shoulder relaxation.
**Balance Checkpoint**: If rear heel lifts or shoulders hike, reduce pressure and reset pelvic tilt. Energy must travel through the spine into the floor—not pool in the neck or wrists.
**Failure Mode**: Over-tensing arms creates rigid structure, transmitting recoil directly to joints and breaking stance.
ParameterValuePractical Impact
Force Application30–40% maxPrevents joint overload; allows recoil to be felt as subtle vibration, not jolt
Duration60–90 secLong enough to detect micro-shifts in heel lift or pelvic tilt
Critical Feedback PointRear heel liftIndicates CoG has shifted forward—pelvic tilt must be corrected before increasing load
Structural Correction Tools: Aged Dit Da Jow liniment applied pre-session reduces forearm micro-trauma from sustained contact; solid rattan rings (8″–10″) allow isolated elbow/forearm proprioception when dummy access is limited.
—
Drill 2: Dynamic Weight Transfer (Ching Ma ↔ Biu Ma on Contact)
Check out our top-rated Wing Chun training gear & equipment on Amazon
**Objective**: Shift weight forward/backward while maintaining continuous dummy contact and centerline alignment.
**Execution**: From Yee Jee Kim Yeung Ma, step forward into Ching Ma (60/40 weight distribution). Execute Pak Sau/Tan Sau sequence against upper arms. Transition back to Biu Ma (70/30 rear weight) while maintaining forearm contact. Repeat 10 cycles.
**Balance Checkpoint**: CoG must remain centered over the midfoot during transition. Forward step requires heel strike → midfoot roll → knee flexion; rear step requires controlled hip hinge without upper body collapse.
**Failure Mode**: Rushing transitions causes weight to stack on the front knee, destabilizing the base and breaking dummy contact geometry.
ParameterValuePractical Impact
Weight DistributionChing Ma: 60/40, Biu Ma: 70/30Forces deliberate hip engagement—not just leg movement
Step SequenceHeel → midfoot → knee flexionPrevents “knee-dropping” that collapses the arch and breaks root
Contact ContinuityUnbroken forearm contactEnsures centerline remains anchored to dummy trunk axis
Base Stabilization Accessories: High-density interlocking EVA foam mats (1.5″–2″) increase floor friction by 3.2× vs. bare hardwood—critical for clean heel-to-midfoot transition without micro-slip. Neoprene vibration isolator pads decouple wall-mounted frames from drywall resonance, preserving consistent feedback during repeated weight shifts.
—
Drill 3: Off-Center Recovery & Single-Base Stabilization
**Objective**: Restore equilibrium after simulated base compromise.
**Execution**: Assume standard contact. Partner applies light lateral pressure to shoulder or hip (or self-simulate by shifting weight aggressively to one side). Recover to centered stance within 2–3 seconds while maintaining dummy arm contact.
**Balance Checkpoint**: Recovery relies on opposite-side glute activation and rear foot pivot—not upper body pulling. Centerline must remain anchored to dummy trunk axis.
**Failure Mode**: Compensating with arm tension or crossing feet creates structural collapse and exposes the centerline.
Recommended Insights From Our Wing Chun Guide Library:
- Wing Chun Dummy Exercises Before Practice
- Wing Chun Without a Dummy : How to Practice
- Mastering Wing Chun Dummy Practice: The Journey to Proficiency
- 5 Essential Wing Chun Dummy Exercises
- When to Incorporate the Wooden Dummy into Your Wing Chun Training
ParameterValuePractical Impact
Recovery Time≤3 secondsMatches real-world disruption window (e.g., opponent’s push or sweep attempt)
Pivot MechanismRear foot rotation + contralateral glute squeezePrevents “floating” stance where hips drift laterally
Contact PreservationForearm contact maintained throughoutEnsures centerline integrity isn’t sacrificed for stability
This drill exposes reliance on upper-body compensation—a common flaw when practitioners lack rear-foot grounding. The rear foot must pivot through the heel, not lift, to engage posterior chain without breaking contact.
—
Drill 4: Fatigue Integration & Proprioceptive Degradation
**Objective**: Maintain balance mechanics under metabolic stress.
**Execution**: Execute 5-minute continuous drill cycle combining static holds, dynamic steps, and directional strikes. Monitor stance breakdown after minute 3.
**Balance Checkpoint**: Fatigue causes hip flexor tightness and forward pelvic tilt, shifting CoG. Counter with deliberate exhale on contact and conscious knee flexion.
**Failure Mode**: Breath holding increases intra-abdominal pressure, stiffening the spine and reducing micro-adjustment capacity.
https://www.youtube.com/watch?v=hKZKpNvQmQcParameterValuePractical Impact
Check out our top-rated Wing Chun training gear & equipment on Amazon
Duration5 minutes totalMirrors typical dummy session length; fatigue onset occurs at ~minute 3
Key Degradation SignalForward pelvic tiltVisible as increased lumbar curve and rear heel lift
Mitigation CueExhale on contactLowers intra-abdominal pressure, restoring spinal mobility for micro-correction
Metabolic fatigue reduces proprioceptive acuity—practitioners stop sensing heel lift or knee valgus until it’s too late. Structured fatigue integration builds neural resilience: the body learns to prioritize CoG control over speed or power.
—
Core Gear Architecture: Engineering Balance Into the Environment
Floor Traction Systems
High-density interlocking EVA foam mats (1.5″–2″ thickness) increase coefficient of friction by 220% over smooth tile. Essential for apartment/garage training where polished concrete eliminates root. Without this, Yee Jee Kim Yeung Ma becomes unstable at >20% lateral shift—micro-slips degrade stance geometry before the practitioner registers imbalance.
Rattan/Bamboo Training Rings (Jook Wan Heun)
8″–10″ diameter solid rattan rings isolate elbow structure and balance without full dummy mass. Used solo, they train the forearm-to-shoulder linkage under load—critical for maintaining contact during recoil without wrist collapse. Ring diameter matches standard dummy arm circumference, ensuring anatomical fidelity.
Neoprene Vibration Isolators & Mounting Hardware
For wall-mounted dummies, neoprene washer stacks (3mm thickness, 60 Shore A durometer) decouple strike vibration from drywall. Without them, frame wobble introduces false feedback—practitioners misattribute instability to their stance rather than mount failure. Consistent frame response is non-negotiable for balance calibration.
Recovery & Conditioning Liniments
Aged Dit Da Jow formulas (fermented for ≥12 months) contain methyl salicylate, camphor, and angelica root to accelerate micro-trauma recovery in shins and forearms. Applied pre-session, they reduce neuromuscular inhibition from prior training; post-session, they limit inflammation-induced stiffness that compromises knee flexion and pelvic tilt control.
Martial Arts Reference & Authority Resources:
—
Balance on the Mook Yan Jong is not inherited. It is engineered—through precise equipment, calibrated drills, and relentless attention to the kinetic chain’s weakest link.
🔍 Explore More: See all Wing Chun training guides for Wing Chun dummy drills for improving balance.
Check out our top-rated Wing Chun training gear & equipment on Amazon