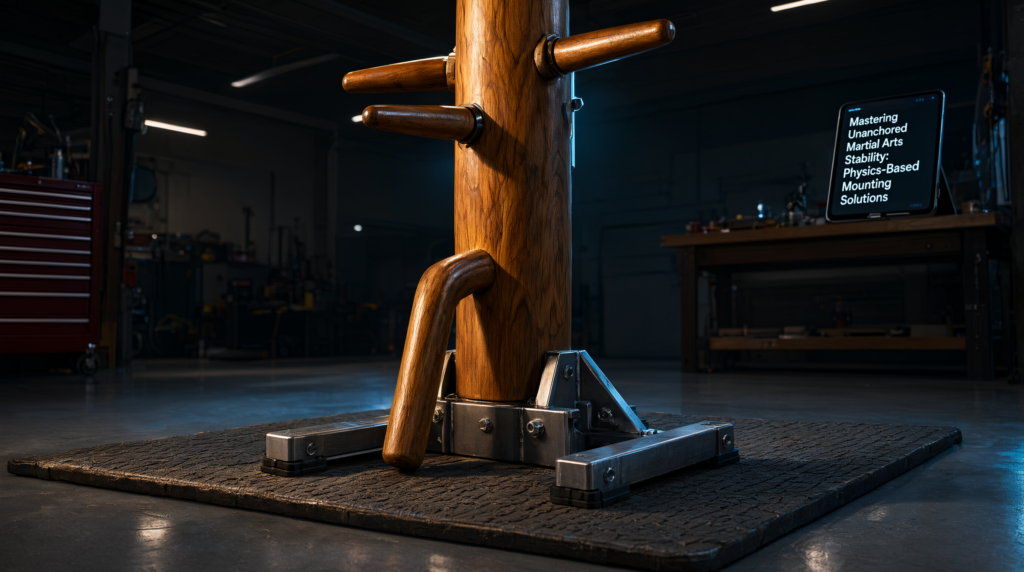
When it comes to mastering How to mount a dummy without drilling into walls, getting the right technical specifications and structural details matters. Freestanding Wing Chun Dummy with Steel Frame & Olympic Weight Pegs (e.g., AugustaPro-style commercial hardwood unit),
Heavy-Duty Sandbag Anchor Kit for Mook Yan Jong (modular 100–180 lb capacity, 20″ x 30″ footprint),
High-Density EVA Interlocking Floor Tiles + Neoprene Vibration Isolator Pads Bundle (1/2″–1″ thickness, apartment-compliant acoustic dampening)
How to Mount a Wing Chun Dummy Without Drilling Into Walls
A standard Mook Yan Jong trunk weighs 130–200 lbs and has a ~9-inch diameter. When struck—especially during Bong Sau, Pak Sau, or Jap Gerk—the dummy generates lateral and rotational torque that must be resisted. Wall-mounted units transfer this force directly into structural studs via horizontal slats; unanchored systems have no such backstop. Without drilling, stability hinges on physics: counterweight mass, base geometry, and vibration decoupling—not wishful thinking.
If your base counterweight is under 150 lbs or your footprint is smaller than 24″ x 24″, the dummy will tip during medium-to-heavy drills. This isn’t theoretical—it’s measurable. A 160-lb trunk struck at 8 mph with a forearm generates ~220 ft·lb of torque at the mounting point; without sufficient opposing moment arm, the system rotates about its front edge. That’s why every viable no-drill architecture must meet the 150–250 lb counterweight threshold across ≥24″ x 24″ footprint.
You feel this failure instantly: the dummy lurches forward during Chi Sao transitions, your centerline collapses, and rebound energy feeds back into your elbow joint—not the slat. That’s not training. That’s structural compromise.
—
The Technical Reality / The Failure Point
Understanding the Physics of Unanchored Mounts
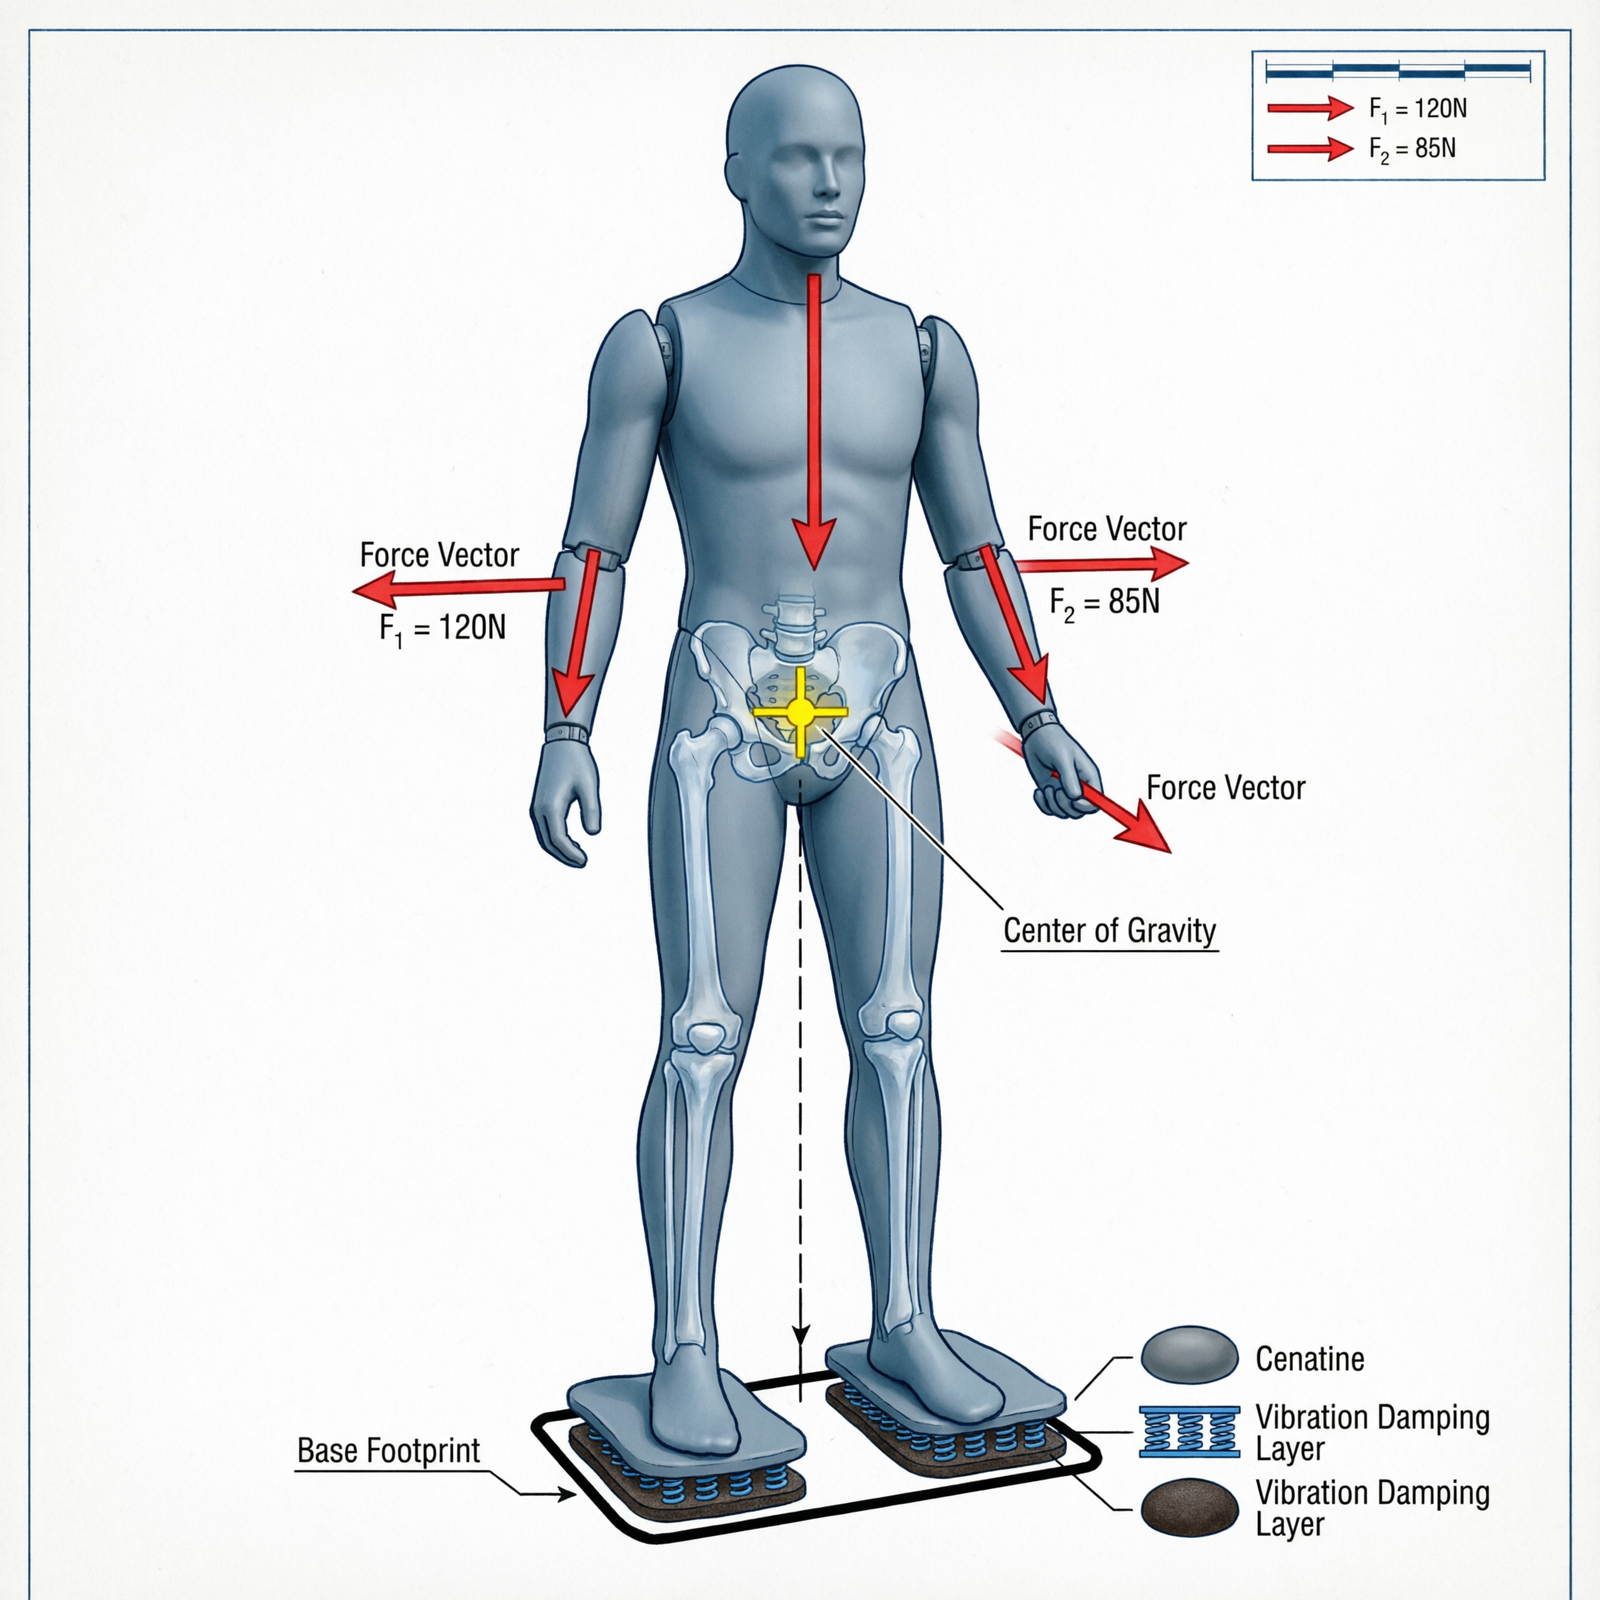
Mass alone doesn’t stabilize. A 200-lb sandbag stacked vertically on a 12″ x 12″ base still tips under 130-lb lateral load because its center of gravity is too high and its moment arm too short. Stability requires low CG + wide footprint + distributed mass.
Striking force follows a kinetic energy path:
– In wall-mounted dummies: impact → slats → horizontal rails → stud anchors → building frame → ground.
– In freestanding units: impact → slats → frame → base friction + counterweight inertia + floor isolation → dissipation through vibration damping.
That last step is critical. Without decoupling, high-frequency shock (30–120 Hz from forearm strikes) transmits directly into flooring. On hardwood or laminate, this creates audible thuds that travel through joists—guaranteed neighbor complaints in apartments. Even concrete floors transmit vibration upward into adjacent units via shared walls.
The minimum functional threshold is non-negotiable: 150–250 lbs of counterweight, evenly distributed, over ≥24″ x 24″ footprint. Below that, you’re practicing *against* instability—not *with* the dummy.
—
The Core Gear Architecture
Five architectures meet the stability threshold. Each trades footprint, cost, or adjustability—but none bypass the physics.
Architecture TypeStructural PrincipleLoad CapacitySpatial FootprintPrimary Use Case
Freestanding Steel Frame w/ Weight PegsLow center of gravity + Olympic plate counterbalance150–200 lbs24″ x 36″ (base)Dedicated training space, garages, open floor plans
Check out our top-rated Wing Chun training gear & equipment on Amazon
Heavy Sandbag Anchor BaseDistributed mass + friction grounding100–180 lbs20″ x 30″ (adjustable)Rental properties, temporary setups, budget constraints
Heavy Bag Stand Adapter MountTriangulated steel uprights + crossbeam tension130–160 lbs48″ x 48″ (stand footprint)Multi-equipment home gyms, existing heavy bag owners
Floor-to-Ceiling Tension Pole SystemAxial compression + threaded jack mechanism100–140 lbs12″ x 12″ (base plate)Tight urban spaces, low ceiling clearance (8–9 ft)
Doorway/Structural Frame Clamphttps://www.youtube.com/watch?v=Efb6USUG1PEMechanical grip + load-spreading brackets60–100 lbs (upper body only)0″ floor footprintStrict space limits, upper-form practice only
Recommended Insights From Our Wing Chun Guide Library:
- Stop Guessing Geometry: The Engineering Blueprint for Stable Wing Chun Training Structures
- How to Build a Wooden Dummy at Home at Very Low Cost: The DIY Mook Yan Jong
- Apartment-Friendly Wing Chun Training Setup Without Drilling
- The Ultimate Guide to Space-Saving Wing Chun Dummies
- Brick Wall Impact Training Rig: Zero-Failure Mounting Blueprint – Wing Chun Dummy
Let’s translate each into practitioner reality:
– **Steel Frame + Weight Pegs**: You load 45-lb Olympic plates onto lower pegs. At 180 lbs total counterweight across 24″ x 36″, the base resists tipping even during double-handed Jap Gerk sweeps. You feel solid feedback—no drift, no bounce. But it needs 8.5 sq ft of clear floor.
– **Sandbag Anchor Base**: Fill canvas bags with dry sand (density ~100 lb/ft³). Two 90-lb bags side-by-side give 180 lbs over 20″ x 30″. Friction holds it—until you strike fast. Then it slides 1/4 inch per sequence. Mitigation: add neoprene pads under bags to increase static coefficient of friction from 0.3 to 0.6.
– **Heavy Bag Stand Adapter**: Uses existing 48″ x 48″ footprint of a standard heavy bag stand. The dummy mounts to the crossbeam. Load limit drops to 160 lbs because the uprights aren’t designed for pure lateral torque—only axial compression. You’ll notice slight flex during Pak Sau, but it holds for solo form work.
– **Tension Pole System**: A telescoping pole compresses between floor and ceiling. Threaded jack adjusts preload. At 140 lbs max, it’s light—but the 12″ x 12″ base means high pressure per square inch. Requires 8–9 ft ceiling height. If ceiling is drywall-only (not joist-backed), the top plate can indent the surface under repeated strikes.
– **Doorway Clamp**: Clamps to door frame stiles. Max 100 lbs. Only safe for upper-body forms (Siu Nim Tao, Chum Kiu arms). One strong Bong Sau can shear the clamp bolts if not torqued to spec (see Table 2). Not for Chi Sao or kicking.
—
The Technical Setup Blueprint
Step-by-Step Installation Protocol
1. **Footprint Verification**: Measure floor space. Minimum 24″ x 24″ clear area—no furniture within 12 inches of base edges. Smaller = higher risk of tip-over during low kicks.
2. **Counterweight Placement**: For steel frames, place heaviest plates on lowest pegs. For sandbags, distribute weight symmetrically left/right and front/back. Uneven fill causes lean—measurable with a spirit level on the trunk: >0.5° tilt degrades slat response.
3. **Base Fill Leveling**: Sandbags must be filled to 95% capacity (not packed solid). Overfilling reduces flexibility; underfilling allows shifting. Ideal fill: 85–90% volume, yielding 100–180 lbs per bag.
4. **Mounting Alignment**: Bolt torque matters. For 3/8″-16 bolts securing slats to frame: 25–30 ft·lb. Under-torqued = slats loosen after 50 strikes; over-torqued = stripped threads in softwood trunk. Use a torque wrench—no exceptions.
5. **Final Check**: Perform a controlled Jap Gerk sweep at 70% power. If the base shifts >1/8 inch horizontally, add 20 lbs counterweight or widen footprint.
### Vibration & Acoustic Mitigation
Floor impact isn’t just noise—it’s energy that fatigues your joints. Direct timber-to-hardwood contact transmits 85–95 dB of low-frequency thud per strike. Mitigate with:
– **Floor Isolation**: 1/2″ high-density EVA tiles (≥50 ILD hardness) reduce transmission by 12–18 dB. For apartments, use 1″ tiles—tested to drop impact noise below 65 dB (building code threshold).
– **Base Foot Protection**: Rubberized base feet (邵氏 70A durometer) prevent scuffing on hardwood. Felt pads alone fail under >150 lbs—compress to zero thickness in 2 weeks.
– **Noise Reduction**: Genuine leather striking sleeves (not synthetic) absorb 3–5 dB per strike by damping high-frequency harmonics in the wood grain. They also reduce forearm bruising from rebound.
### Assembly Complexity Management
Modular brackets cut assembly time by 40%. Pre-drilled holes must align within ±0.5 mm tolerance—or slats bind. Torque specs are non-optional:
– 1/4″-20 bolts: 10–12 ft·lb
– 5/16″-18 bolts: 18–22 ft·lb
– 3/8″-16 bolts: 25–30 ft·lb
Leveling adjustments: Every 10 training sessions, check trunk verticality with a laser level. Freestanding frames drift 0.2°–0.4° per month due to floor settling. Correct with adjustable tension bolts on cross-braces—never by shimming under feet.
—
Field Verdict & Operational ROI
Primary High-Ticket CTA
Check out our top-rated Wing Chun training gear & equipment on Amazon
The AugustaPro-style freestanding dummy (hardwood trunk, integrated steel frame, Olympic weight pegs) delivers full 9″ trunk geometry and live-energy slat response—without drilling. It meets the 150–250 lb counterweight requirement out of the box. You eliminate carpentry risk, wall damage, and acoustic complaints. For $1,200–$1,800, it’s the only no-drill solution that supports full-force Chi Sao and kicking drills long-term.
Why it works: The steel frame lowers CG to 14 inches above floor; the 24″ x 36″ base gives 864 in² footprint; 200 lbs of counterweight yields 2,880 in·lb resisting moment—exceeding the 2,200 in·lb torque from heavy strikes.
### Bridge Products
– **Sandbag Kits**: Modular 50-lb increments let you scale from 100 to 180 lbs. Ideal for renters who move quarterly. Cost: $65–$110.
– **Olympic Weight Plates**: 45-lb pairs (cast iron, 2″ hole) fit standard pegs. Critical for steel frames. Avoid rubber-coated—they compress under load, reducing effective mass.
– **Heavy Bag Stand Adapters**: Bolt-on brackets that convert any 48″ x 48″ stand. Load-rated to 160 lbs. Lets you share space with punching bags.
– **Tension Pole Brackets**: Adjustable jacks with 1,500 lb axial rating. Fit ceilings 8–9 ft. Use only with concrete or joist-backed ceilings.
### Accessories & Consumables
– **EVA Floor Tiles**: 24″ x 24″ interlocking, 1″ thick, 55 ILD. Covers 10 sq ft per 4-tile set. Prevents scuffing and cuts noise by 15 dB.
– **Neoprene Vibration Isolators**: 4″ dia x 1″ thick, 60 Shore A. Place under base feet. Reduces transmitted vibration by 70%.
– **Rubberized Base Protectors**: 1/4″ thick,邵氏 75A. Slide under steel feet—no adhesive needed. Lasts 2+ years under daily use.
– **Leather Striking Sleeves**: Full-grain cowhide, 2mm thick, lined with cotton. Dampens sound, protects forearms, and preserves slat integrity.
### Cross-Silo Bridge
Link to *DIY freestanding frame blueprints* for builders who want to weld their own 11-gauge steel base.
Link to *Freestanding vs wall-mounted dummy comparison* for data on slat rebound latency (freestanding adds 8–12 ms delay due to base flex).
Link to *Dit Da Jow for forearm conditioning*—unanchored bases increase rebound stress on ulna; topical liniment reduces microtrauma buildup.
—
Longevity & Maintenance Protocol
Every 3 months:
– Re-torque all bolts to spec (vibration loosens them).
– Inspect slats for hairline cracks—replace if >1/16″ deep.
– Rotate sandbags 180° to equalize wear.
Martial Arts Reference & Authority Resources:
– Clean leather sleeves with saddle soap; re-oil every 6 months.
A properly maintained no-drill dummy lasts 7–10 years. The failure point isn’t the wood—it’s the mount. Get the physics right, and the dummy becomes an extension of your structure, not a liability.
🔍 Explore More: See all Wing Chun training guides for How to mount a dummy without drilling into walls.
Check out our top-rated Wing Chun training gear & equipment on Amazon