The Material Physics Conflict: Concrete Rigidity vs. Wood Dynamics
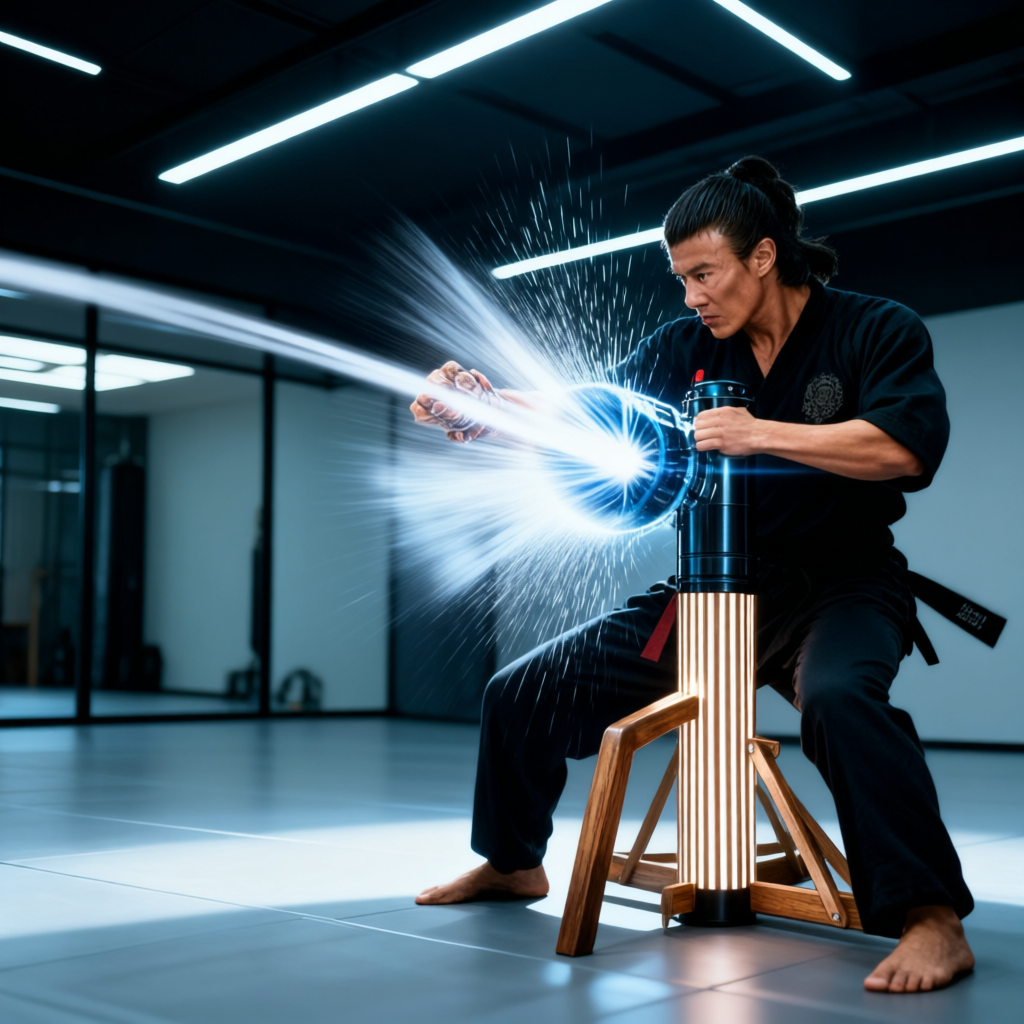
Standard concrete delivers a compressive strength of 3000 to 5000 PSI, but it possesses zero tensile flexibility. Traditional timber relies on wood grain shear strength to microscopically flex upon impact, dissipating force across the trunk. A concrete post transmits 100 percent of that impact force directly back up your arm. Without a specialized decoupling interface, striking bare concrete creates immediate joint trauma and significantly raises the risk of wrist or elbow fractures. You must engineer a buffer that mimics the natural give of aged timber to protect your connective tissue during repetitive drilling.
The Suspension Bridge Engineering Solution
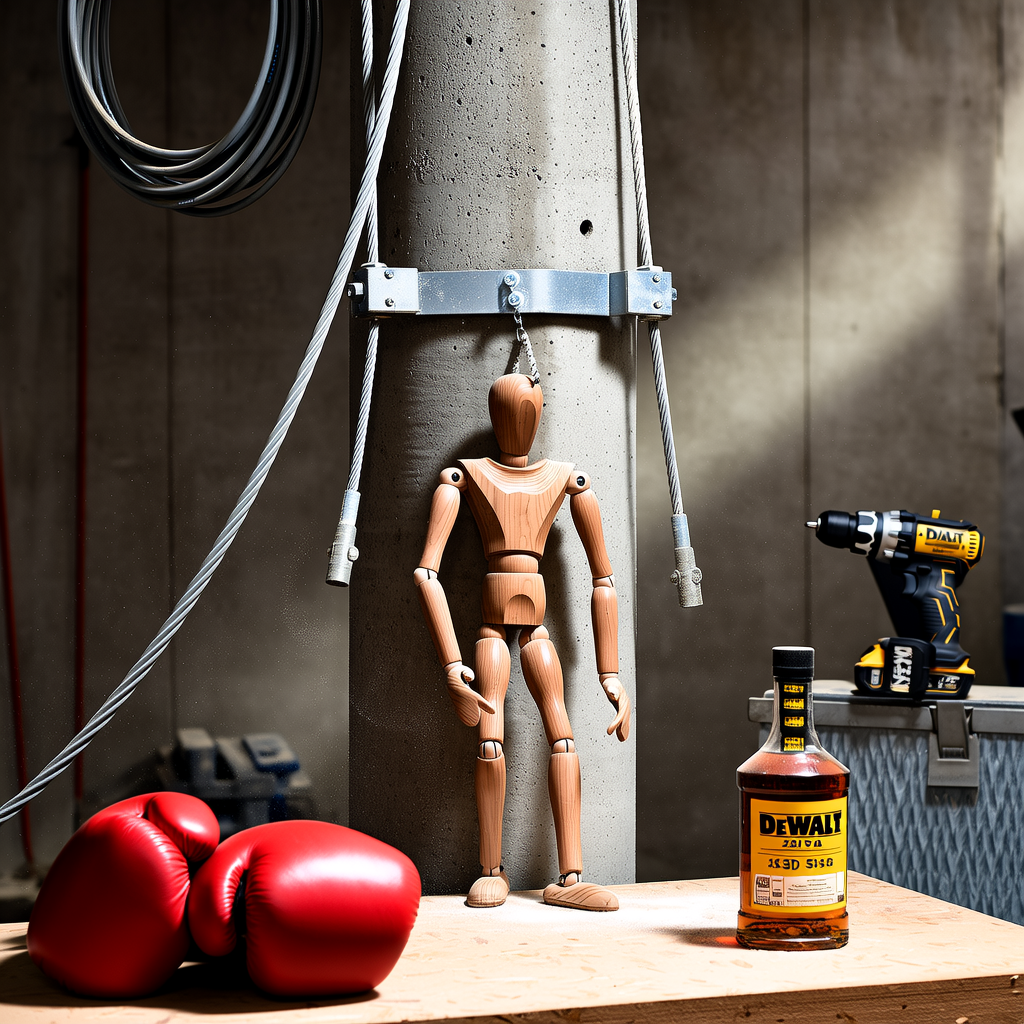
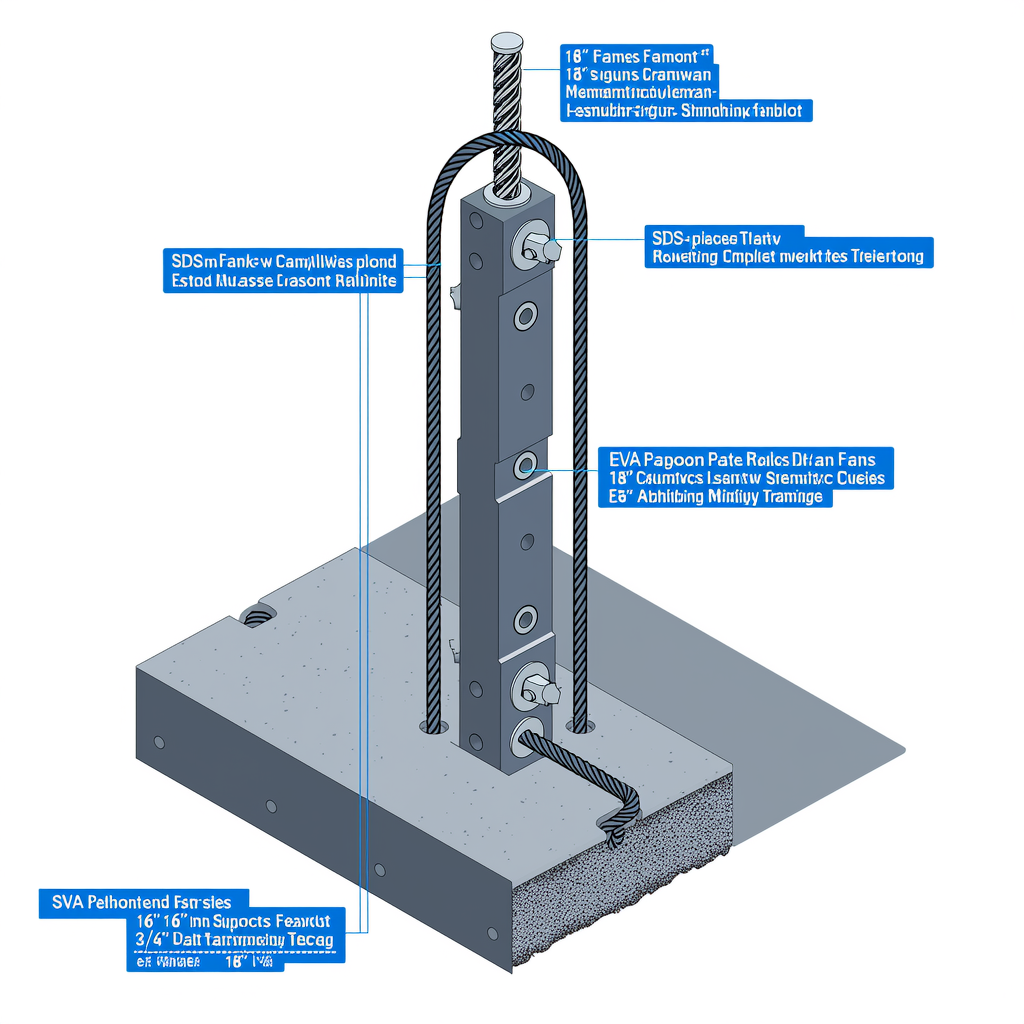
Since carving mortises into concrete is structurally impossible for home builders, the concrete post must function solely as a static foundation. The actual dummy trunk becomes a separate assembly suspended from the top of the post using heavy-duty steel cables or industrial shock-absorbing bungee cords. This setup converts a rigid anchor into a dynamic training interface. Standard utility poles are often tapered, meaning the diameter shrinks toward the top. You must measure the exact circumference at your intended mounting height. If the post narrows too much, fabricate a custom steel sleeve or a reinforced plywood collar to create a stable, uniform mounting flange. This suspended load-bearing method replaces the traditional direct bolt-in approach, allowing the trunk to recoil naturally.
Structural Geometry Adaptation
Traditional Wing Chun dummies rely on intersecting square holes to lock the arms and legs into the trunk. Concrete cannot accept this geometry. Instead, you will construct an external clamping cage or utilize a hollowed-out heavy-gauge steel pipe section bolted directly to the concrete. The classic mortise geometry features offset upper arm planes to accommodate proper elbow positioning and a strict 15-degree downward leg angle to train stance mechanics. On a concrete surface, the leg pivot requires a massive drilled hole for a threaded rod anchor or a welded heavy steel plate. You will then bolt the leg assembly to that plate. Construct the legs themselves from dense hardwood or heavy PVC pipe filled with sand and concrete. Pure concrete legs will create dangerous weight distribution issues and compromise the suspension tension.
Acoustic & Vibration Management
Striking a concrete-mounted dummy generates low-frequency rumbling that travels directly through the ground. This resonance quickly becomes a major pain point for garage owners and neighbors. You must isolate the structure from the floor. Install thick rubber isolation pads between the concrete post and the ground to absorb ground resonance. For maximum acoustic dampening, suspend the entire post within a secondary steel frame. This floating base technique ensures that kinetic energy dissipates into the isolation mounts rather than vibrating through your workspace. Without this step, high-frequency vibration transmission will travel straight into your joints, accelerating fatigue and increasing injury risk.
Tool & Hardware Requirements
Building this interface requires professional-grade masonry drilling. You will need an DEWALT 20V MAX SDS Plus Rotary Hammer Drill paired with carbide masonry bits. Specifically, stock 1/2 inch and 5/8 inch sizes to accommodate the anchor bolts. Standard drywall anchors will fail catastrophically under load. You must use sleeve anchors or wedge anchors rated explicitly for outdoor load-bearing use. A torque wrench is mandatory to ensure every anchor meets the manufacturer’s tension specifications. Traditional builders rely on 18-inch spade bits and track saws to hollow out timber trunks. This method bypasses those woodworking tools entirely, shifting the build focus toward industrial hardware and precision drilling.
Safety & Conditioning Protocol
The lack of natural flex in a concrete-anchored system increases the risk of skin abrasion and nerve compression during high-intensity drilling. You must prioritize forearm conditioning and joint protection. Apply traditional aged Dit Da Jow Liniment before and after every session to promote circulation and reduce micro-trauma. Wrap your hands and forearms in High-Density EVA Foam Hand Wraps. These consumables are non-negotiable when training on a rigid interface. They absorb surface friction and distribute impact pressure across a wider area, keeping your wrists and elbows safe during repetitive Chi Sao and Pak Sao drills. While commercial units often feature solid rattan rings for grip and impact distribution, your DIY suspension trunk will rely entirely on proper wrapping and liniment application to achieve the same protective baseline.
Cost Breakdown & Friction Points
Check out our top-rated Wing Chun training gear & equipment on Amazon
This method directly addresses the extreme budget constraints that drive DIY martial arts projects. A raw concrete post costs between $20 and $50. The industrial suspension hardware and mounting kit will run approximately $150. Compare that to a traditional hardwood dummy, which easily exceeds $700. This approach validates the DIY route while demanding specific engineering purchases.
You will likely encounter three major friction points during construction. First, you may worry about the post snapping. Concrete will not snap, but improperly engineered attachment points will fail. Second, you may ask how the arms will move. You do not carve them; you suspend a lightweight trunk using elastic tension to create the necessary give. Third, you may question wrist safety. The system is only safe if you install shock-absorbing bungees or heavy-duty springs between the post and the trunk to decouple the impact.
ComponentRecommended SpecificationFunction
https://www.youtube.com/watch?v=81IIaUihMFMDrill
Recommended Insights From Our Wing Chun Guide Library:
- How to Build a Wooden Dummy at Home at Very Low Cost: The DIY Mook Yan Jong
- Engineering the Ultimate Outdoor Martial Arts Training Station – Wing Chun Dummy
- DIY PVC Wing Chun Dummy Plans for Beginners: The Low-Cost Mook Yan Jong
- Build the Perfect Training Partner: A Master’s Guide to the PVC Mook Yan Jong – Wing Chun Dummy
- Build Wing Chun dummy Out of Household Items
DEWALT 20V MAX SDS Plus Rotary Hammer DrillMasonry penetration for anchor holes; handles 5/8\” carbide bits under sustained load
Mounting HardwareHeavy-Duty Galvanized Steel Cable & 500lb Rated Eye Bolt KitCreates tensioned suspension system; resists corrosion and cyclic fatigue
https://www.youtube.com/watch?v=x2P2iit9GiEJoint ProtectionTraditional Aged Dit Da Jow Liniment
Check out our top-rated Wing Chun training gear & equipment on Amazon
Enhances microcirculation; reduces inflammation from rigid-impact training
Hand WrapsHigh-Density EVA Foam Hand WrapsDistributes impact force; prevents skin abrasion and nerve compression
Martial Arts Reference & Authority Resources:
Conclusion
Engineering a Wing Chun dummy from a concrete post requires abandoning traditional woodworking methods and embracing industrial suspension physics. By treating the post as a static foundation and suspending a separate trunk assembly, you preserve the kinetic feedback loop essential for advanced training. You gain a weather-proof, bulletproof interface that withstands outdoor elements and relentless drilling. Follow the dimensional constraints, respect the vibration management protocols, and prioritize your joint conditioning. This build delivers professional-grade durability without the commercial price tag, keeping your practice grounded, accessible, and structurally sound.
🔍 Explore More: See all Wing Chun training guides for DIY Wing Chun dummy from a concrete post.
Check out our top-rated Wing Chun training gear & equipment on Amazon